Tag Archives: spring recipes

Rose Water Sugar Cookies 

I’ve never been good at drawing. Really, if you ask me to draw something right now, it’s going to look like it was drawn by a six years old ! That’s why I admire people, including my daughter, who has the talent to draw. Her pictures are always full of creative ideas and her characters are very lively. Like this one here….Coffee and Tea are having a battle ! 

And this one, which she drew last week at her art class, illustrates people taking photos of the beautiful Cherry Blossoms.

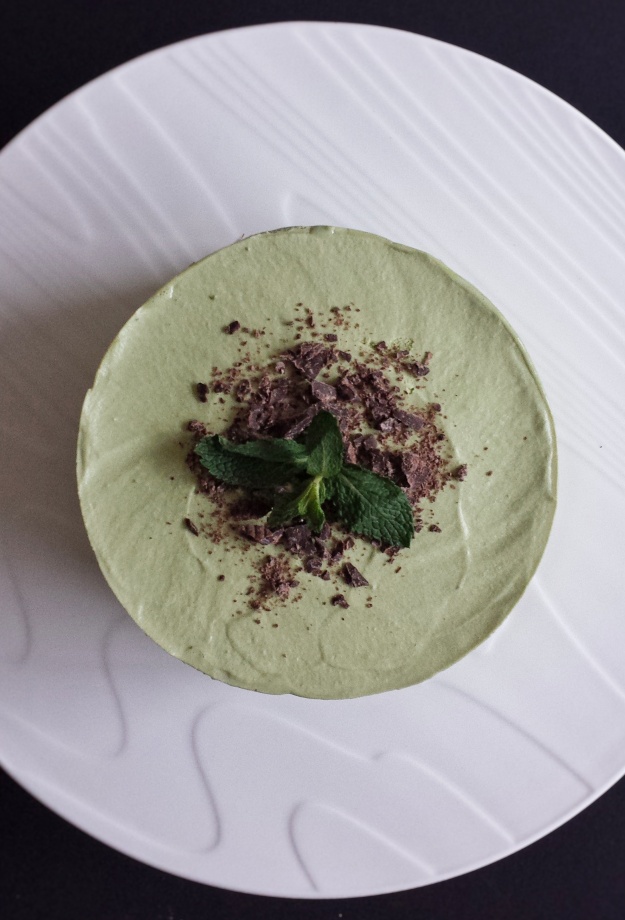
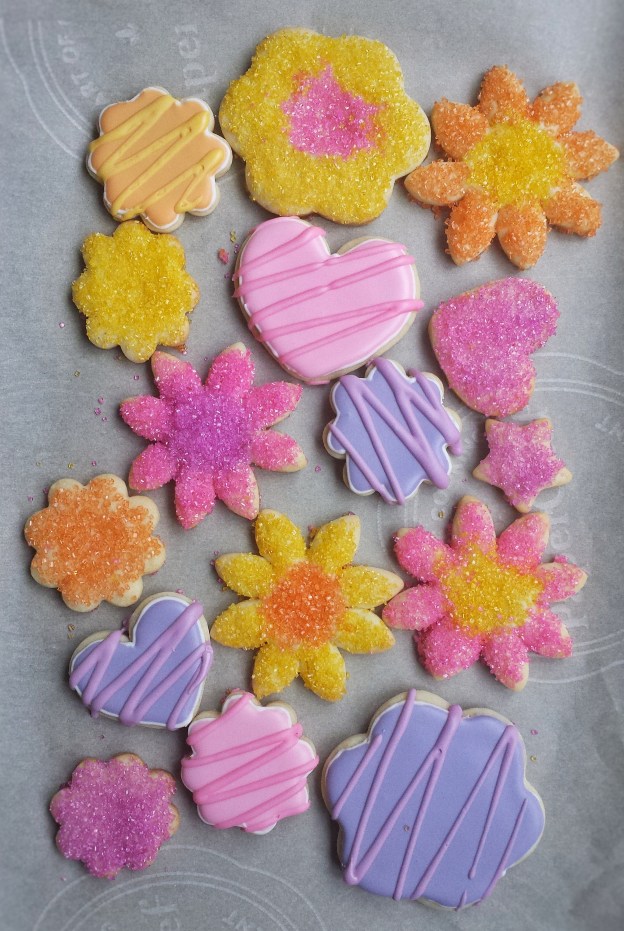
And yes, thanks to the Cherry Blossoms, otherwise we wouldn’t even notice that Spring is here! The weather is still rainy and pretty cold…….To help “spring” our spirits back, I made these Rose Water Sugar Cookies ! The rose water gives the cookies a nice floral flavour, but you don’t need very much. I decorated the cookies two ways, with coloured sugar and with royal icing. (This is the time when I really wish I am as artistic as my daughter, so I can make my cookies prettier !) 

People often wonder what I do with all the goodies I made. I mostly share them with friends and family.  But this time, I wrapped them up nicely and sent them to my kids’ school for their annual Spring Fair ! Being able to share them and help raise money for our school feels fantastic ! Happy Spring everyone !

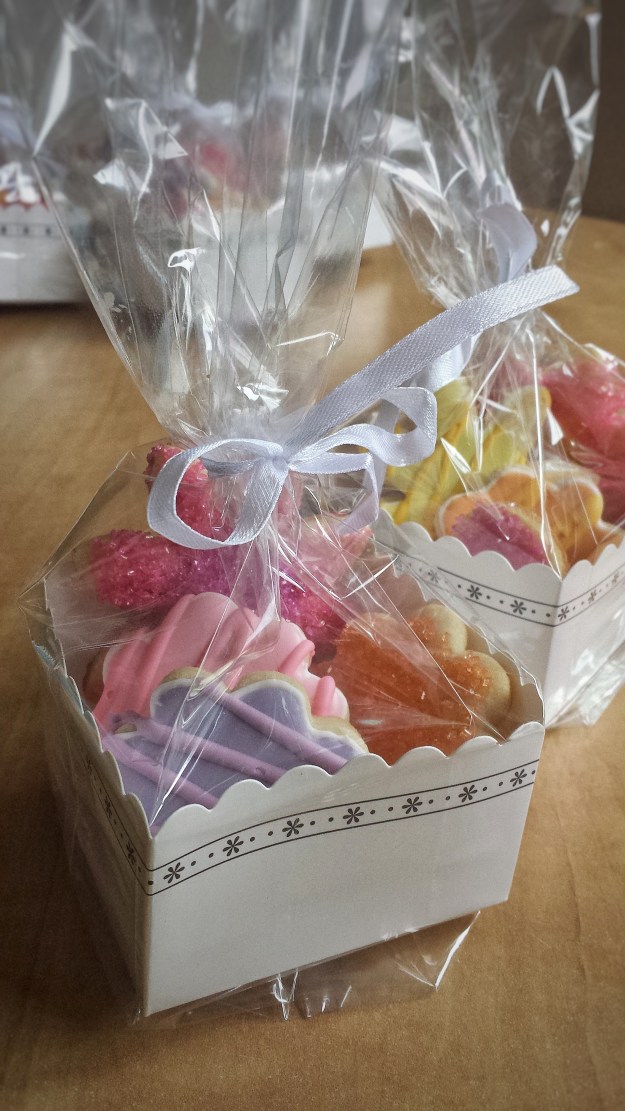
Makes about 3-4 dozens 

For the cookies 

    • 360 g all-purpose flour 
    • 3 g baking soda 
    • 2 g salt
    • 120 g unsalted butter, at room temperature
    • 180 g granulated sugar 
    • 1 egg + 1 egg white for brushing 
    • 5 mL pure vanilla extract 
    • 30 mL lemon juice 
    • Zest of 1 small lemon 
    • 5 mL rose water
  1. Preheat oven to 325°F
  2. Sift together flour,baking soda and salt, set aside 
  3. Using an electric mixer with the paddle attachment, cream together butter and sugar until fluffy 
  4. Add 1 egg, vanilla, lemon juice and lemon zest and rose water, mix until blended 
  5. Mix in flour mixture, 1/3 at a time  
  6. Transfer to a lightly floured surface and knead until dough is formed
  7. Roll out to about 0.3 cm in thickness 
  8. Cut with cookie cutters (You can collect the dough scraps all together and re-roll, cover unused dough with a damp cloth or plastic wrap)
  9. Place on cookie sheets lined with parchment paper 
  10. If decorating with coloured sugar, brush top with egg white, sprinkle with sugar, then bake for 8 minutes. If decorating with royal icing (see recipe below), bake first for 8 minutes, cool completely, then decorate. 

Royal Icing

    • 45 g meringue powder,sifted 
    • 500 g icing sugar
    • Pinch of salt
    • 90 – 120 mL warm water
    • 5 mL pure vanilla extract
    • 10 mL corn syrup 
    • Gel food colouring
  1. Mix meringue powder with about 45 mL of water, let sit for a few minutes 
  2. Stir in vanilla and corn syrup 
  3. Using an electric mixer with the whisk attachment, start mixing icing sugar and salt at low speed 
  4. Add meringue powder mixture 
  5. Slowly add in more warm water until shiny and desired consistency (thicker for outlining and thinner for filling)
  6. Add gel food colouring 

This recipe is also part of the Canadian Food Creatives’ round up. Our topic this month is “Bring On Spring” !  Be sure to check out the links below for more Spring recipes from other Canadian Food Bloggers. You can also find them on social media using the hashtag #CDNFoodCreatives. Many thanks to Melanie Maxwell at The Refreshanista for hosting. 
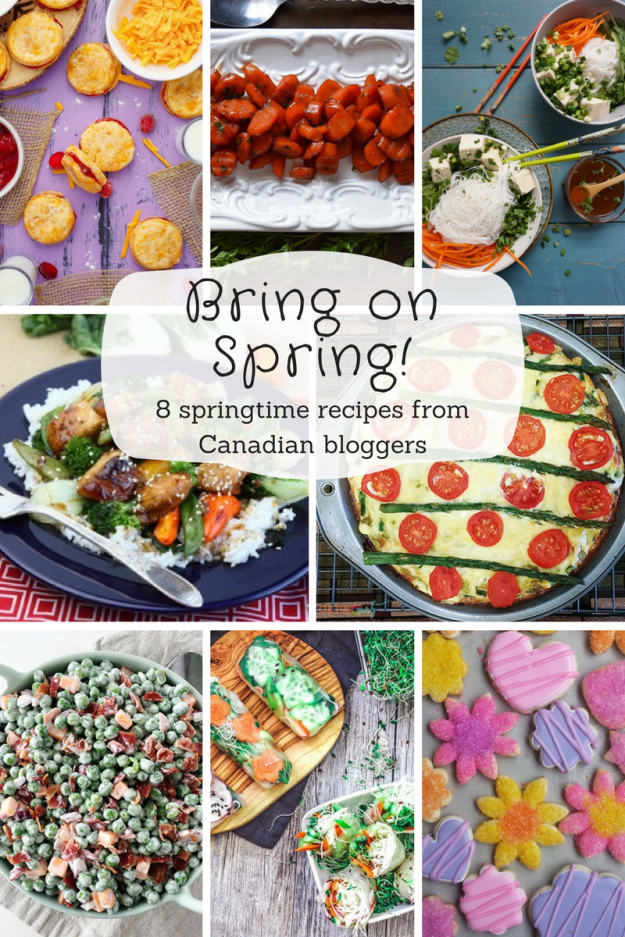


Advertisement

Spring Chocolate Pudding 

Spring is finally finally here ! It’s been a long time ! Even the cherry blossoms think so, they’ve been waiting to bloom and shine !  I used to garden a lot more, but ever since I have kids, I’ve been too busy growing two little humans and kind of abandoned my garden. This year, I want to at least plant some herbs, so I got some basil and cilantro seeds the other day and just put them in a couple of small pots. Well, I have to wait a while before my herbs grow.  So meanwhile, I made these cute little pudding pots to enjoy. They look very realistic !  And I was so happy that I could shoot the pictures in my backyard with some sunshine ! They would make a fun little snack for the kids at Easter ! Try to pick strawberries that are smaller and longer in shape so they would look more like little carrots.  

Makes about 6-8 servings 

For the candy coated strawberries

  • 180 g orange candy melts 
  • 5-10 mL vegetable oil
  • 8-10 strawberries (at room temperature)
  1. Wash and dry strawberries leaving the stems on 
  2. Melt candy melts in the microwave or over a double boiler according to package instructions 
  3. Add 5-10 mL of vegetable oil to achieve desired consistency if needed 
  4. Coat strawberries with candy melts, tap off excess, be careful not to break the stems 
  5. Place on a tray lined with parchment paper 
  6. Pour remaining candy melts into a piping bag 
  7. Cut a small hole at the end of piping bag 
  8. Drizzle over dried, coated strawberries 

For the chocolate pudding 

    • 30 g unsweetened cocoa powder 
    • 75 g granulated sugar 
    • 30 g cornstarch 
    • Pinch of salt 
    • 500 mL milk (whole or 2%)
    • 120 g semi-sweet chocolate chips 
    • 5 mL pure vanilla extract 

You would also need 8 regular-sized Oreo cookies for topping

      1. In a non-stick pot, mix together cocoa powder, sugar, cornstarch, salt
      2. Gradually stir in milk 
      3. Place over medium heat, stirring continuously until starting to bubble   
      4. Add chocolate chips, stir until thickened and chocolate all melted
      5. Remove from heat, mix in vanilla extract 
      6. Spoon into containers, let cool and refrigerate for at least 2-3 hours (a skin will form on top of pudding, but that’s OK, as we will put crushed Oreo on top)

To assemble pudding, crushed Oreo into small pieces, put on top of pudding, place a coated “carrot” on top 

Candy coated strawberries recipe adapted from lifemadesimplebakes.com

Matcha (Green Tea) Mousse Cake

I wish Spring is here soon ! Our winter here in the west coast has been pretty cold and snowy. Well, I guess I shouldn’t complain, the kids did have a lot of fun playing in the snow and compare to many other places in Canada, this is very mild. To welcome Spring and St. Patrick’s Day, I thought I should make something green. And of course matcha is the first thing that comes to mind. This recipe is what I call a 2-in-1. The mousse cake has two parts, but each of them can be a dessert on its own ! You can use the cake batter to make cupcakes or mini loaves.  And for the mousse, you can pour it into nice little bowls and refrigerate, which is exactly what I did with the leftover !

Matcha (Green Tea) Mousse

Matcha (Green Tea) Mousse

For the mousse cake itself, I made one layer of each, but you can definitely stack them in multiple layers if you like. I also added some chopped dark chocolate on top but it’s optional, cause I believe everything (almost everything) tastes better with chocolate ! And hopefully this Spring dessert can bring some warm weather soon ! 

Matcha (Green Tea) Mousse Cake

Makes one 6-inch cake

For the cake

  • 4 large eggs (separated)
  • 120 g granulated sugar (20 g for meringue)
  • 75 g cake and pastry flour
  • 5 g matcha (green tea) powder
  • 1 teaspoon pure vanilla extract
  • 1 teaspoon lemon juice 
  1. To make the cake, preheat oven to 350°F
  2. Lightly grease an 8″ x 10″ x 1″ baking tray and line bottom with parchment paper
  3. Sift together flour and matcha powder, set aside
  4. In a mixing bowl, beat together egg yolks and 100 g of sugar until pale
  5. Add vanilla and the flour mixture, mix until blended
  6. In a separate bowl, using an electric mixer with whisk attachment, whisk egg whites and lemon juice until frothy
  7. Increase speed to high and slowly add in 20 g of sugar
  8. Whisk until medium peak is formed
  9. Gently fold meringue into cake batter, 1/3 at a time, do not over mix
  10. Pour into baking tray and bake for about 15 minutes
  11. Let cool completely, then cut into a round disc to fit cake mould (I used a cake ring, so I just cut it with the ring)Matcha (Green Tea) Mousse Cake

For the mousse

  • 500 mL whipping cream (cold)
  • 250 mL milk (preferably whole milk)
  • 120 g granulated sugar
  • 15 g matcha powder
  • 10 g gelatin powder
  • 1 teaspoon pure vanilla extract
  1. Chill the mixing bowl in the fridge for at least 30 minutes
  2. Sprinkle gelatin over about 1/4 cup of milk and let sit for a few minutes to bloom
  3. Heat and stir remaining milk, sugar and matcha powder in a pot over medium heat until sugar melted and just starting to bubble
  4. Add gelatin mixture, stir until all dissolved
  5. Turn heat off, add vanilla 
  6. Strain mixture through a fine mesh and let cool to room temperature
  7. Using an electric mixer with the whisk attachment and the chilled mixing bowl, beat cold whipping cream until medium peak is formed
  8. Gently fold the whipped cream into milk mixture, 1/3 at a time, do not over mix

To assemble

  1. Place a lightly greased cake ring on a tray lined with parchment paper
  2. Place cake disc (smooth side down) at the bottom
  3. Pour mousse on top of cake and smooth top with a spatula 
  4. Refrigerate for at least 3-4 hours to set
  5. Sprinkle top with finely chopped dark chocolate (optional)

NotesIf you have trouble removing the ring, you can freeze the cake for about 1-2 hours, put a knife or an angled spatula in hot water, wipe dry, then run it around the cakeMatcha (Green Tea) Mousse Cake