Category Archives: Cakes and Muffins

Dark Chocolate Orange Mousse Cake

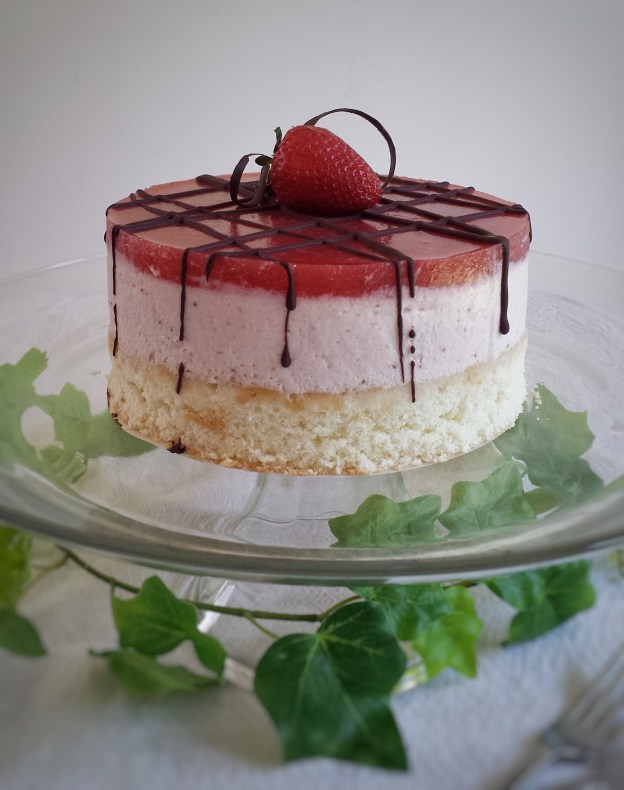
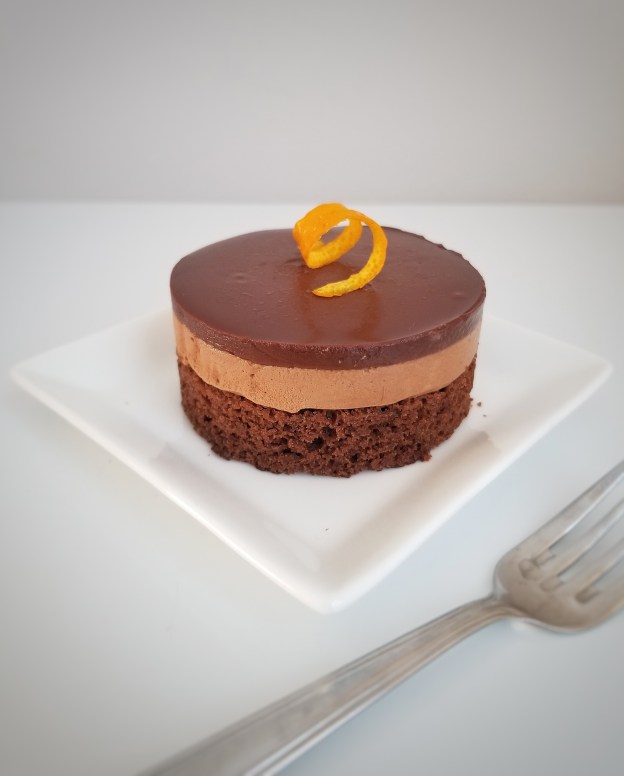
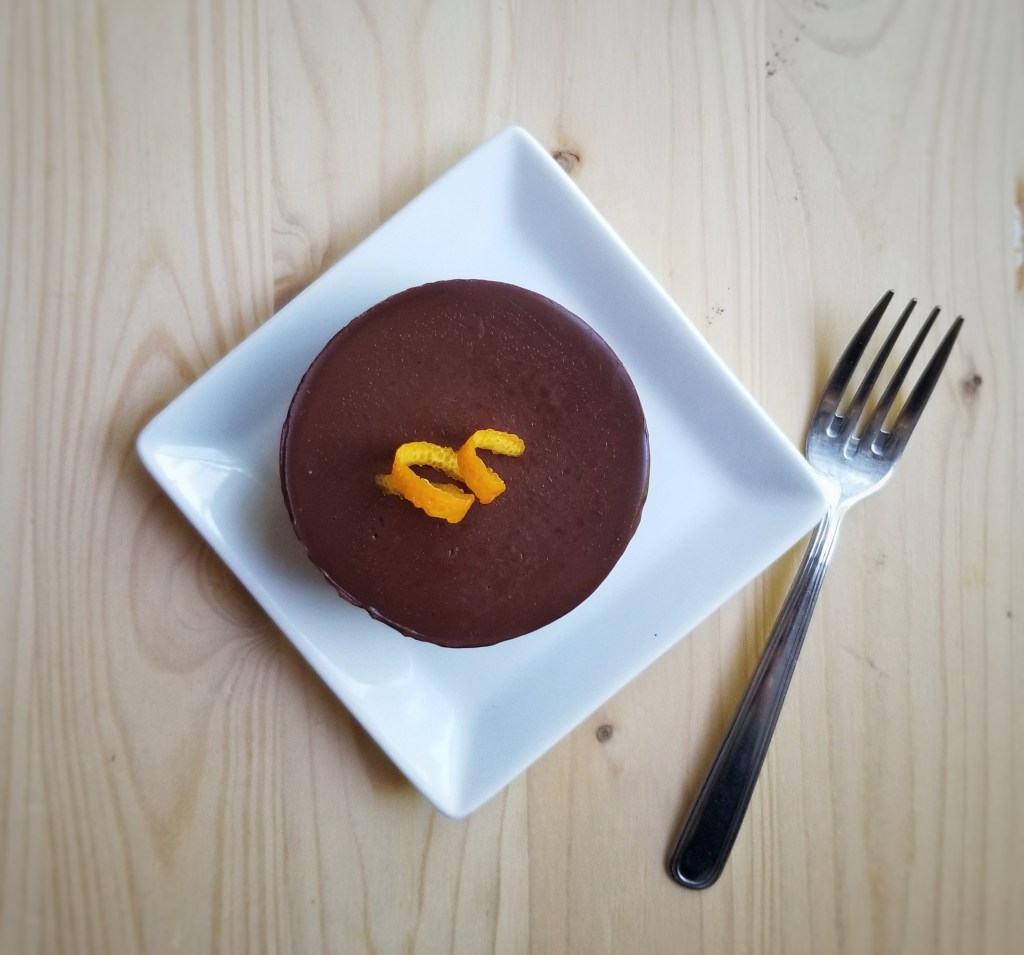
A lot of my favourite foods or flavours are associated with some fond childhood memories. The combination of chocolate and orange is one of them. Have you ever tried Jacob’s Club chocolate orange biscuits? Growing up in Hong Kong, it was such a precious and delicious treat for me as a kid and I would eat it as slowly as possible, trying to cherish every single bite ! This food nostalgia has also given me the idea to make this mousse cake ! I made them into three layers…. cake, mousse and a ganache on top. It does require more time and work, but it’s worth it. Not only do layered desserts look sophisticated, the different textures make every bite more enjoyable.

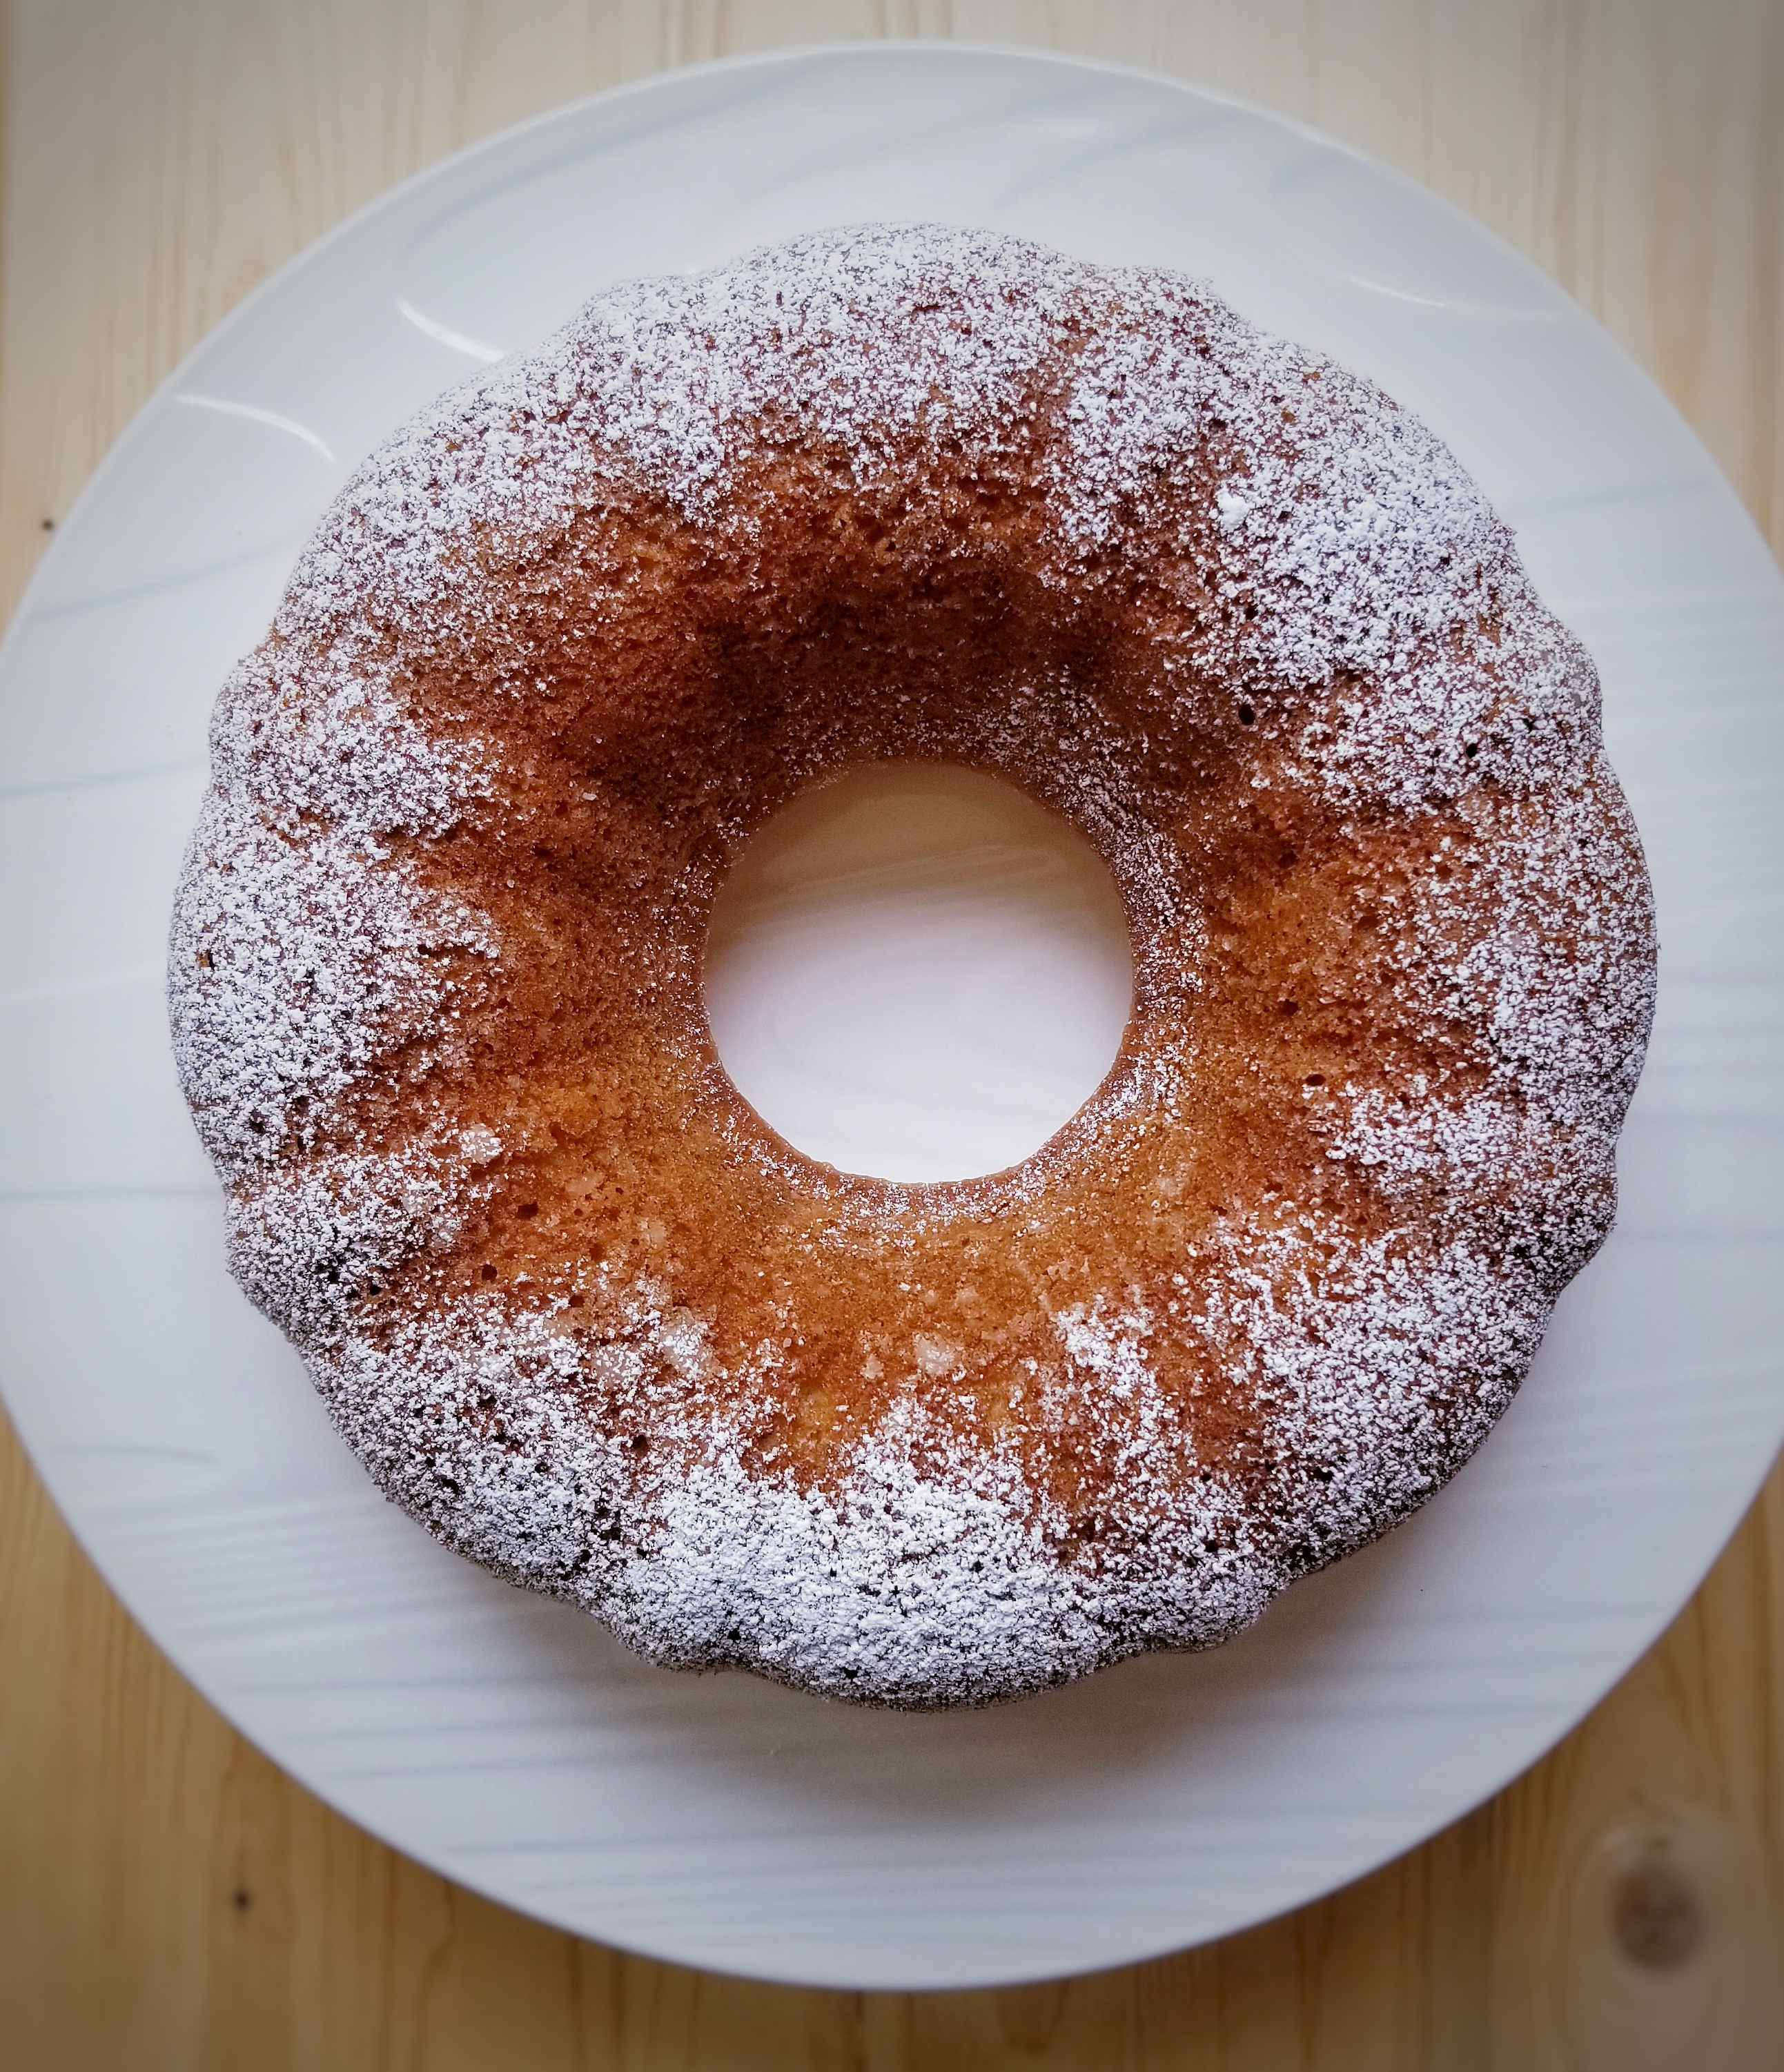
I made these in minis, but the recipe is good for a six inch cake too. If you don’t have ring molds, spring-form pans will work, but run a warm knife or spatula around the cake before releasing the spring, otherwise the cake may crack.

For the cake

Makes 4-5 three inch mini cakes

  • 150 g all-purpose flour
  • 150 g cake and pastry flour
  • 50 g cocoa powder
  • 6 g baking powder
  • 3 g baking soda
  • 3 g salt
  • 240 g granulated sugar
  • 2 eggs
  • 120 mL buttermilk
  • 120 mL vegetable oil
  • 60 mL fresh orange juice
  • Zest of half an orange
  • 5 mL pure vanilla extract
  • 5 ml pure orange extract
  • 120 mL hot water

  1. Preheat oven to 350o F
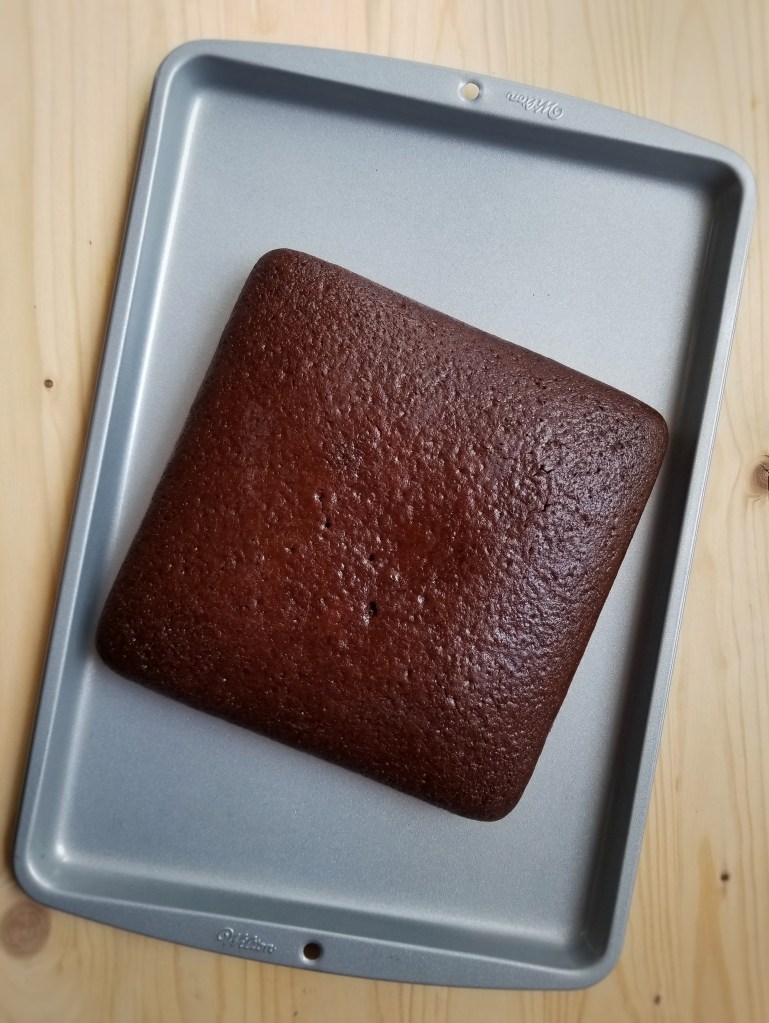
  2. Lightly grease a 9″ x 9 ” square pan or a similar size baking tray and line the bottom with parchment paper
  3. Sift together flours, cocoa powder, baking powder, baking soda and salt, set aside
  4. In another mixing bowl, hand whisk together granulated sugar and eggs until frothy
  5. Mix in buttermilk, oil, orange juice, orange zest, and extracts
  6. Slowly combine wet ingredients into dry ingredients
  7. Add in hot water, a little at a time, mix until just blended, do not overmix
  8. Pour batter into baking pan and bake for about 20-25 minutes. (To help keep the cake moist, you can bake it on top of a cooking sheet filled with hot water, but handle very carefully)

For the Mousse

  • 150 g dark chocolate
  • 375 ml cold whipping cream
  • 2 gelatin sheets (1 g each)
  • 2.5 mL pure vanilla extract
  • 2.5 mL pure orange extract
  1. Chill the mixing bowl in the fridge for at least 30 minutes
  2. Place gelatin sheets in cold water for a few minutes to bloom
  3. Heat about half a cup of whipping cream in a pot over medium heat until just starting to boil, turn heat off
  4. Squeeze gelatin sheets to remove excess water, add into heated cream and stir until dissolved
  5. While it’s still hot, pour over dark chocolate, stir until smooth
  6. Mix in extracts and let cool
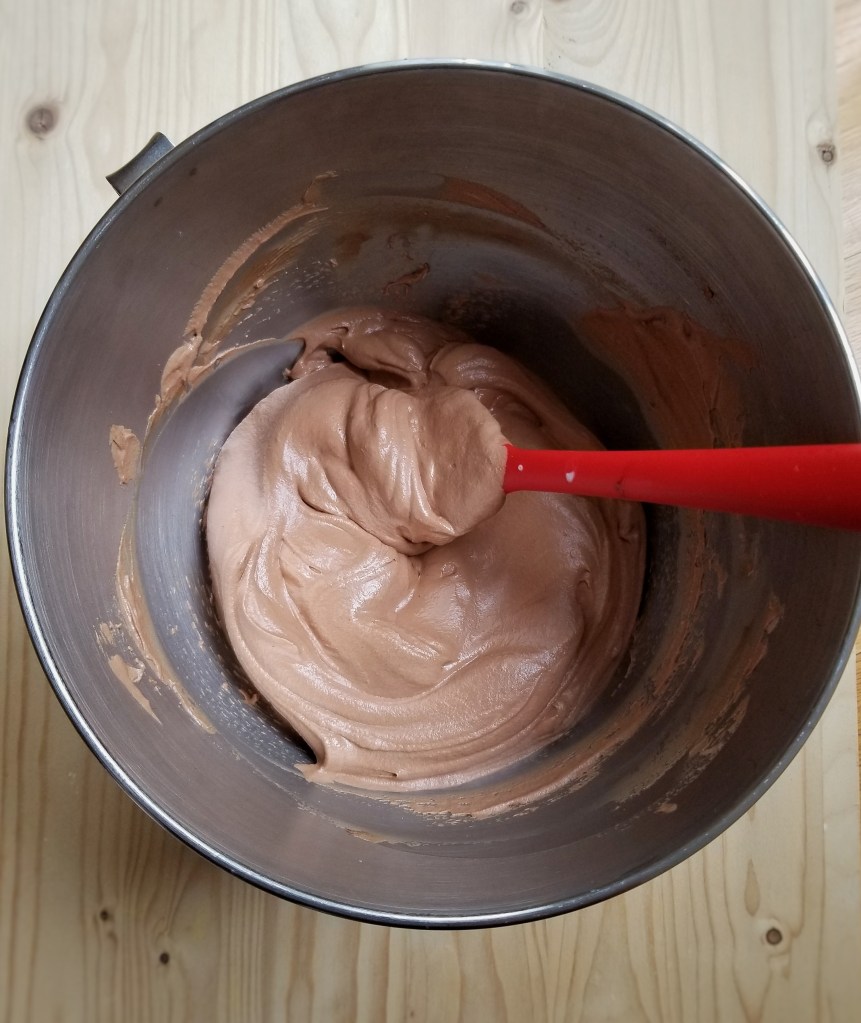
  7. Using an electric mixer with the whisk attachment, whisk remaining whipping cream in the chilled mixing bowl until stiff peak is formed
  8. Gently fold in chocolate mixture, do not over mix

To assemble

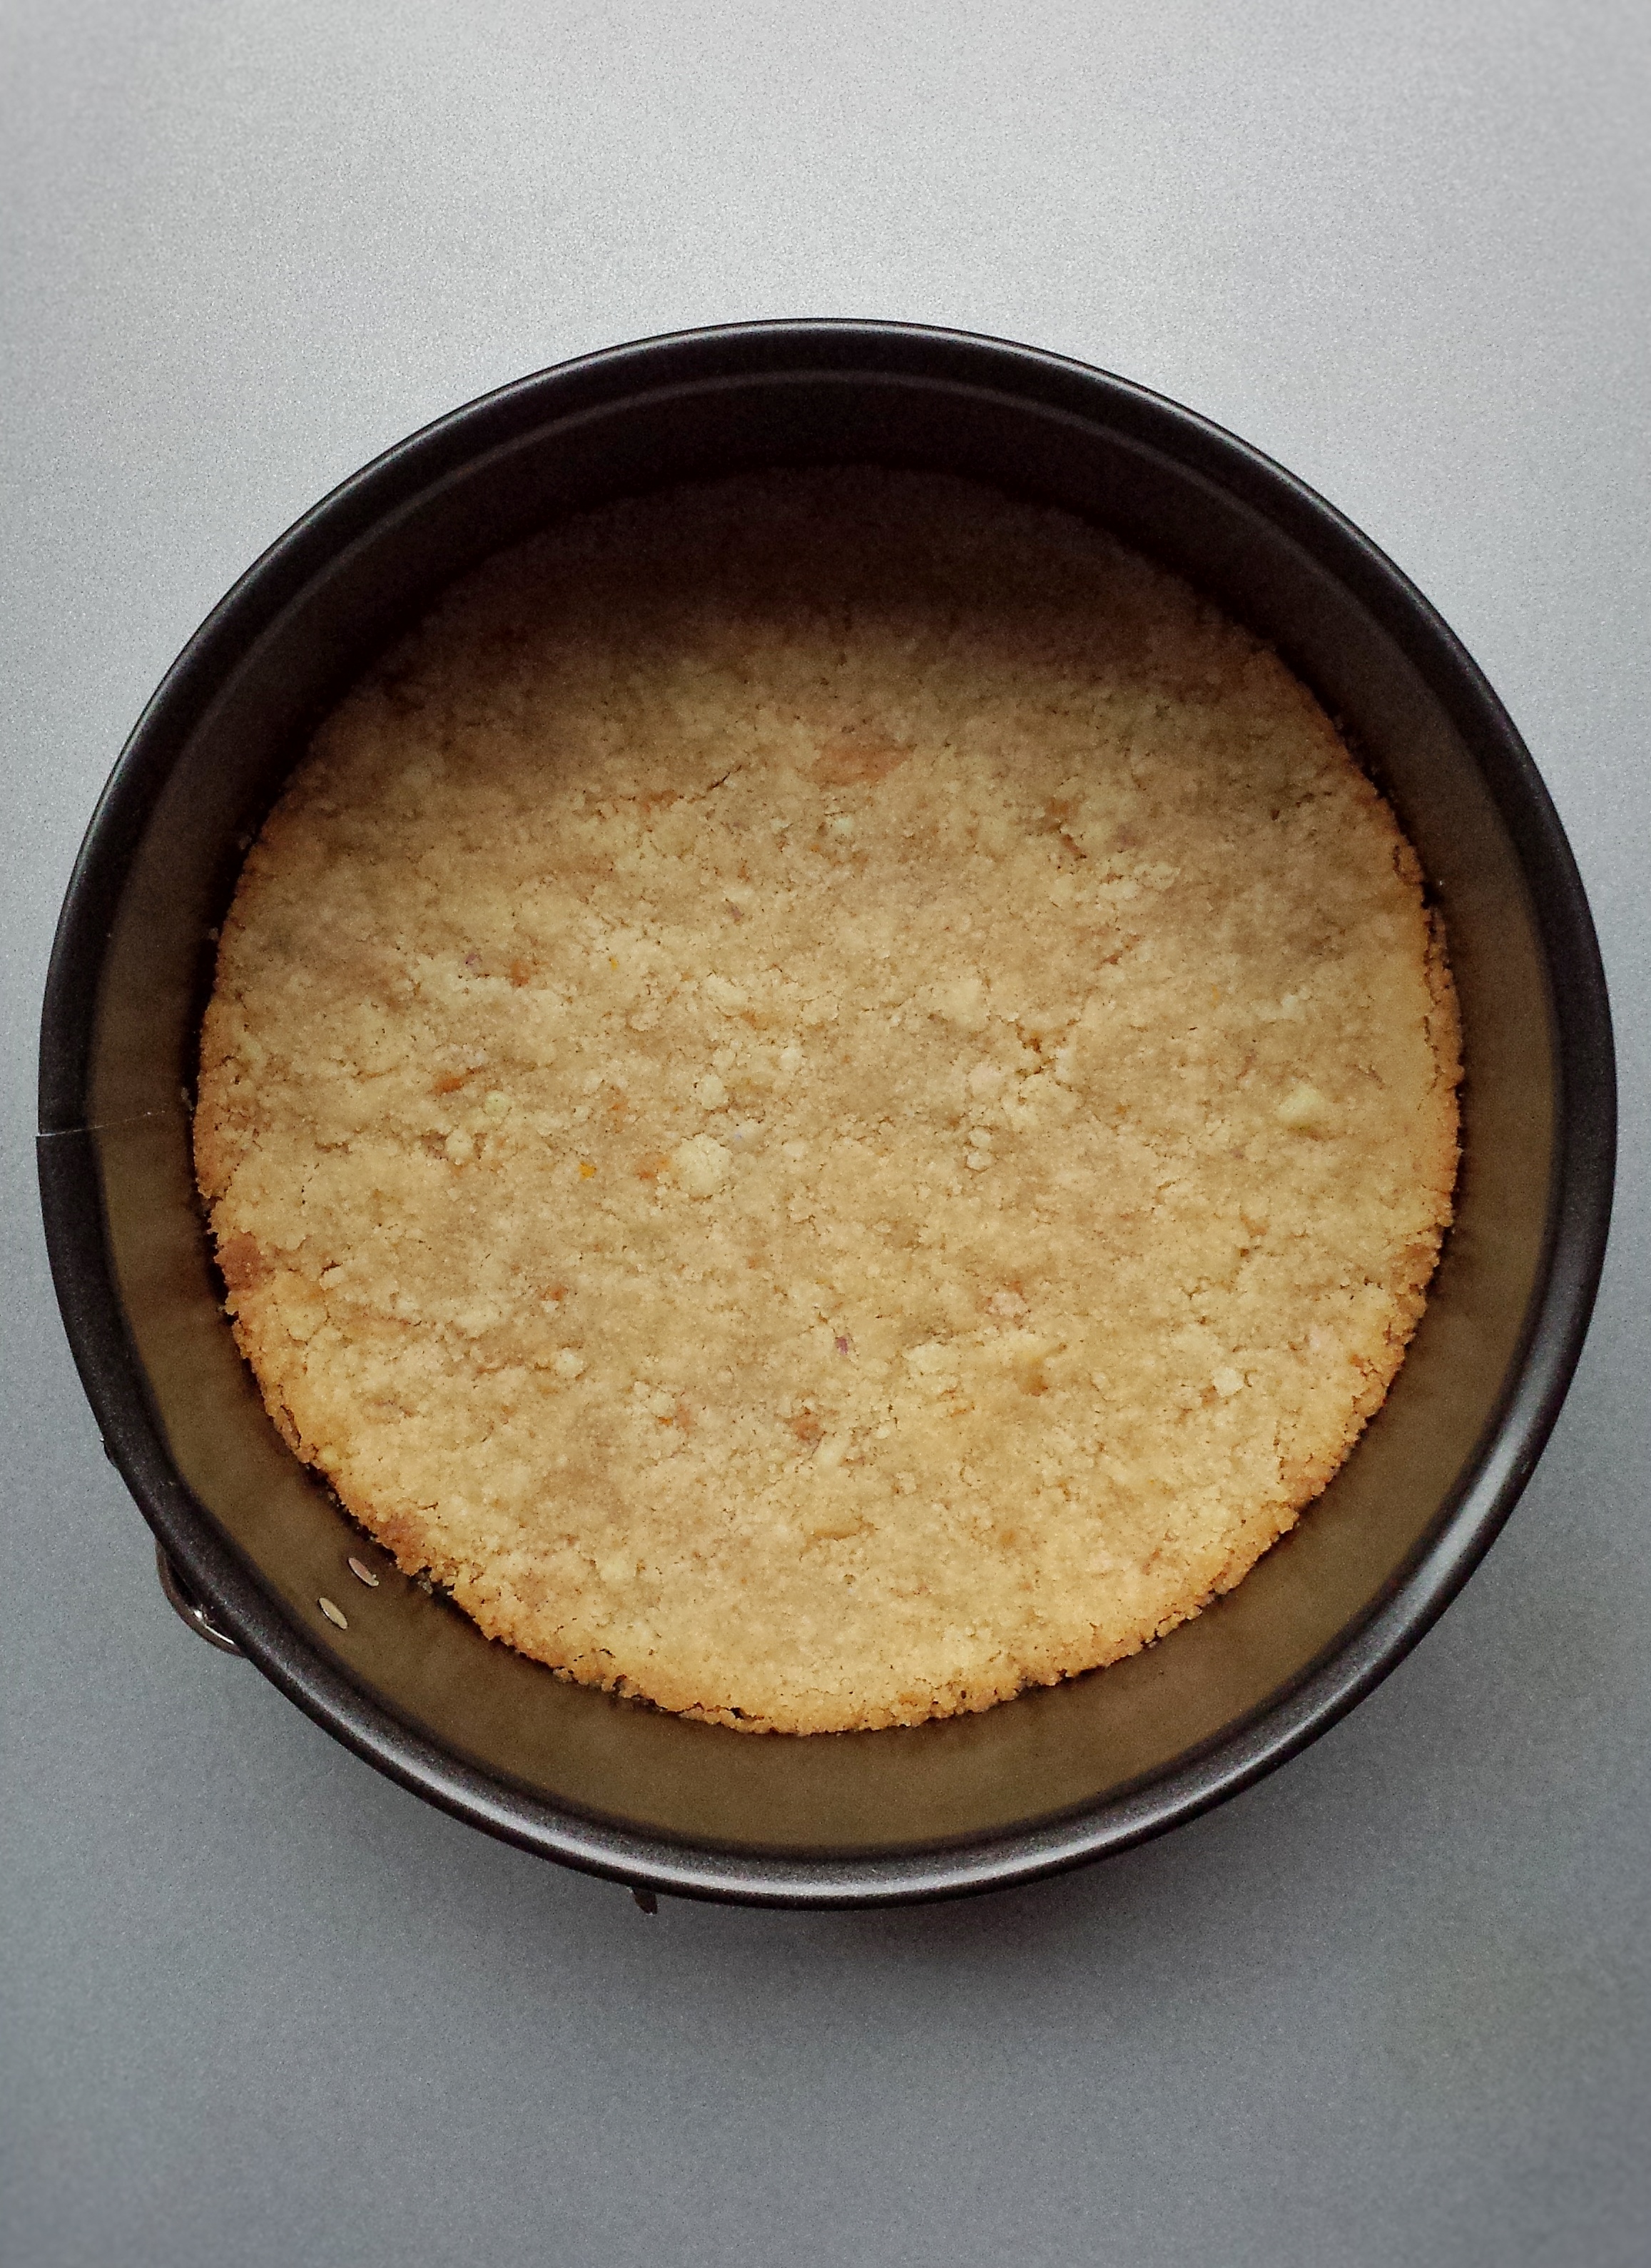
  1. Trim top of sheet cake with knife or wire cake cutter to about 1/2″ to 3/4″ thick
  2. Cut out individual cake using 3″ ring molds and place each, with the ring, on a small piece of parchment paper
  3. Pour mousse on top of cake and smooth with a spoon, do not fill to the top, leave some space for the ganache
  4. Refrigerate for at least 3-4 hours to set
  5. Prepare ganache when mousse is set

For the ganache

  • 90 g dark chocolate
  • 75 ml whipping cream
  • 2.5 ml pure vanilla extract
  1. Heat chocolate and whipping cream in the microwave for about 30 seconds (Since we only need a small amount of ganache, it’s easier to heat it up in the microwave)
  2. Stir until smooth, add vanilla and let cool
  3. Pour ganache on mousse cake and refrigerate for another 2 hours
  4. To serve, remove molds by using a kitchen torch and gently heat around rings or carefully run a warm knife or spatula around the cake
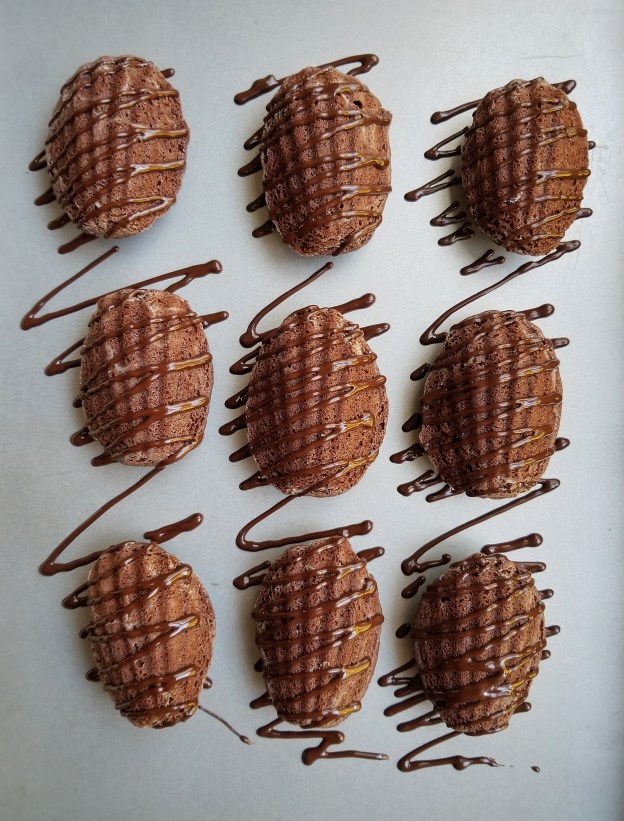
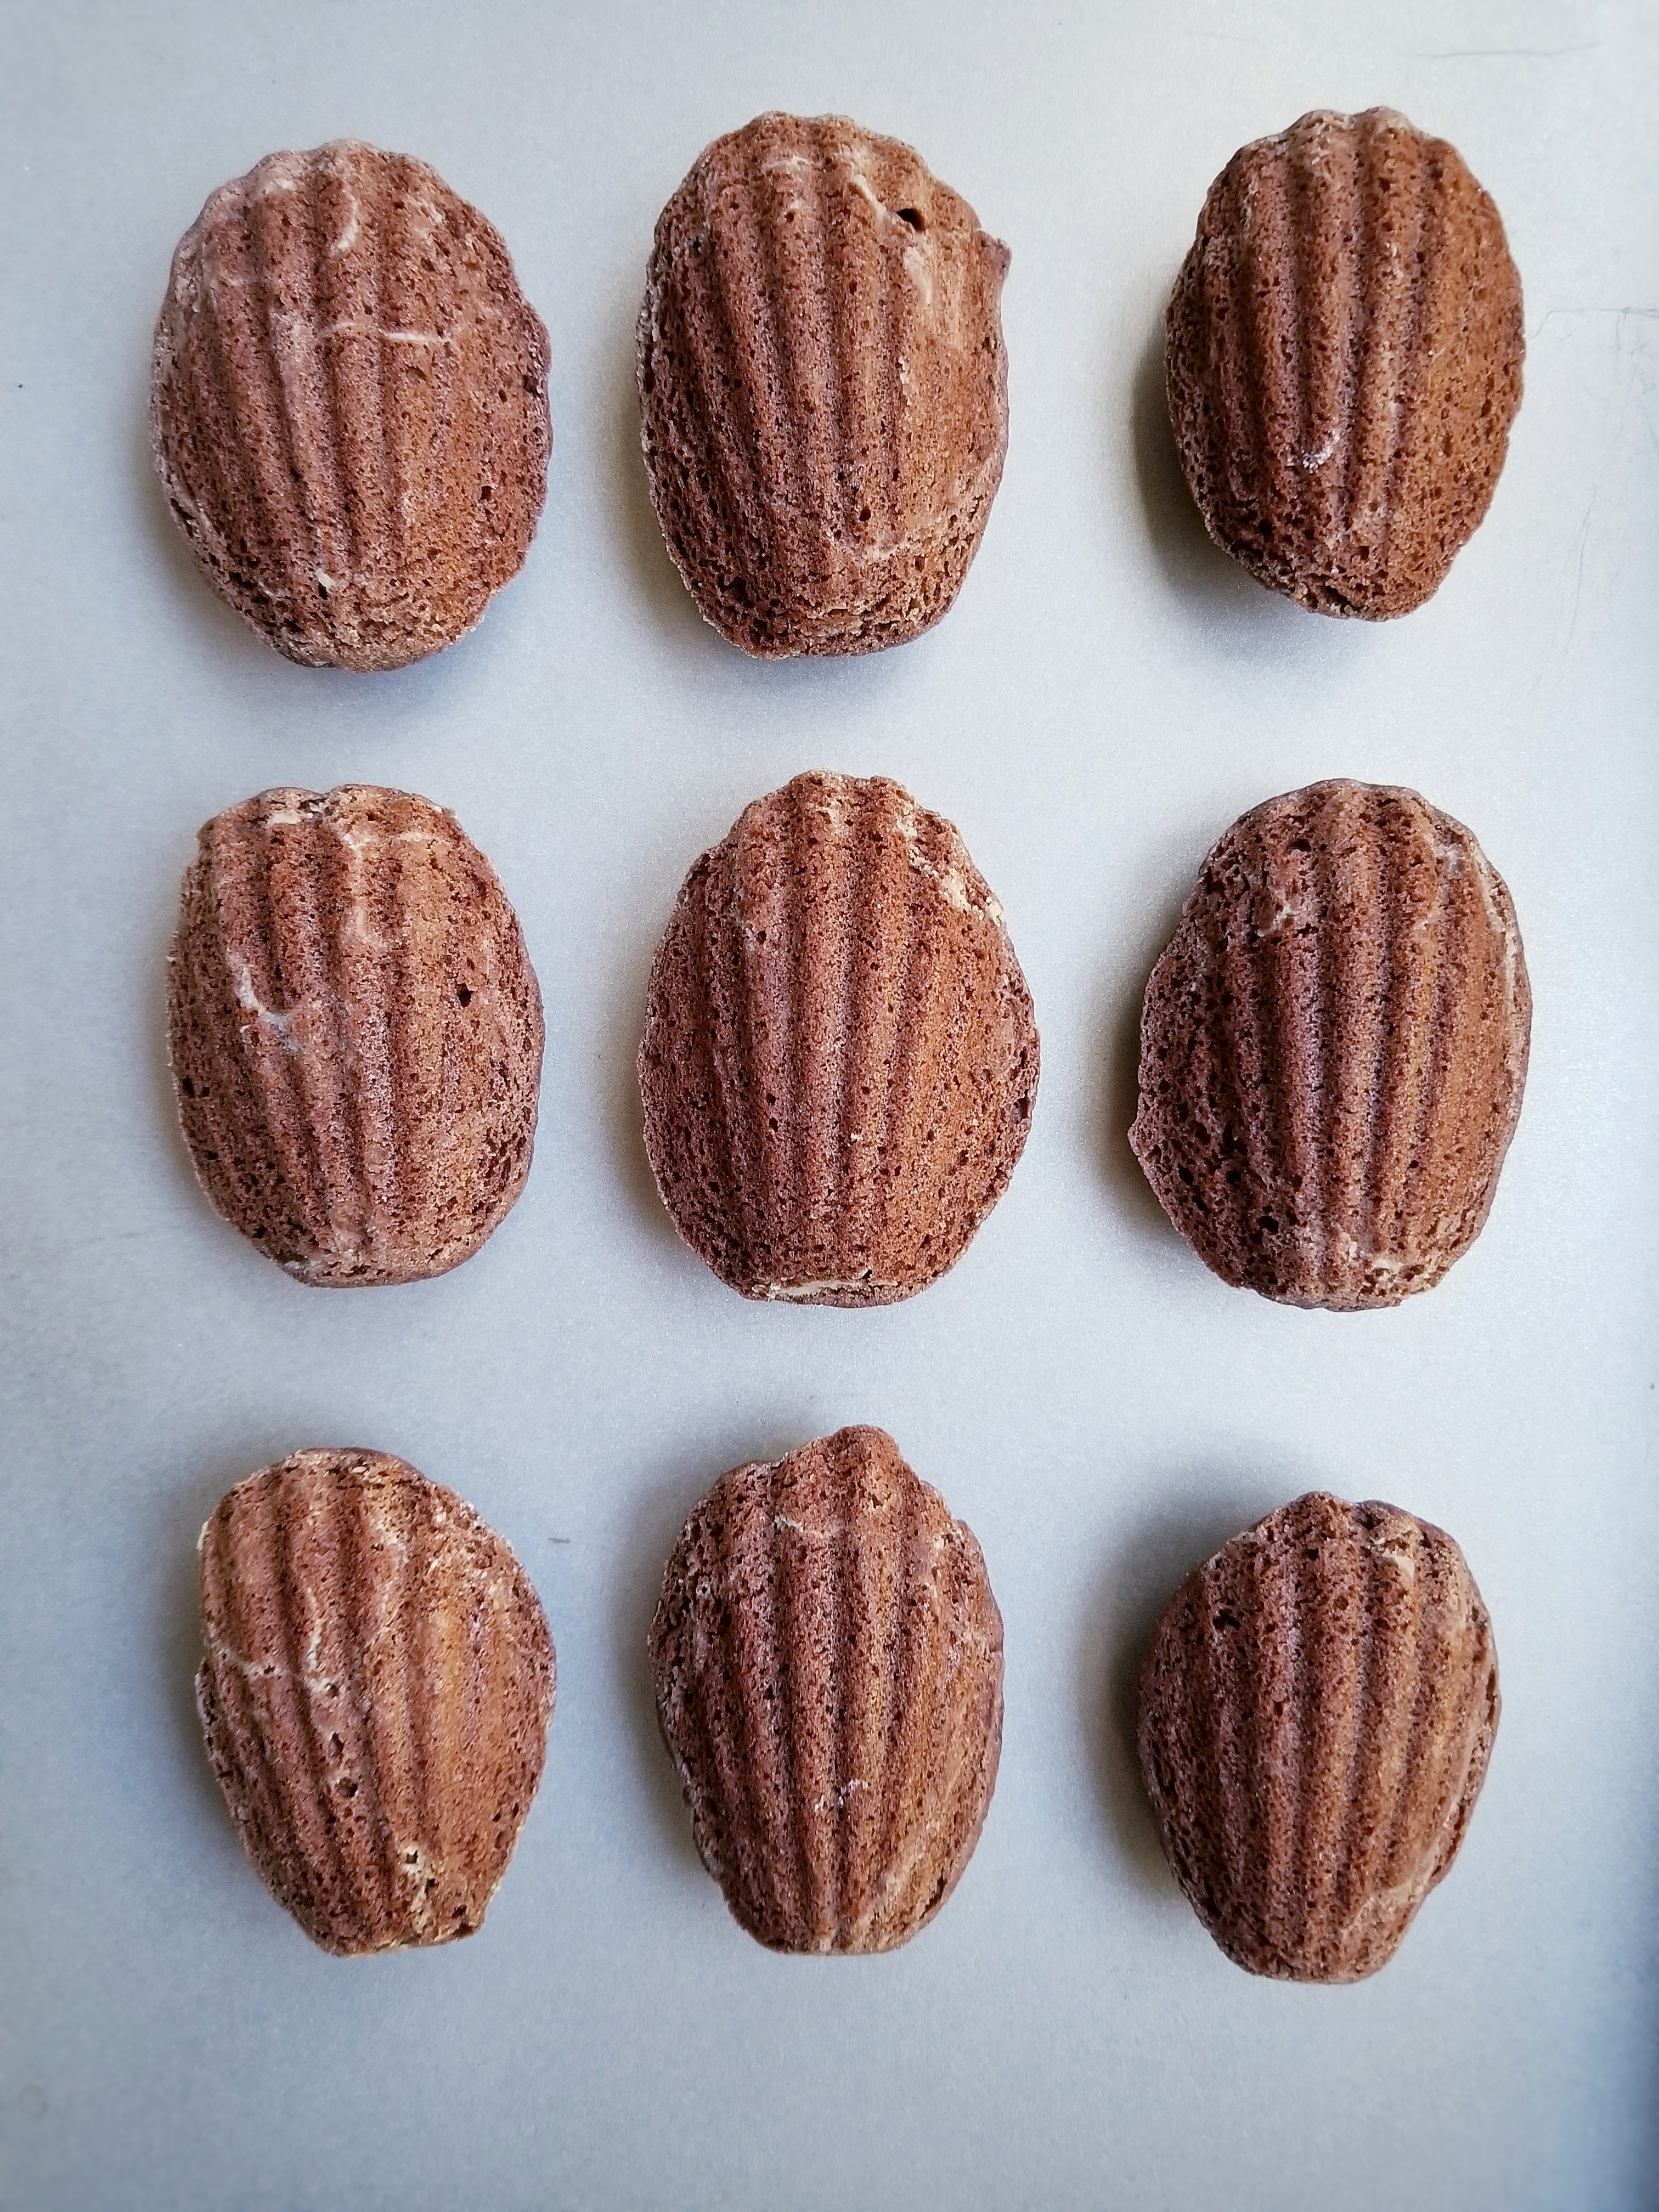
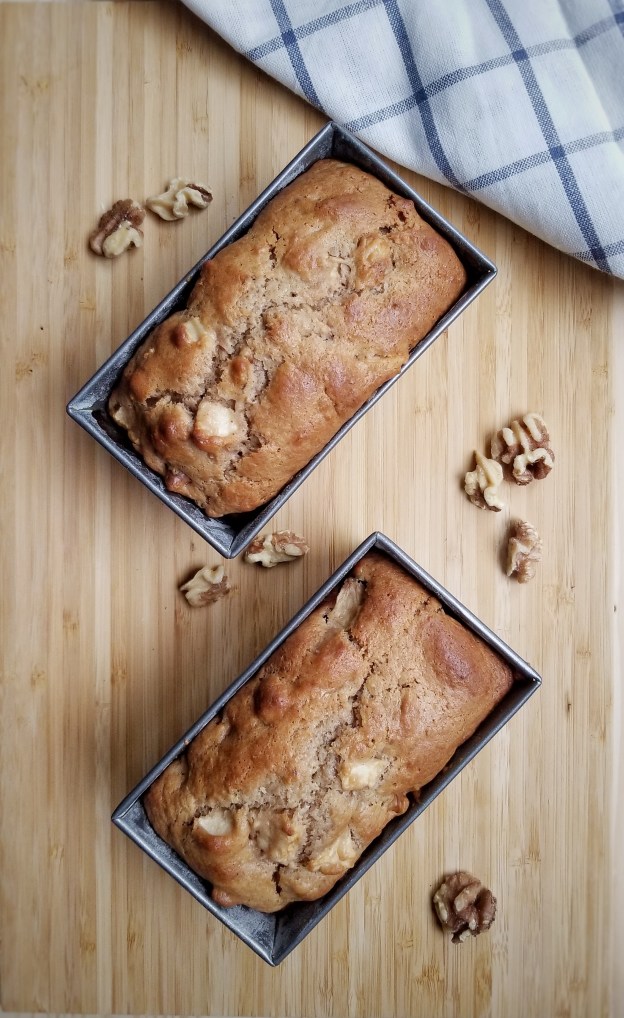
Advertisement

Orange Olive Oil Cake

The world has changed a lot over the past few months… It’s literally a whole new world. We are in the middle of a pandemic….staying home, social distancing, online schooling have all become the new normal. It is no doubt a very stressful time. Nevertheless, I think we are all doing our best and staying positive. I am very thankful that my family is keeping safe and healthy.

Because of the situation, my spring market got cancelled, but I am still baking a lot. Last month, my friends and I did a charity bake sale. We sold lots of cookies, cupcakes, brownies……The support was overwhelming! Together, we raised $1000 for the Vancouver Hospital Foundation COVID-19 Response Fund. A big thank you to everyone that donated.

More time at home also means more time to work on recipes! I have been wanting to make an olive oil cake for a while. My first time eating one was years ago at a little cafe and I loved it. It makes the cake soft and moist without leaving a strong taste. I used orange for this recipe, but I think lemon will work wonderfully as well.

Makes one 9.5 inch bundt cake

  • 150 g cake and pastry flour
  • 150 g all purpose flour
  • 6 g baking powder
  • 3 g baking soda
  • 2 g salt
  • 180 g sugar
  • 2 eggs
  • 180 mL extra virgin olive oil
  • 180 mL milk
  • 50 mL fresh orange juice
  • zest of a medium orange
  • 5 ml pure vanilla extract
  • 4 mL pure orange extract
  1. Pre-heat oven to 350° F
  2. Sift together flours, baking powder, baking soda and salt, set aside
  3. Beat together sugar and eggs until frothy, using an eletrical mixer or hand whisk
  4. Mix in olive oil, milk, orange juice, orange zest and extracts
  5. Gradually add flour mixture and mix until just cooperated
  6. Pour batter into a 9-inch non-stick bundt pan and bake for about 35 minutes (you can use any other cake pan, but baking time may have to be adjusted)
  7. Dust with icing sugar when cooled if desired

Chocolate Madeleines

Madeleines are buttery little cakes originated from France. These shell-like sweets are actually very easy to make. Of course, you will need a madeleine pan. The classic flavour is usually lemon. But as a chocolate lover and an avid baker, I am “obligated” to make some chocolate ones ! And (almost) everything is better with chocolate, right ? They may not be the most eye catching desserts, but they are absolutely delicious ! And I finally tempered my own chocolate! It’s much smoother and shinier !  Here is the recipe that I followed https://www.cordonbleu.edu/news/technique-tempering-chocolate/en . Again, it’s something that looks more difficult than it actually is.  All you need is a thermometer, good chocolate and some patience ! But trust me, it’s worth it ! 

Makes about 20-24 madeleines

  • 120 g unsalted butter + 30 g for greasing pan, melted
  • 60 g all-purpose flour
  • 90 g cake and pastry flour
  • 30 g unsweetened cocoa powder
  • 3 g baking powder
  • Pinch of salt
  • 180 g granulated sugar
  • 2 large eggs
  • 7.5 mL pure vanilla extract
  • melted dark chocolate for drizzles
  1. Melt 120 g of butter in a sauce pan or microwave, cool slightly 
  2. Sift together flours, cocoa powder, baking powder and salt, set aside 
  3. Whisk together eggs, sugar and vanilla until frothy 
  4. Fold flour mixture into egg mixture 
  5. Gently mix in melted and cooled butter, 2-3 tablespoons at a time until just blended 
  6. Cover and refrigerate for at least one hour or overnight 
  7. When ready to bake, prepare madeleine pan by melting about 30 g of butter in a sauce pan or microwave, cool slightly 
  8. Brush moulds with melted butter, coat with flour, tapping off excess
  9. Place coated pan in freezer for at least one hour
  10. Preheat oven to 375°F
  11. Drop about 1 tablespoon of batter into each mould without spreading it out
  12. Place madeleine pan on another large baking tray and bake for about 12 minutes 
  13. Cool in moulds for a few minutes then completely on rack 
  14. Drizzle with melted, tempered dark chocolate, best to consume within 2 days

Vanilla Cake with Blueberry Cream Cheese Frosting

Sorry! I was one day late for my Mother’s Day post ! Well, but I think we can treat our moms (and myself) any time of the year, and we should ! It doesn’t have to be just Mother’s Day, right ? This cake is very simple, and the blueberries give it a stunning, beautiful color that you don’t need to do much decorations ! I added some freeze-dried blueberries.  If you cannot find them, just add a little more puree to enhance the blueberry flavour. (Just a little otherwise the frosting may become watery). The cream cheese frosting is quite soft, so you should keep it in the fridge until serving. I use vanilla cake as I find it very versatile. You can pretty much pair it  with any flavour, berries, citrus, caramel, chocolate,etc. Once you have a good recipe, you are set and good to go. You can also use this recipe to make cupcakes, just decrease your baking time to about 18-20 minutes. 

I hope all moms had a good Mother’s Day yesterday ! I got a nice surprise from my daughter. She made me some Blueberry Chocolate Bark !  How sweet !

Makes one 6 inch cake

For the vanilla cake

  • 300 g cake and pastry flour
  • 6 g baking powder
  • 3 g baking soda
  • 2 g salt
  • 180 g granulated sugar
  • 2 eggs
  • 180 mL buttermilk
  • 120 mL milk
  • 10 mL pure vanilla extract
  • 100 g unsalted butter (melted)
  • 100 mL vegetable oil
  1. Preheat oven to 350ºF
  2. Line the bottom of two 6 inch round cake pans with parchment paper, lightly oil and flour the sides
  3. Sift together flour, baking powder, baking soda and salt, set aside
  4. Whisk together eggs and sugar until pale
  5. Mix in milk, buttermilk, vanilla, butter and oil (it’s ok if batter is lumpy, the butter may just be solidifying)
  6. Add the wet ingredients into the dry ingredients, mix until just cooperated.
  7. Pour batter into the cake pans and bake for about 40 minutes
  8. Cool completely  before assembling

Tips:

To keep the cake moist and evenly baked, you can bake them in a hot water bath. You can also use cake strips, which you soak in water for a few minutes, squeeze out excess, wrap it around the cake pans and bake.

For the frosting

  • 270 g unsalted butter (soften)
  • 225 g soft cream cheese
  • 120 g icing sugar
  • 45 g blueberry puree (store bought or homemade) 
  • 20 g freeze-dried blueberry powder (optional)
  1. To make the puree, blend fresh or frozen blueberries (you may need more than 45 g of whole blueberries) 
  2. To make the blueberry powder, grind freeze-dried blueberries with food processor until fine
  3. Beat together butter and cream cheese until smooth
  4. Sift in icing sugar, beat until light and smooth
  5. Add blueberry puree and powder, mix well
  6. Refrigerate until use

To assemble

  1.  Trip top of cakes to flatten
  2. Layer cakes with frosting in between
  3. Coat side and top of cake with more frosting
  4. Decorate as desired
  5. Keep in fridge until ready to serve


You can get the cake strips through the Amazon website by clicking the link below. I will receive a small compensation if you purchase the item. 


Wilton Bake Even Cake Strips, 2 Pieces

Lemon Coconut Muffins

My friends often ask me how I come up with recipe ideas. Most of the time is seasonal, like using berries in the summer and pumpkin in the fall. Sometimes it’s just sort of random and use whatever I have at home. The other day, I was cleaning up my pantry, I found a bag of shredded coconut, some coconut oil and a few leftovers that I’ve only used once or twice ! Then I remembered I had  some coconut milk in the fridge too ! (Wow…didn’t realize I love coconut so much…..) So, I came up with these very “coconuty” muffins ! I added some lemon juice and zest to add fresshness and balance the flavour, and I just love that golden crust on top ! So, if you have some extras lying around, don’t waste them ! Create your own recipes ! You may come up with something really delicious ! You never know !  

Makes about 8-10

  • 200 g all-purpose flour
  • 3 g baking powder
  • 3 g baking soda
  • pinch of salt
  • 1 egg
  • 100 g granulated sugar
  • 120 mL unsweetened coconut milk
  • 80 mL buttermilk
  • 60 mL coconut oil, melted and slightly cooled
  • 5 mL pure vanilla extract
  • 30 mL lemon juice
  • Zest of a small lemon
  • 30 g unsweetened shredded coconut + more to sprinkle on top
  1. Preheat oven to 350ºF
  2. Sift together flour, baking powder, baking soda and salt, side aside
  3. In a separate bowl, whisk together sugar and egg
  4. Mix in coconut milk, buttermilk, melted coconut oil, vanilla extract and lemon juice
  5. Add wet ingredients into dry ingredient, mix until just blended
  6. Stir in lemon zest and shredded coconut
  7. Spoon batter into muffin tins lined with lightly greased muffin cups, about 3/4 full
  8. Sprinkle top with more shredded coconut
  9. Bake for about 18-20 minutes

Mini Apple Walnut Loaves

When my kids were younger and were still in Scouts, we used to sell apples to raise money every September. It takes quite a bit of courage for a 6 and a 9-year-old to go up to strangers and ask for donations. It was such a good experience and I was so proud of them. Now that their interests have changed and we are no longer in Scouts, I really miss those years of fund-raising, camping, hiking and all the other activities that we have done….  

Fall is the apple season and there are so many different kinds of apple. Gala is my favourite ! It’s not too big, it’s sweet and has the perfect texture for eating or baking. And I made these mini loaves with walnuts the other day. They taste best when warm….and even better with a scoop of vanilla ice-cream ! I like to make them in mini loaves as you don’t need to bake them as long and can freeze them very easily for later.  

Makes 4 mini loaves (dimensions of pans: 5.75 x 3.25 x 2.25 inches)

  • 360 g all-purpose flour
  • 10 g baking powder
  • 4 g baking soda
  • 2 g salt
  • 3 g ground cinnamon
  • 100 g granulated sugar
  • 100 g demerara or brown sugar
  • 2 eggs
  • 180 mL vegetable oil
  • 150 g sour cream
  • 10 mL pure vanilla extract
  • 400 g diced apples, about 3-4 apples (I used Gala, washed, peeled and cored)
  • 120 g coarsely chopped walnuts
  1. Preheat oven to 350°F
  2. Lightly oiled and floured 4 mini loaf pans
  3. Sift together flour, baking powder, baking soda, salt and cinnamon, set aside
  4. Whisk together eggs and sugars until frothy, mix in oil, vanilla and sour cream
  5. Add wet ingredients into dry ingredients, mix until just cooperated
  6. Stir in apples and walnuts
  7. Pour batter into 4 loaf pans and bake for about 35-40 minutes


Tools that I used 

Chicago Metallic 59440 Commercial II Non-Stick Mini Loaf Pans, Set of 4

You can get the mini loaf pans through the Amazon website by clicking the above link. I will receive a small compensation if you purchase the item. 

Strawberry Mousse Cake

I first made this cake for my son’s 13th birthday last year. He specifically wanted a strawberry cake. It came out alright…but the cake was slightly dry and the mousse layer was too thick…..

My son’s birthday cake

I have been wanting to remake and “upgrade” it ever since, but never had a chance. It’s Mother’s Day, so I thought this is the perfect time! I added a jelly glaze on top to brighten both the colour and flavour. Each of the three layers has a different texture but they match very well together. It looks much prettier than last time too! I can now share it with my mom and my family. Happy Mother’s Day to all our moms! I wonder what my kids are doing to surprise me this year…….

Makes one 6 inch cake

For the cake

  • 2 eggs, separated
  • 75 g granulated sugar
  • 75 g cake and pastry flour, sifted
  • 2 g baking powder
  • 1 g salt
  • 5 mL pure vanilla extract
  • 5 mL fresh lemon juice
  • 30 mL vegetable oil

For the mousse and jelly glaze

  • 400 g fresh strawberries, washed and hulled
  • 160 g granulated sugar
  • 10 mL fresh lemon juice
  • 250 mL cold whipping cream
  • 4 x 1 g gelatin sheets

To make the cake

  1. Preheat oven to 350°F
  2. Sift together flour, baking powder and salt, set aside
  3. Whisk together egg yolks and 60 g of sugar until pale
  4. Mix in vanilla and oil, then gently fold in flour mixture
  5. In a separate bowl, make a meringue by whisking together egg whites and lemon juice until frothy
  6. Slowly add in 15 g of sugar, whisk until medium peak
  7. Gently fold meringue into flour mixture
  8. Pour batter into a lightly-greased 6 or 7 inch cake pan, lined with parchment paper at the bottom (see notes)
  9. Bake for about 20 minutes
  10. Let cool, then trim top and side of cake

Notes : I baked my cake in a 7 inch springform pan and trimmed it to fit into a 6 inch cake ring. You can just bake and assemble your cake in the same pan.

To make the mousse and jelly glaze

  1. For the mousse, place a large mixing bowl in the freezer for about 15 minutes
  2. Soak 3 gelatin sheets (1 g each) in cold water for a few minutes
  3. Blend strawberries and strain seeds out through a mesh
  4. Add sugar and lemon juice, and cook over medium heat until sugar is dissolved
  5. Set aside half of the puree for the glaze
  6. Drained gelatin and add to remaining puree, stir until dissolved, let cool
  7. Whisk whipping cream in the cold mixing bowl until stiff peak
  8. Fold in strawberry gelatin mixture until just blended
  9. Pour on top of cake, smooth with a spatula and refrigerate for at least 3-4 hours until set
  10. For the jelly glaze, soak 1 gelatin sheet in cold water for a few minutes
  11. Reheat the saved strawberry puree over medium heat
  12. Add drained gelatin and stir until dissolved
  13. Let cool, pour on top of mousse layer and refrigerate for another 3-4 hours until set
  14. Release cake from pan or ring and decorate as desired

Coffee Cake Muffins 

The past month has been super busy! Kids were on spring break, we went for a mini vacation to Portland with my parents. I came back to start a new pharmacy job, meanwhile trying to prepare for 3 Spring markets….. I was basically working 14-16 hours a day! It was exhausting but I had so much fun doing the markets. I love to share my baking passion and people’s responses are very positive and encouraging. I also love meeting and talking to other artisan vendors. It makes me really appreciate the time and effort that they put into their art, whether it’s food related or not. So go visit your local artisan markets and I am sure you will discover some very amazing local vendors and their products.

This is a recipe I did a while ago. I usually try to have one or two “spare” recipes so I can keep posting when I am busy. It’s a very simple muffin recipe but the crumble makes them taste so good! It’s a perfect afternoon snack with a cup of coffee! And definitely need it on my 16 hour-day!

Makes about 12 

For the muffins

  • 360 g all-purpose flour
  • 10 g baking powder
  • 4 g baking soda
  • 2 g salt
  • 200 g granulated sugar
  • 180 g unsalted butter, melted
  • 60 mL canola oil
  • 2 eggs, lightly beaten
  • 300 g sour cream
  • 10 mL pure vanilla extract

For the crumble

  • 60 g demerara or brown sugar
  • 90 g all-purpose flour
  • 2 g ground cinnamon
  • Pinch of salt
  • 60 g cold unsalted butter, cut into small pieces
  1. Preheat oven to 350°F
  2. To make the crumble, mix together flour, brown sugar, cinnamon and salt
  3. Rub in cold butter with fingers until resemble wet sand, set aside
  4. To make the batter, sift together flour, baking powder, baking soda
  5. Mix in sugar and salt
  6. Add eggs, vanilla, sour cream, melted butter and oil, stir until just blended
  7. Spoon half of the batter, then half of the crumble into lightly oiled and floured muffin tins
  8. Layer with the remaining halves
  9. Bake for about 25 minutes

Recipe adapted from Sour Cream Coffee Cake Muffins with Streusel Topping at www.justataste.com

Funfetti Cheesecake 

Can’t believe 2017 is almost over ! It has been a fun and eventful year for me ! I have tried a number of new things…..I did a 10K run (and I actually ran the whole 10K, not walking !) I did two Christmas markets, selling my cookies for the very first time…..I have also injured my feet (plantar fasciitis) and I am not sure when they will completely healed….but oh well, that’s an age thing too, I guess……But overall, I think I had more good than bad this year ! I hope 2018 will be even better, I already have many plans in my mind ! Hope yours will be a prosperous one too ! 

Here is a fun cake to make for New Year ! Funfetti Cheesecake ! I added some rainbow sprinkles to a basic cheesecake recipe and used shortbread cookies for the crust. I baked the cheesecake in a hot water bath to prevent the cake from cracking….Hope you’ll enjoy it and have a fun New Year ! 

Makes one 6-inch cake

For the crust 

  • 150 g shortbread cookie crumbs (you can use any cookies of your choice)
  • 45 g unsalted butter, melted 

For the filling 

  • 500 g light cream cheese, softened 
  • 180 g granulated sugar 
  • 2 eggs
  • 30 g all-purpose flour 
  • 7.5 mL pure vanilla extract 
  • 25 g rainbow sprinkles

Extra sprinkles and whipped cream for decorating if needed 

  1. To make the crust, mix cookie crumbs and melted butter together 
  2. Press firmly onto bottom of a 6-inch springform pan lined with parchment paper 
  3. Bake for about 8 minutes, cool slightly 
  4. To make the filling, beat together cream cheese and sugar until smooth using an electric mixer 
  5. Add eggs, flour and vanilla, mix until blended 
  6. Fold in sprinkles 
  7. Pour into pan, smooth with a spatula and bake in a hot water bath for 50-60 minutes. You can wrap the bottom of the pan with aluminum foil to prevent seepage 
  8. Cool completely, then refrigerate 
  9. When ready to serve, remove cake from pan, decorate with whipped cream and more sprinkles 


Halloween Monster Cupcakes 

I used to make my kids’ Halloween costumes when they were younger….fairy, witch, Thomas the Tank Engine, Ash from Pokemon, etc. Even though they don’t fit anymore, I still keep them in a box ! Maybe I am collecting too much “junk”, but they really brought back a lot of fond memories…..This year my daughter wants to be a grim reaper again, but scarier than the last two years. Yes, you read it right, it’s my daughter, not my son, and for the third time ! This was her on Halloween night two years ago ! She was only 8 ! Most 8-year-old girls would probably want to be a princess or a fairy, well….. not my girl ! 

Me? I am just going to make monster cupcakes ! These chocolate cupcakes with vanilla butter cream taste really yummy and are not scary at all ! They actually look quite adorable ! Happy Halloween ! 

Makes about 18-20 cupcakes 

For the chocolate cupcakes

  • 150 g all-purpose flour 
  • 150 g cake and pastry flour 
  • 50 g unsweetened cocoa powder 
  • 6 g baking powder 
  • 3 g baking soda 
  • 3 g salt 
  • 200 g granulated sugar 
  • 2 eggs, lightly beaten 
  • 180 mL buttermilk 
  • 60 mL vegetable oil 
  • 5 mL pure vanilla extract 
  • 180 mL boiling water 

For the butter cream frosting 

  • 240 g unsalted butter 
  • 480 g icing sugar, sifted 
  • 5 mL pure vanilla extract 
  • 30 -60 mL milk 
  • Gel food colouring 

You will also need candy melts, licorice sticks, candy eyeballs, etc for decoration

  1. To make the cupcakes, preheat oven to 350ºF
  2. In a large mixing bowl, sift together flours, cocoa powder, baking powder, baking soda and salt 
  3. Mix in sugar
  4. In another bowl, mix together eggs, buttermilk, oil and vanilla 
  5. Pour wet ingredients (except boiling water) into dry ingredients, mix until just blended 
  6. Gradually stir in boiling water, 3-4 tablespoons at a time, until just combined, batter will be runny 
  7. Pour into slightly greased cupcake cups and bake in tins for about 16-18 minutes 
  8. Cool completely before frosting 
  9. To make the frosting, use an electric mixer with the paddle attachment, start creaming butter 
  10. Gradually add in icing sugar, beat until fluffy
  11. Add vanilla, then milk, a little at a time, to desired consistency 
  12. Separate into batches, add gel food colourings
  13. Decorate cupcakes as desired 

Keep in refrigerator if not consume right away