Tag Archives: sweets

Chocolate Madeleines

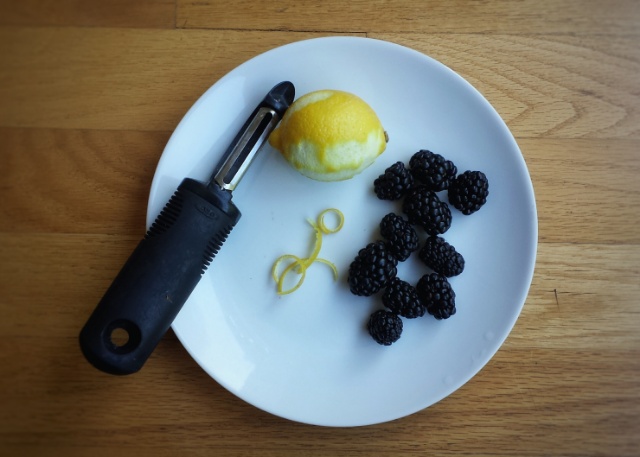
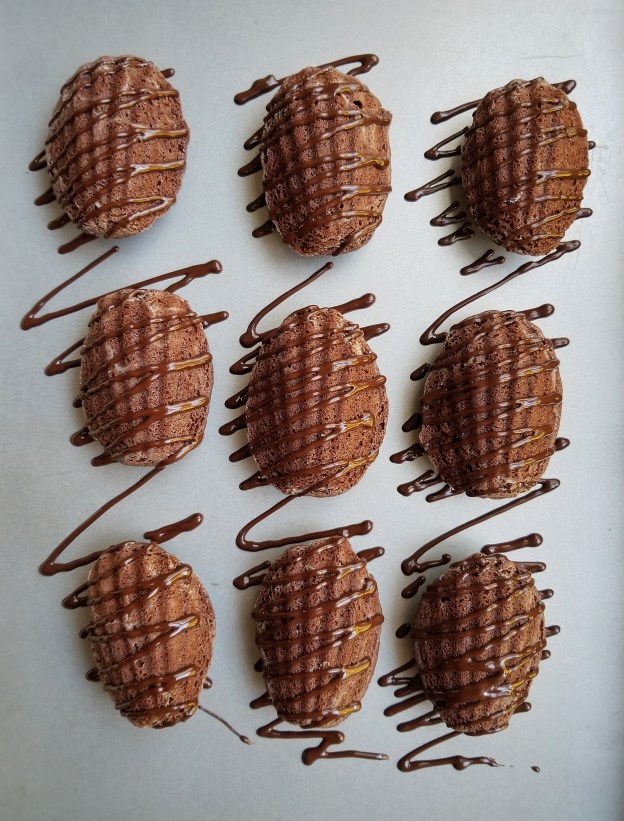
Madeleines are buttery little cakes originated from France. These shell-like sweets are actually very easy to make. Of course, you will need a madeleine pan. The classic flavour is usually lemon. But as a chocolate lover and an avid baker, I am “obligated” to make some chocolate ones ! And (almost) everything is better with chocolate, right ? They may not be the most eye catching desserts, but they are absolutely delicious ! And I finally tempered my own chocolate! It’s much smoother and shinier !  Here is the recipe that I followed https://www.cordonbleu.edu/news/technique-tempering-chocolate/en . Again, it’s something that looks more difficult than it actually is.  All you need is a thermometer, good chocolate and some patience ! But trust me, it’s worth it ! 

Makes about 20-24 madeleines

  • 120 g unsalted butter + 30 g for greasing pan, melted
  • 60 g all-purpose flour
  • 90 g cake and pastry flour
  • 30 g unsweetened cocoa powder
  • 3 g baking powder
  • Pinch of salt
  • 180 g granulated sugar
  • 2 large eggs
  • 7.5 mL pure vanilla extract
  • melted dark chocolate for drizzles
  1. Melt 120 g of butter in a sauce pan or microwave, cool slightly 
  2. Sift together flours, cocoa powder, baking powder and salt, set aside 
  3. Whisk together eggs, sugar and vanilla until frothy 
  4. Fold flour mixture into egg mixture 
  5. Gently mix in melted and cooled butter, 2-3 tablespoons at a time until just blended 
  6. Cover and refrigerate for at least one hour or overnight 
  7. When ready to bake, prepare madeleine pan by melting about 30 g of butter in a sauce pan or microwave, cool slightly 
  8. Brush moulds with melted butter, coat with flour, tapping off excess
  9. Place coated pan in freezer for at least one hour
  10. Preheat oven to 375°F
  11. Drop about 1 tablespoon of batter into each mould without spreading it out
  12. Place madeleine pan on another large baking tray and bake for about 12 minutes 
  13. Cool in moulds for a few minutes then completely on rack 
  14. Drizzle with melted, tempered dark chocolate, best to consume within 2 days

Advertisement

Mango Pudding 

Mango Pudding ! One of my favourite Asian desserts and it’s surprisingly easy to make ! Many recipes that I found use mango-flavoured jello, but I think it tastes much better with fresh mango puree and it has no artificial colours or flavours. The two common types of mango that are seen in grocery stores here in Vancouver are Haden and Atualfo. Haden has bright orange and yellow colour and is more round in shape. Ataulfo, which I used, is yellow and skinnier. You can use either type for the pudding, I am just more used to Ataulfo. One fun thing about making pudding is you can make it into any shape you want ! Put it in a fancy glass like I did, or in some flower-shaped silicone moulds. It makes a nice dessert for summer or any parties ! Enjoy !

  • 200 g fresh mango, pitted and diced (about 2 medium-sized mangoes)
  • 240 mL whipping cream
  • 1 envelope of gelatin powder (7 g)
  • 150 mL water (50 mL cold, 100 mL boiling)
  • 60 g granulated sugar (adjust to taste)
  1. Puree mangoes and press through a fine mesh with a spatula
  2. Mix puree into whipping cream until blended, set aside
  3. Put gelatin powder in about 50 mL of cold water to bloom
  4. Dissolve sugar in 100 mL of boiling water
  5. Add bloomed gelatin to sugar-water, stir until all dissolved then let cool to room temperature
  6. Mix together mango mixture and gelatin mixture
  7. Pour into desired containers and refrigerate until set

Eisenbahner (Railroad) Cookies 

This is a cookie that I learned at my pastry course earlier this year. It was one of my favourites. It’s beautiful, festive, delicious and has a cool name! It looks like a railroad track, hence the name Eisenbahner, which means railroad man in German. When I did a google search, almost all the recipes for this cookie are in German. So, I think it’s a great idea to share this in our Canadian Food Creatives and the Canadian Christmas Cookie Exchange round-up. There are 3 parts to this cookie, the base, the marzipan paste and the jam. Yes, it may seem a little complicated, but it’s definitely worth all the work. Hope you enjoy the ride !

Makes about 12 cookies

For the cookie base

  • 120 g cold unsalted butter
  • 60 g granulated sugar
  • 1 egg yolk
  • 170 g cake and pastry flour

For the marzipan paste and jam 

  • 200 g marzipan
  • 20 g unsalted butter, softened
  • 30 g icing sugar
  • 30 g honey
  • 1 egg white
  • 100 g raspberry jam (You want the jam to be hot and runny, so you can put it in a bowl and sit in a hot water bath for a few minutes before using)
  1. To make the cookie base, mix together cold butter and sugar using a wooden spoon until no more lumps
  2. Add egg yolk, mix until blended
  3. Add flour all at once, mix then transfer onto a table or counter and gently knead dough together (do not overmix, just work until ingredients are mixed in)
  4. Wrap with plastic wrap, refrigerate for at least 2-3 hours or overnight
  5. To make the marzipan paste, mix together marzipan, softened butter, icing sugar and honey into a thick paste (I found it easier to mix them with hands)
  6. Add egg white, mix until it has a stiff piping consistency (it looks like mash potato and you may not need the whole egg white)
  7. Put in piping bag with a star tip
  8. When ready to bake, preheat oven to 325ºF
  9. Take dough out from fridge and knead gently on a floured surface until pliable
  10. Roll it flat, about 0.3 cm in thickness (it’s OK if it cracks a little, just patch it back together)
  11. Cut into two 6 cm x 25 cm rectanglesEisenbahner (Railroad) Cookies
  12. Bake on a cookie sheet lined with parchment paper until edges just starting to brown, about 8 minutes
  13. Cool, then brush a thin layer of hot jam in between the 2 sheets 
  14. Pipe marzipan paste along edgesEisenbahner (Railroad) Cookies
  15. Turn oven up to 425-450ºF at broiler setting
  16. Bake 2-3 minutes just to caramelize the marzipan paste (watch closely, as it can burn very quickly)
  17. Cool, then fill centre with hot jamEisenbahner (Railroad) Cookies
  18. Cool completely, cut into pieces, dust with icing sugarEisenbahner (Railroad) Cookies

Original recipe by Chef Marco Ropke at the Vancouver Pastry Training Centre.

Be sure to check out the links below for more cookie recipes from other Canadian Bloggers.  You can also find them on social media using the hashtag #CDNFoodCreatives . Many thanks to Laura Irvin at The Blue Nose Baker , Kacey Joanette at The Cookie Writer and Evelyne Budkewitsch at The Cultureatz for organizing.

cookie-collage-final.jpg.jpeg

Lemon Panna Cotta with Blackberry Sauce

This is one of the desserts that my daughter and I would “fight” to have the last bite…. and of course mommy always “loses” 🙂 I love the blackberry sauce, it’s refreshing and it helps to balance the richness of the panna cotta.  If you have left over sauce, you can use it as a spread on you toast, pancakes or waffles.

Makes about 4 servings

For the panna cotta

  • 1+1/2 cups whipping cream
  • 1/2 cup milk
  • 1/3 cup granulated sugar
  • zest of 1 lemon
  • 2 tablespoons lemon juice
  • 1 envelope or tablespoon unflavoured gelatin

For the blackberry sauce

  • 12 ounces fresh blackberries
  • 4 tablespoons granulated sugar
  • 2 tablespoons water
  1. Sprinkle gelatin over lemon juice and let sit for a few minutes (it will form a block of jelly, which is fine)
  2. Heat together whipping cream, milk, sugar and lemon zest in a non-stick pot over medium heat until sugar all dissolved and just starting to bubble, turn heat down to low 
  3. Add gelatin mixture
  4. Stir until gelatin all dissolved
  5. Strain through a fine mesh twice
  6. Pour into lightly greased ramekins or desired containers
  7. Let cool and refrigerate until set, at least 3 hours or overnight
  8. Prepare blackberry sauce by heating up blackberries, sugar and water in a non-stick pot over medium heat
  9. Turn heat down to low when liquid starts to bubble
  10. Gently mash blackberries with a wooden spoon, cook until thickened
  11. Strain seeds and skin out, let cool
  12. When panna cotta is set, dip bottom of ramekins in hot water for about 10 seconds, then run a knife around ramekins, invert gently on plates (Alternatively, you can just serve them inside the ramekins)
  13. Serve with blackberry sauce

img_20160508_163931.jpg