Tag Archives: recipes

Cookies and Cream Ice Cream

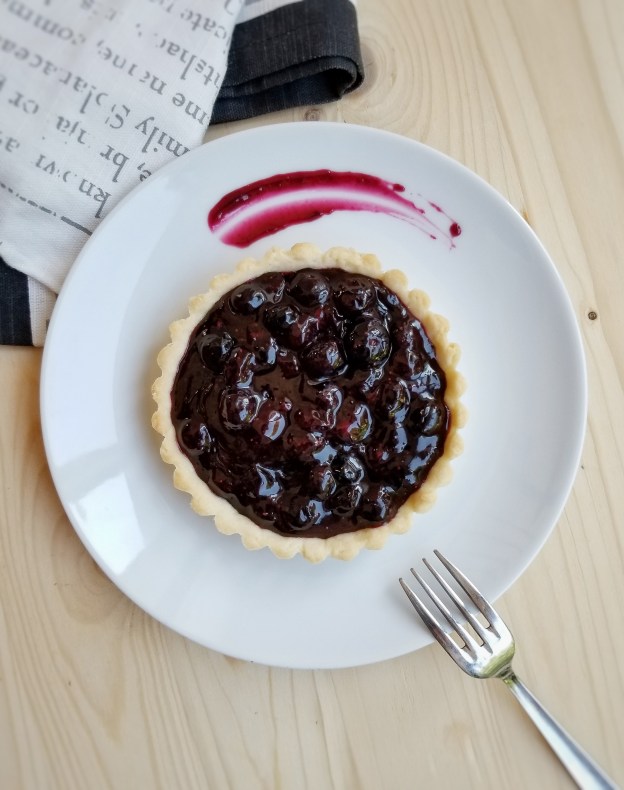
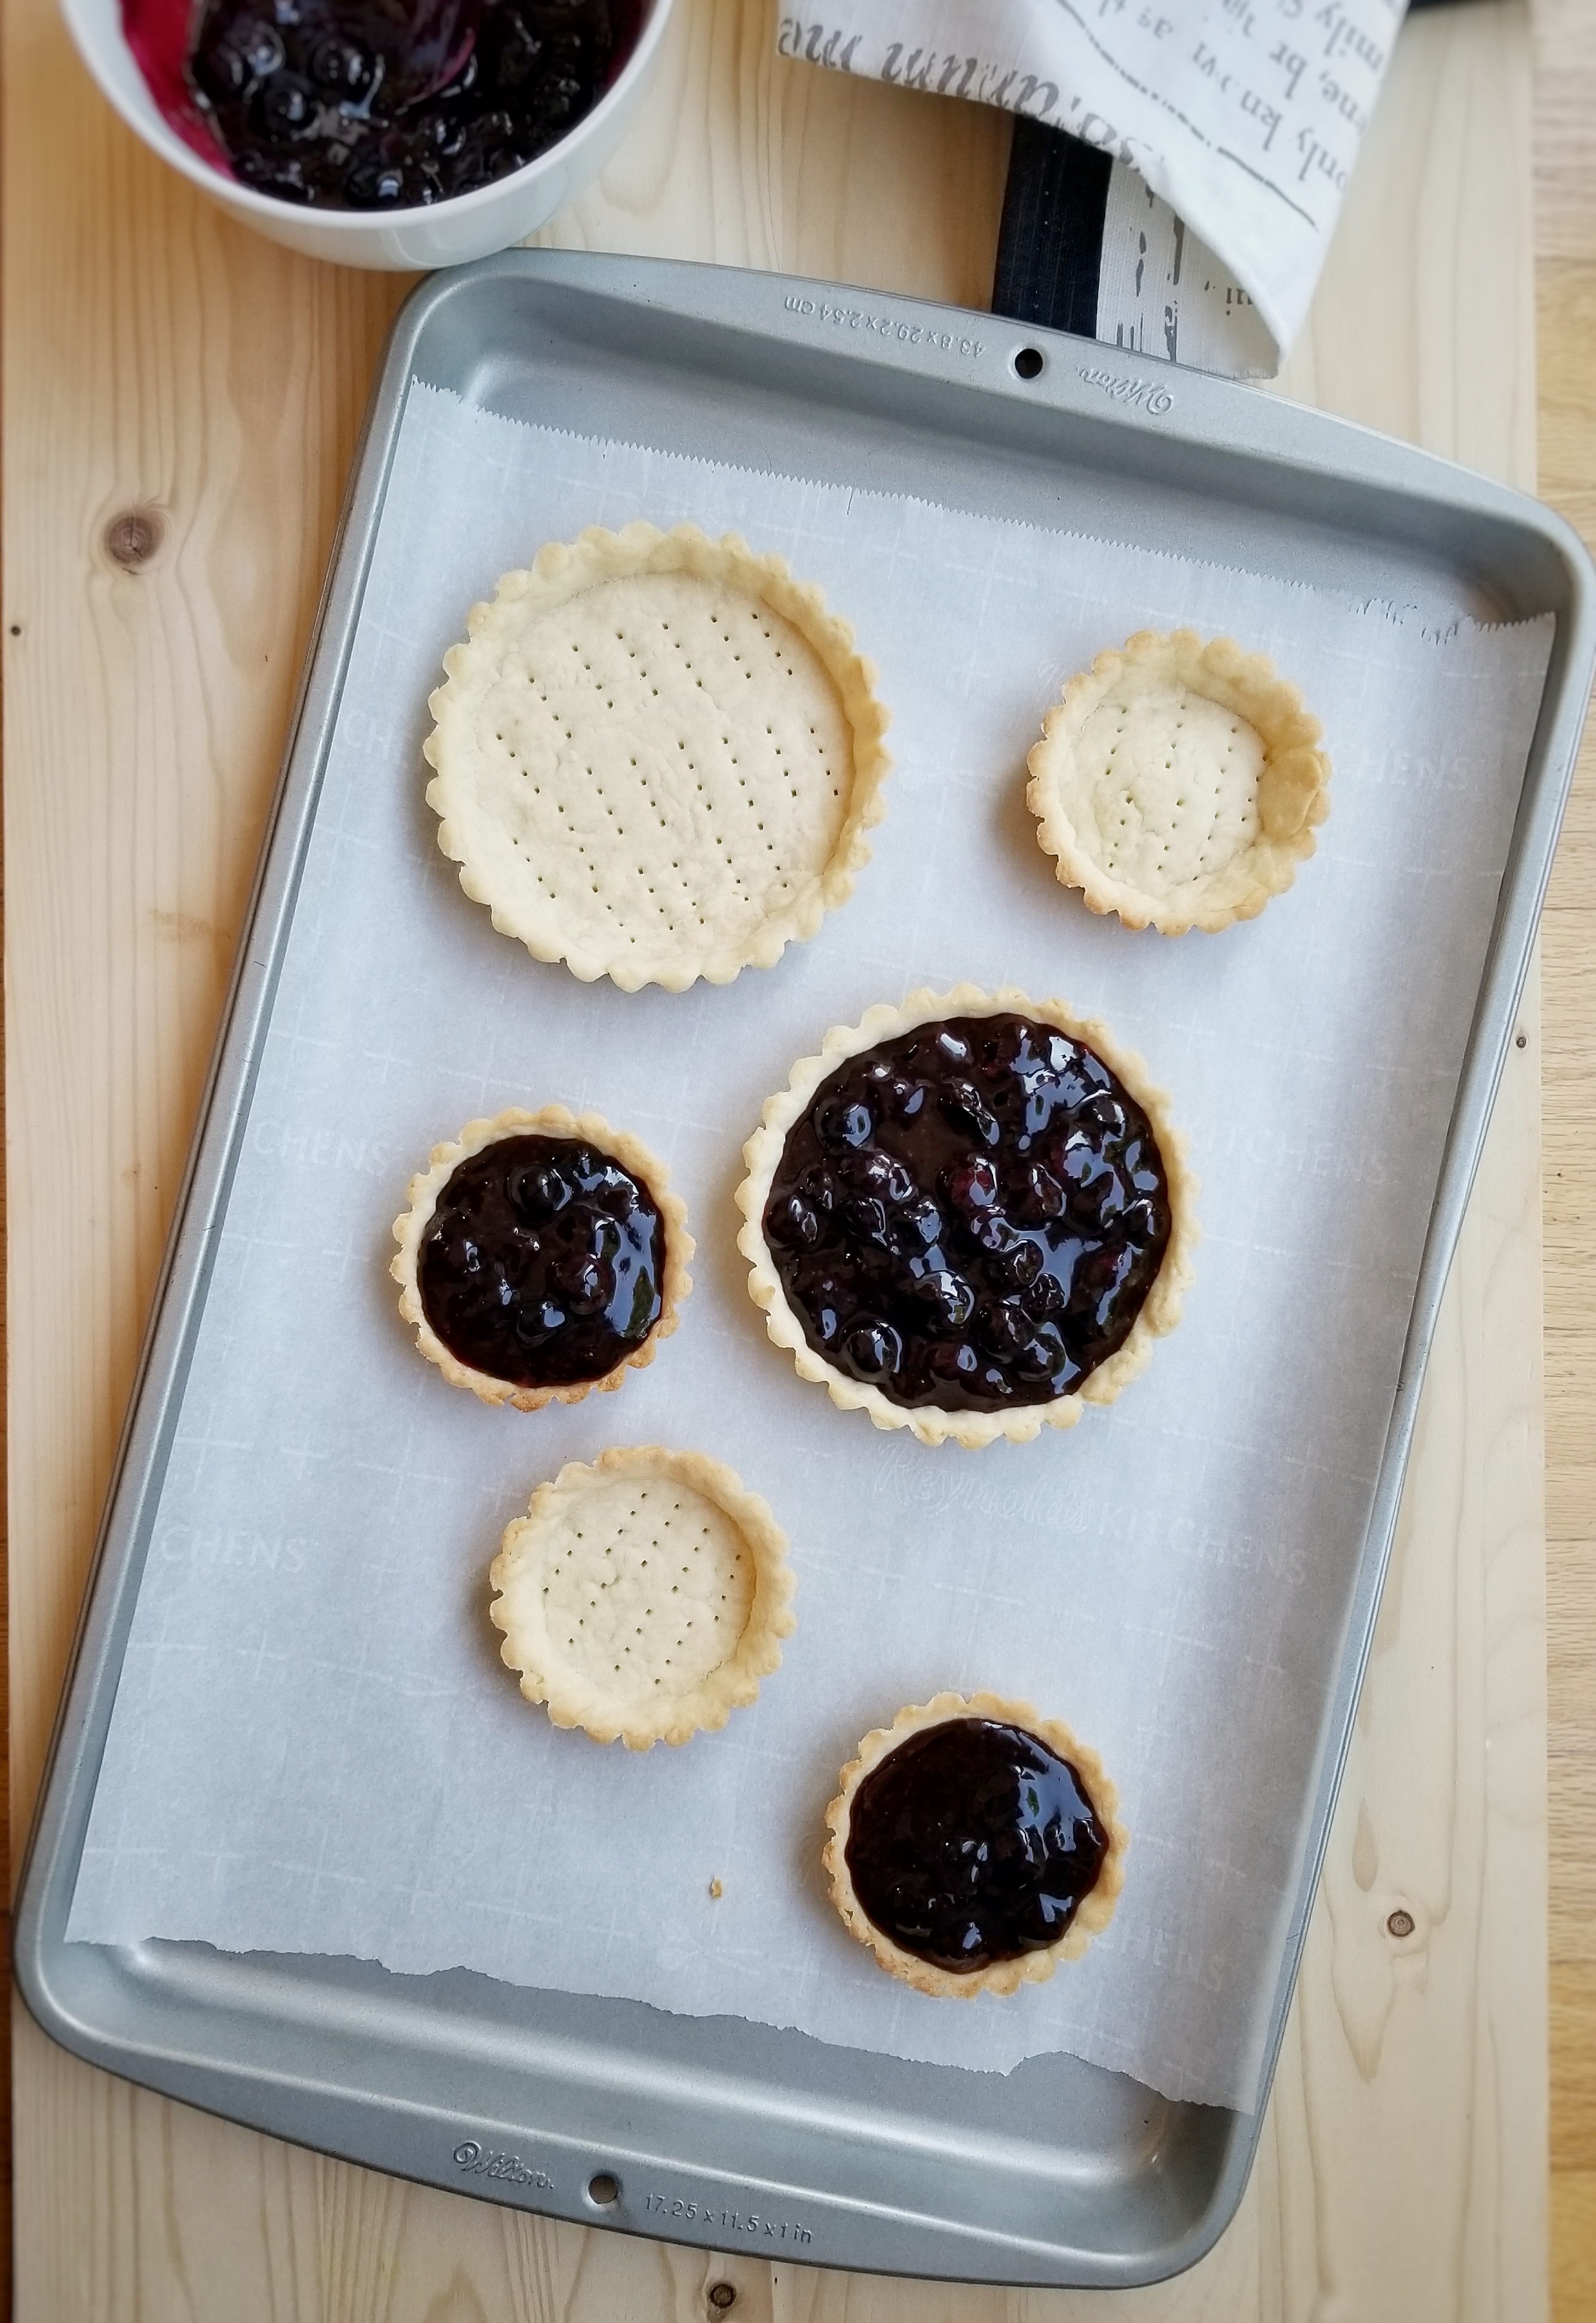
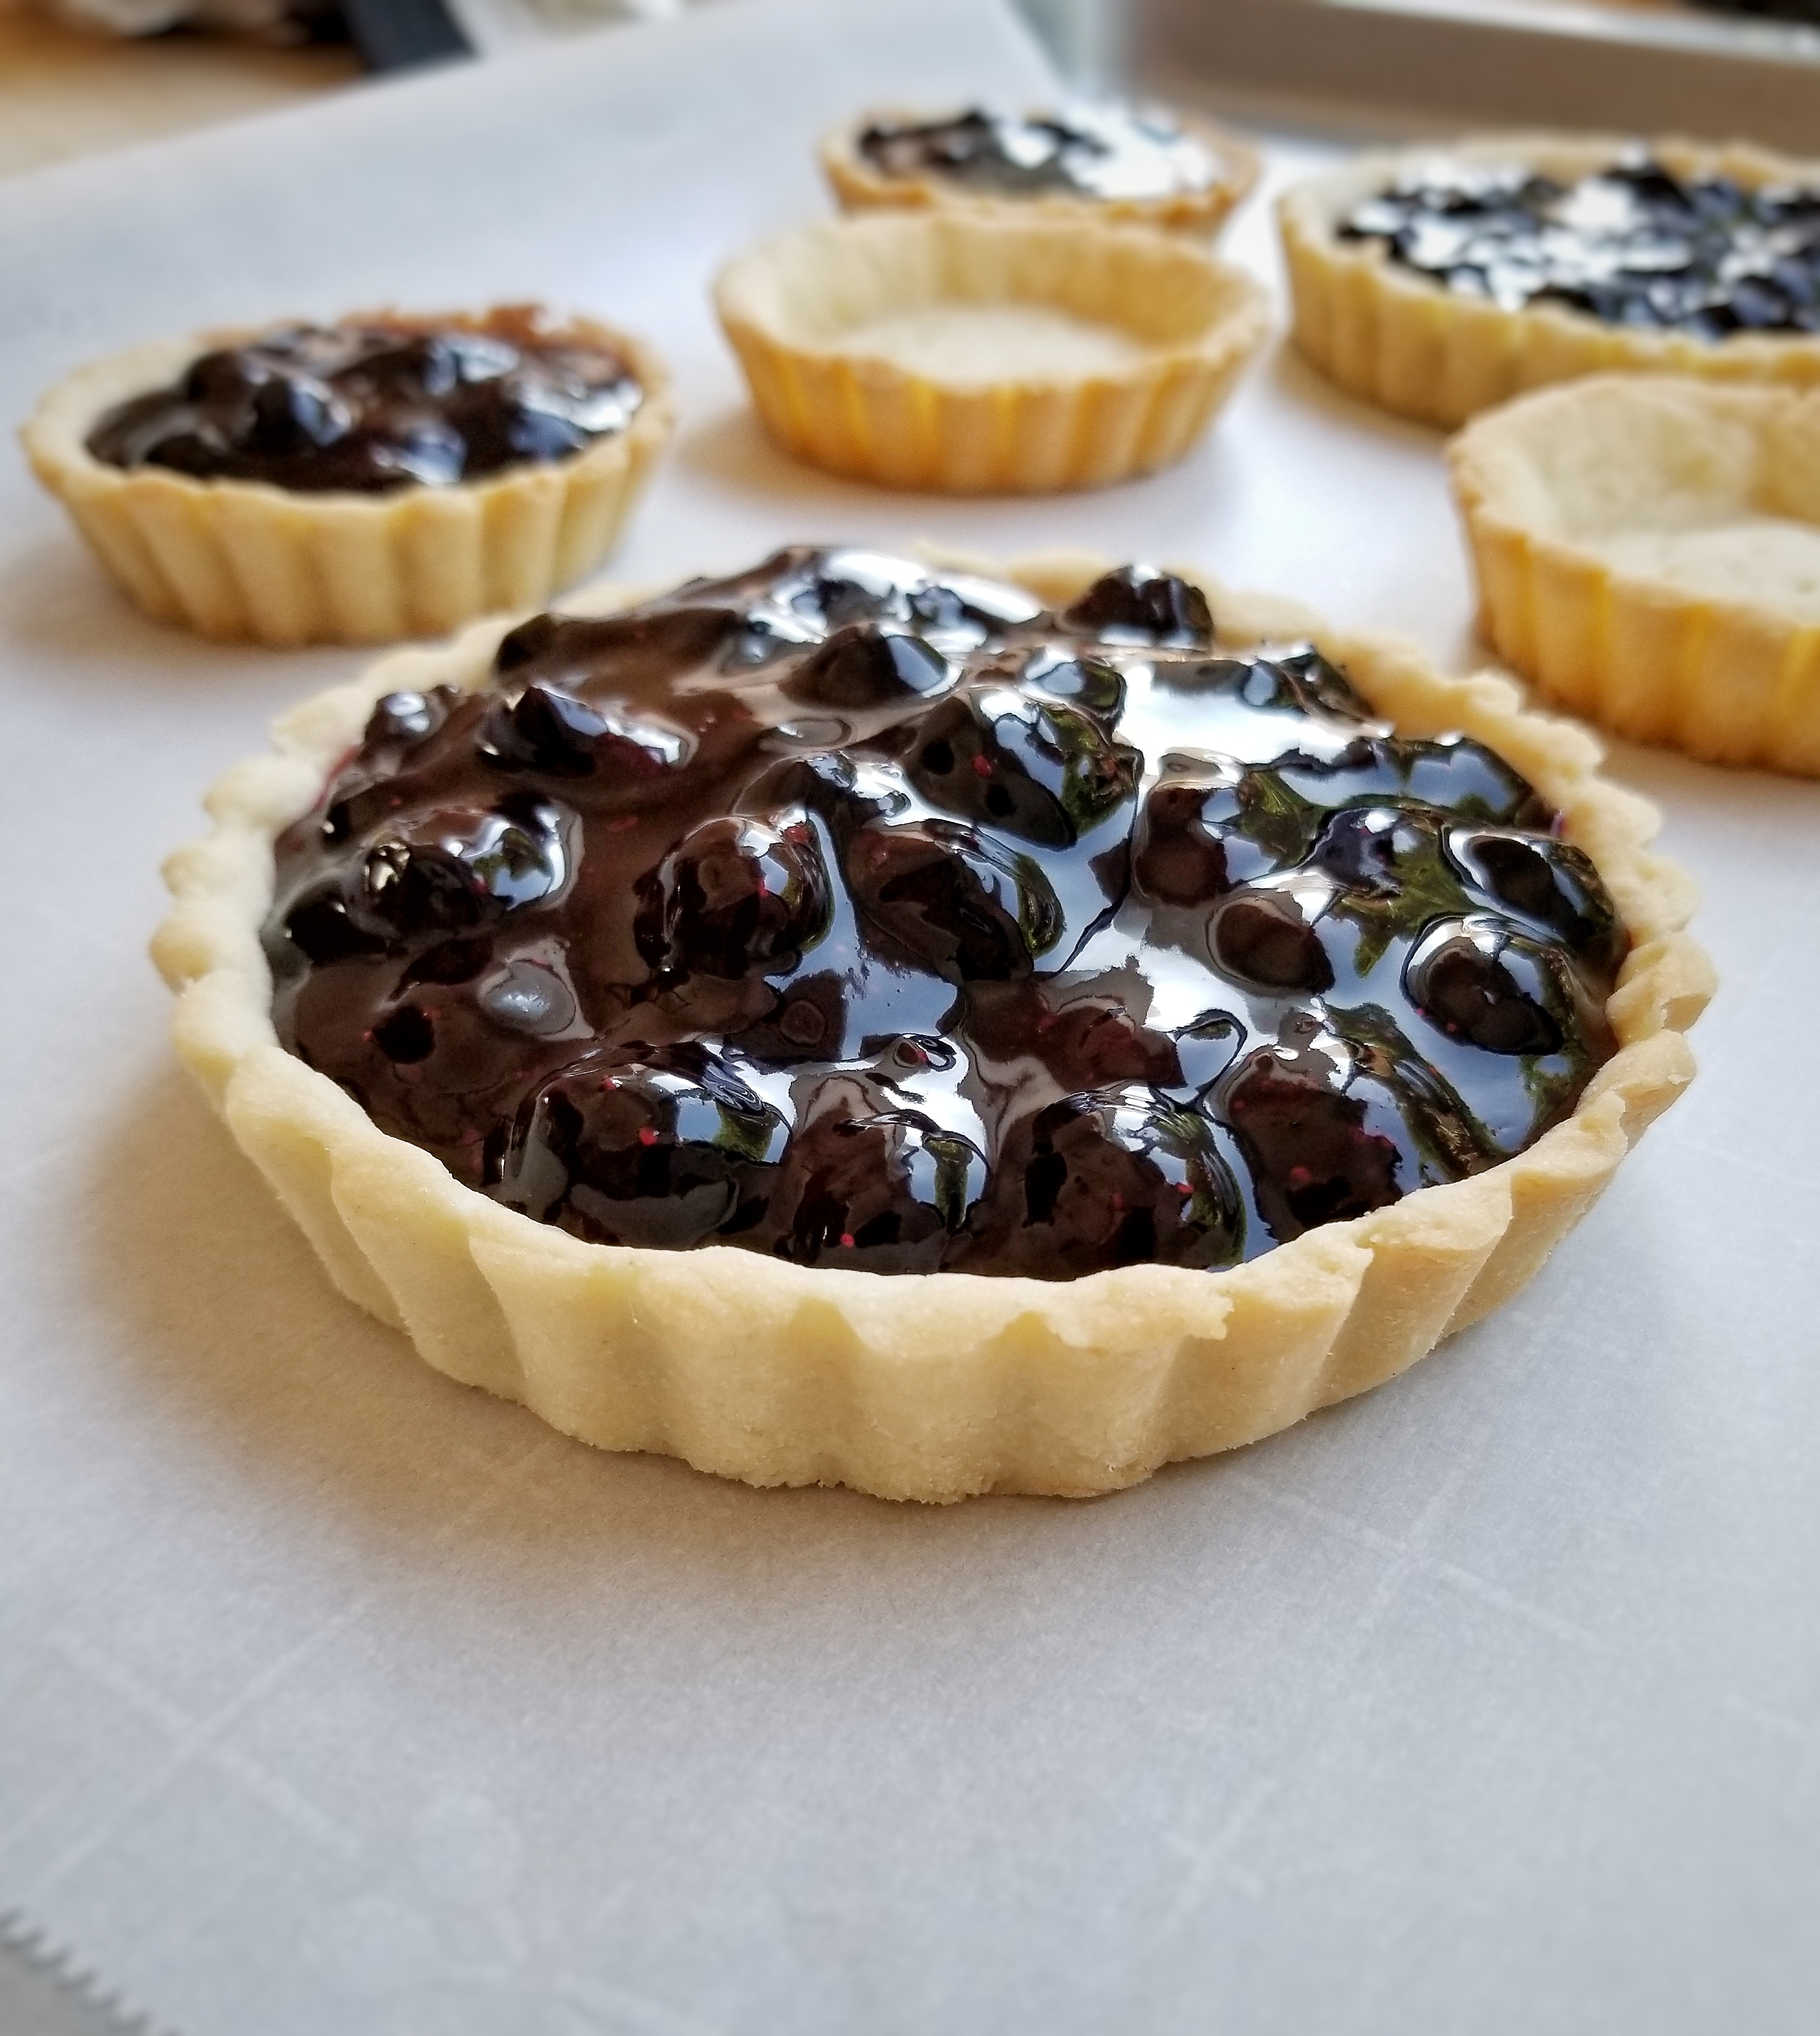
2020 has been a tough year for everyone.  Dealing with all the unknowns, stress, worries, even the lost of loved ones…..Reading all the news everyday can be depressing and exhausting.  For me, one way to deal with the stress is to do what I love.  Baking, making desserts……

I was making some macarons couple weeks ago. It is one of the trickiest thing to bake, even if you follow the recipe religiously, or you’ve made it a thousand times, it can still turn out to be a disaster !  Well, that’s what happened to me……I eventually succeeded but left with A LOT of egg yolks ! So 
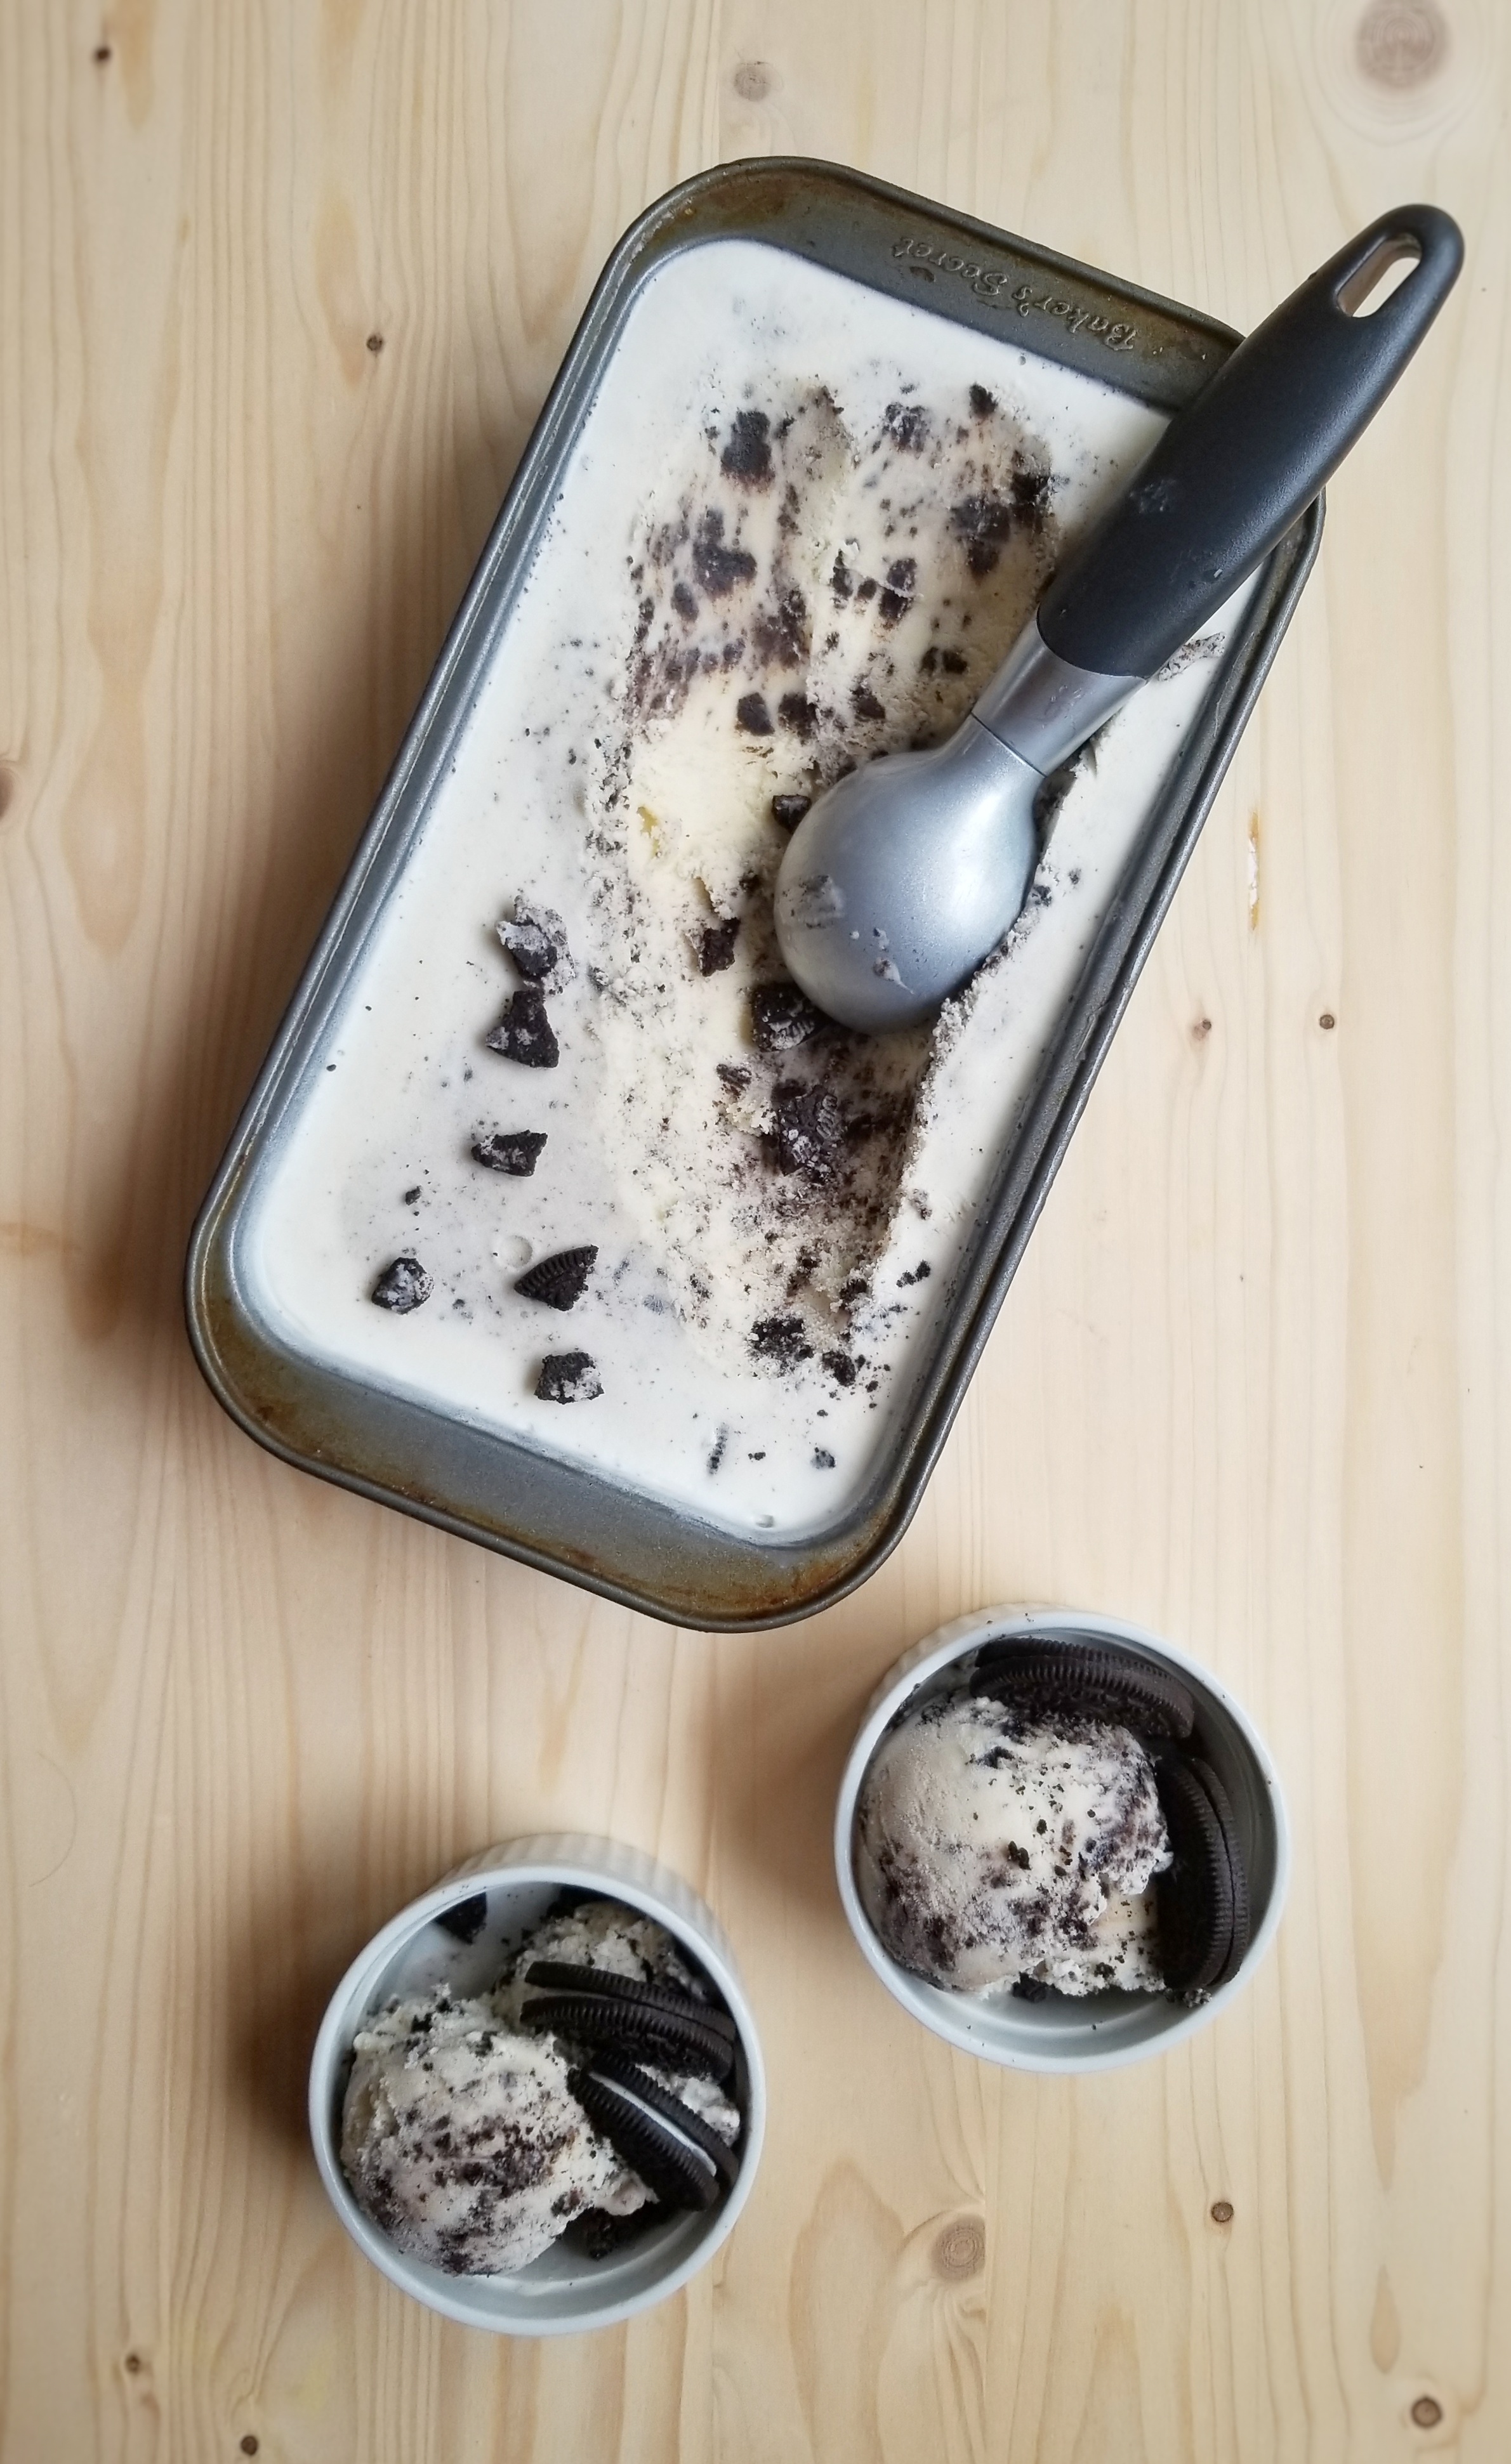
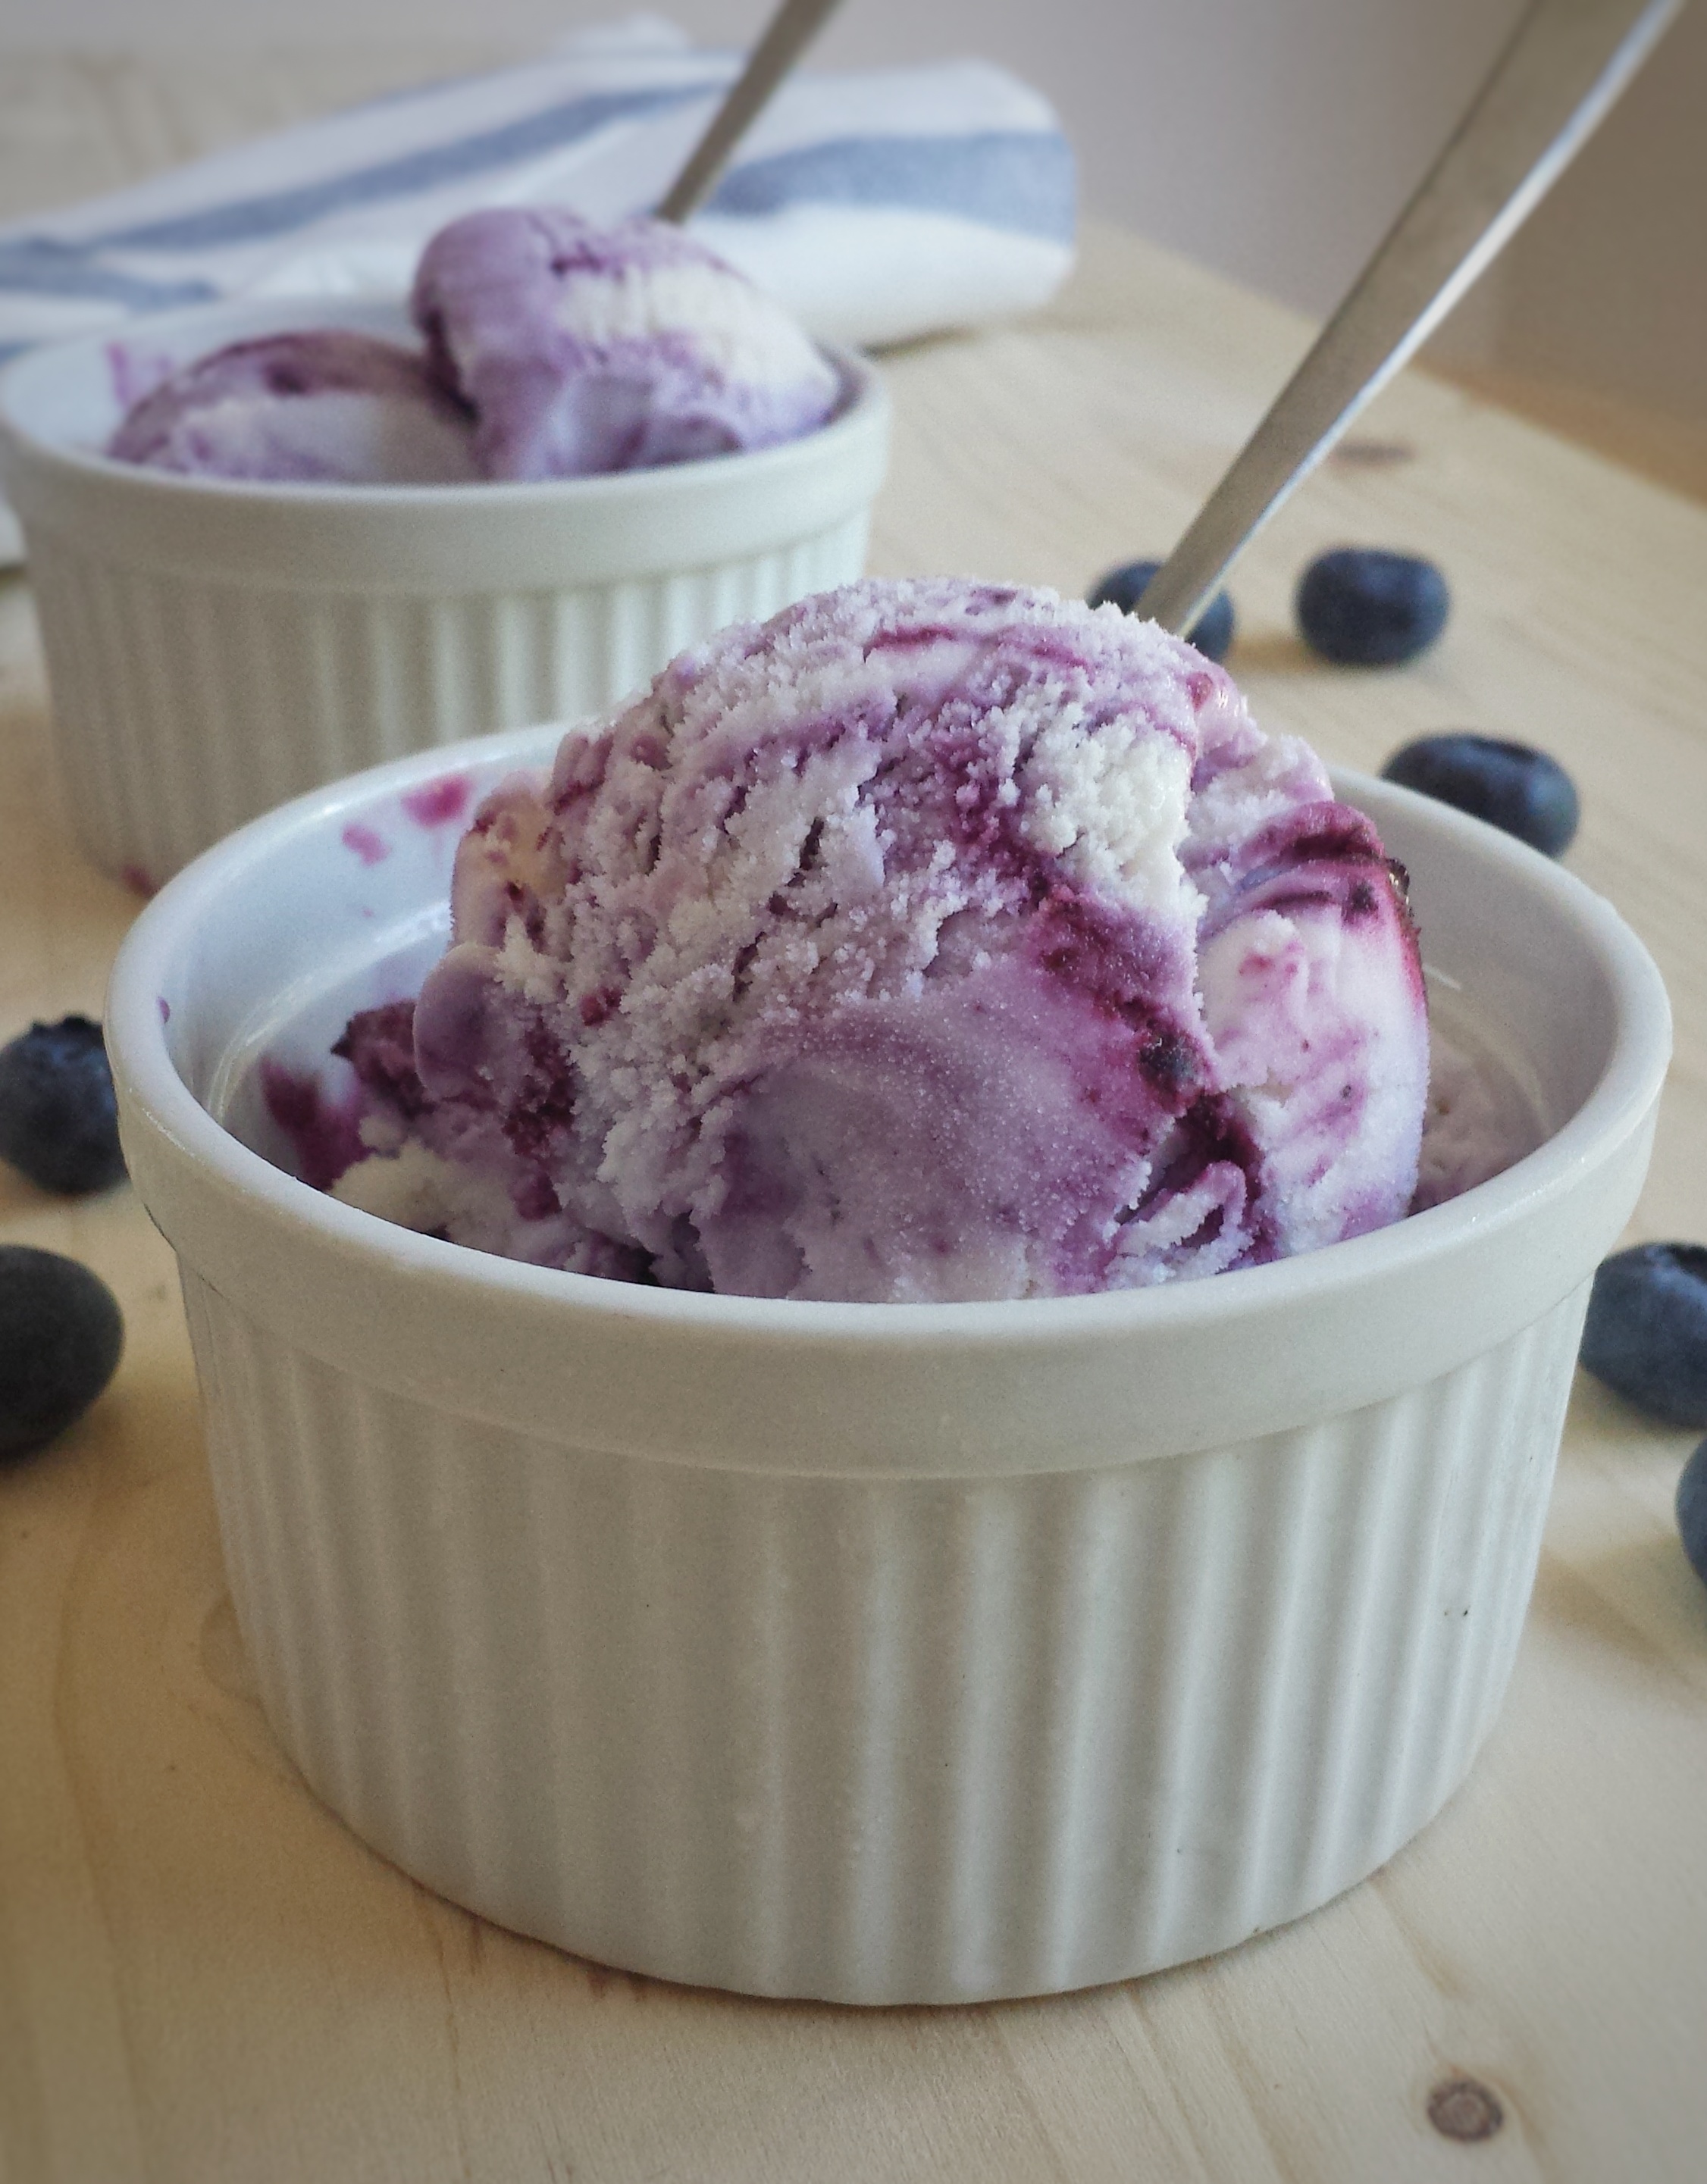
I turned them into this Cookies and Cream Ice Cream ! It’s super easy to do, yummy and a perfect treat for hot summer days ! 

Makes about 1.5 L

  • 200 g granulated sugar
  • 6 egg yolks
  • 3 cups whole milk
  • 1.5 cup whipping cream
  • 1 vanilla bean or 1 tablespoon vanilla paste
  • 15-20 Oreo cookies (crushed)
    1. Whisk together egg yolks, sugar and 1/4 cup of milk
    2. In a non-stick pot, heat remaining milk, vanilla bean (scraped) or vanilla paste, over medium heat until just boiled
    3. Add 1/3 cup of hot milk into egg mixture to temper, then pour everything back into pot
    4. Heat over low heat, stirring constantly until just thickened. Mixture should coat back of spoon. Alternatively, you can use a thermometer, and heat until it reaches 82 ºC / 180 ºF 
    5. Remove from heat immediately, strain through a fine mesh twice
    6. Let sit in an ice bath, stir in whipping cream
    7. Let cool completely, cover with plastic wrap and refrigerate for at least 3 hours or overnight 
    8. Place in ice cream machine and churn according to manufacturer’s instructions
    9. Stir in crushed Oreo cookies and freeze until serve
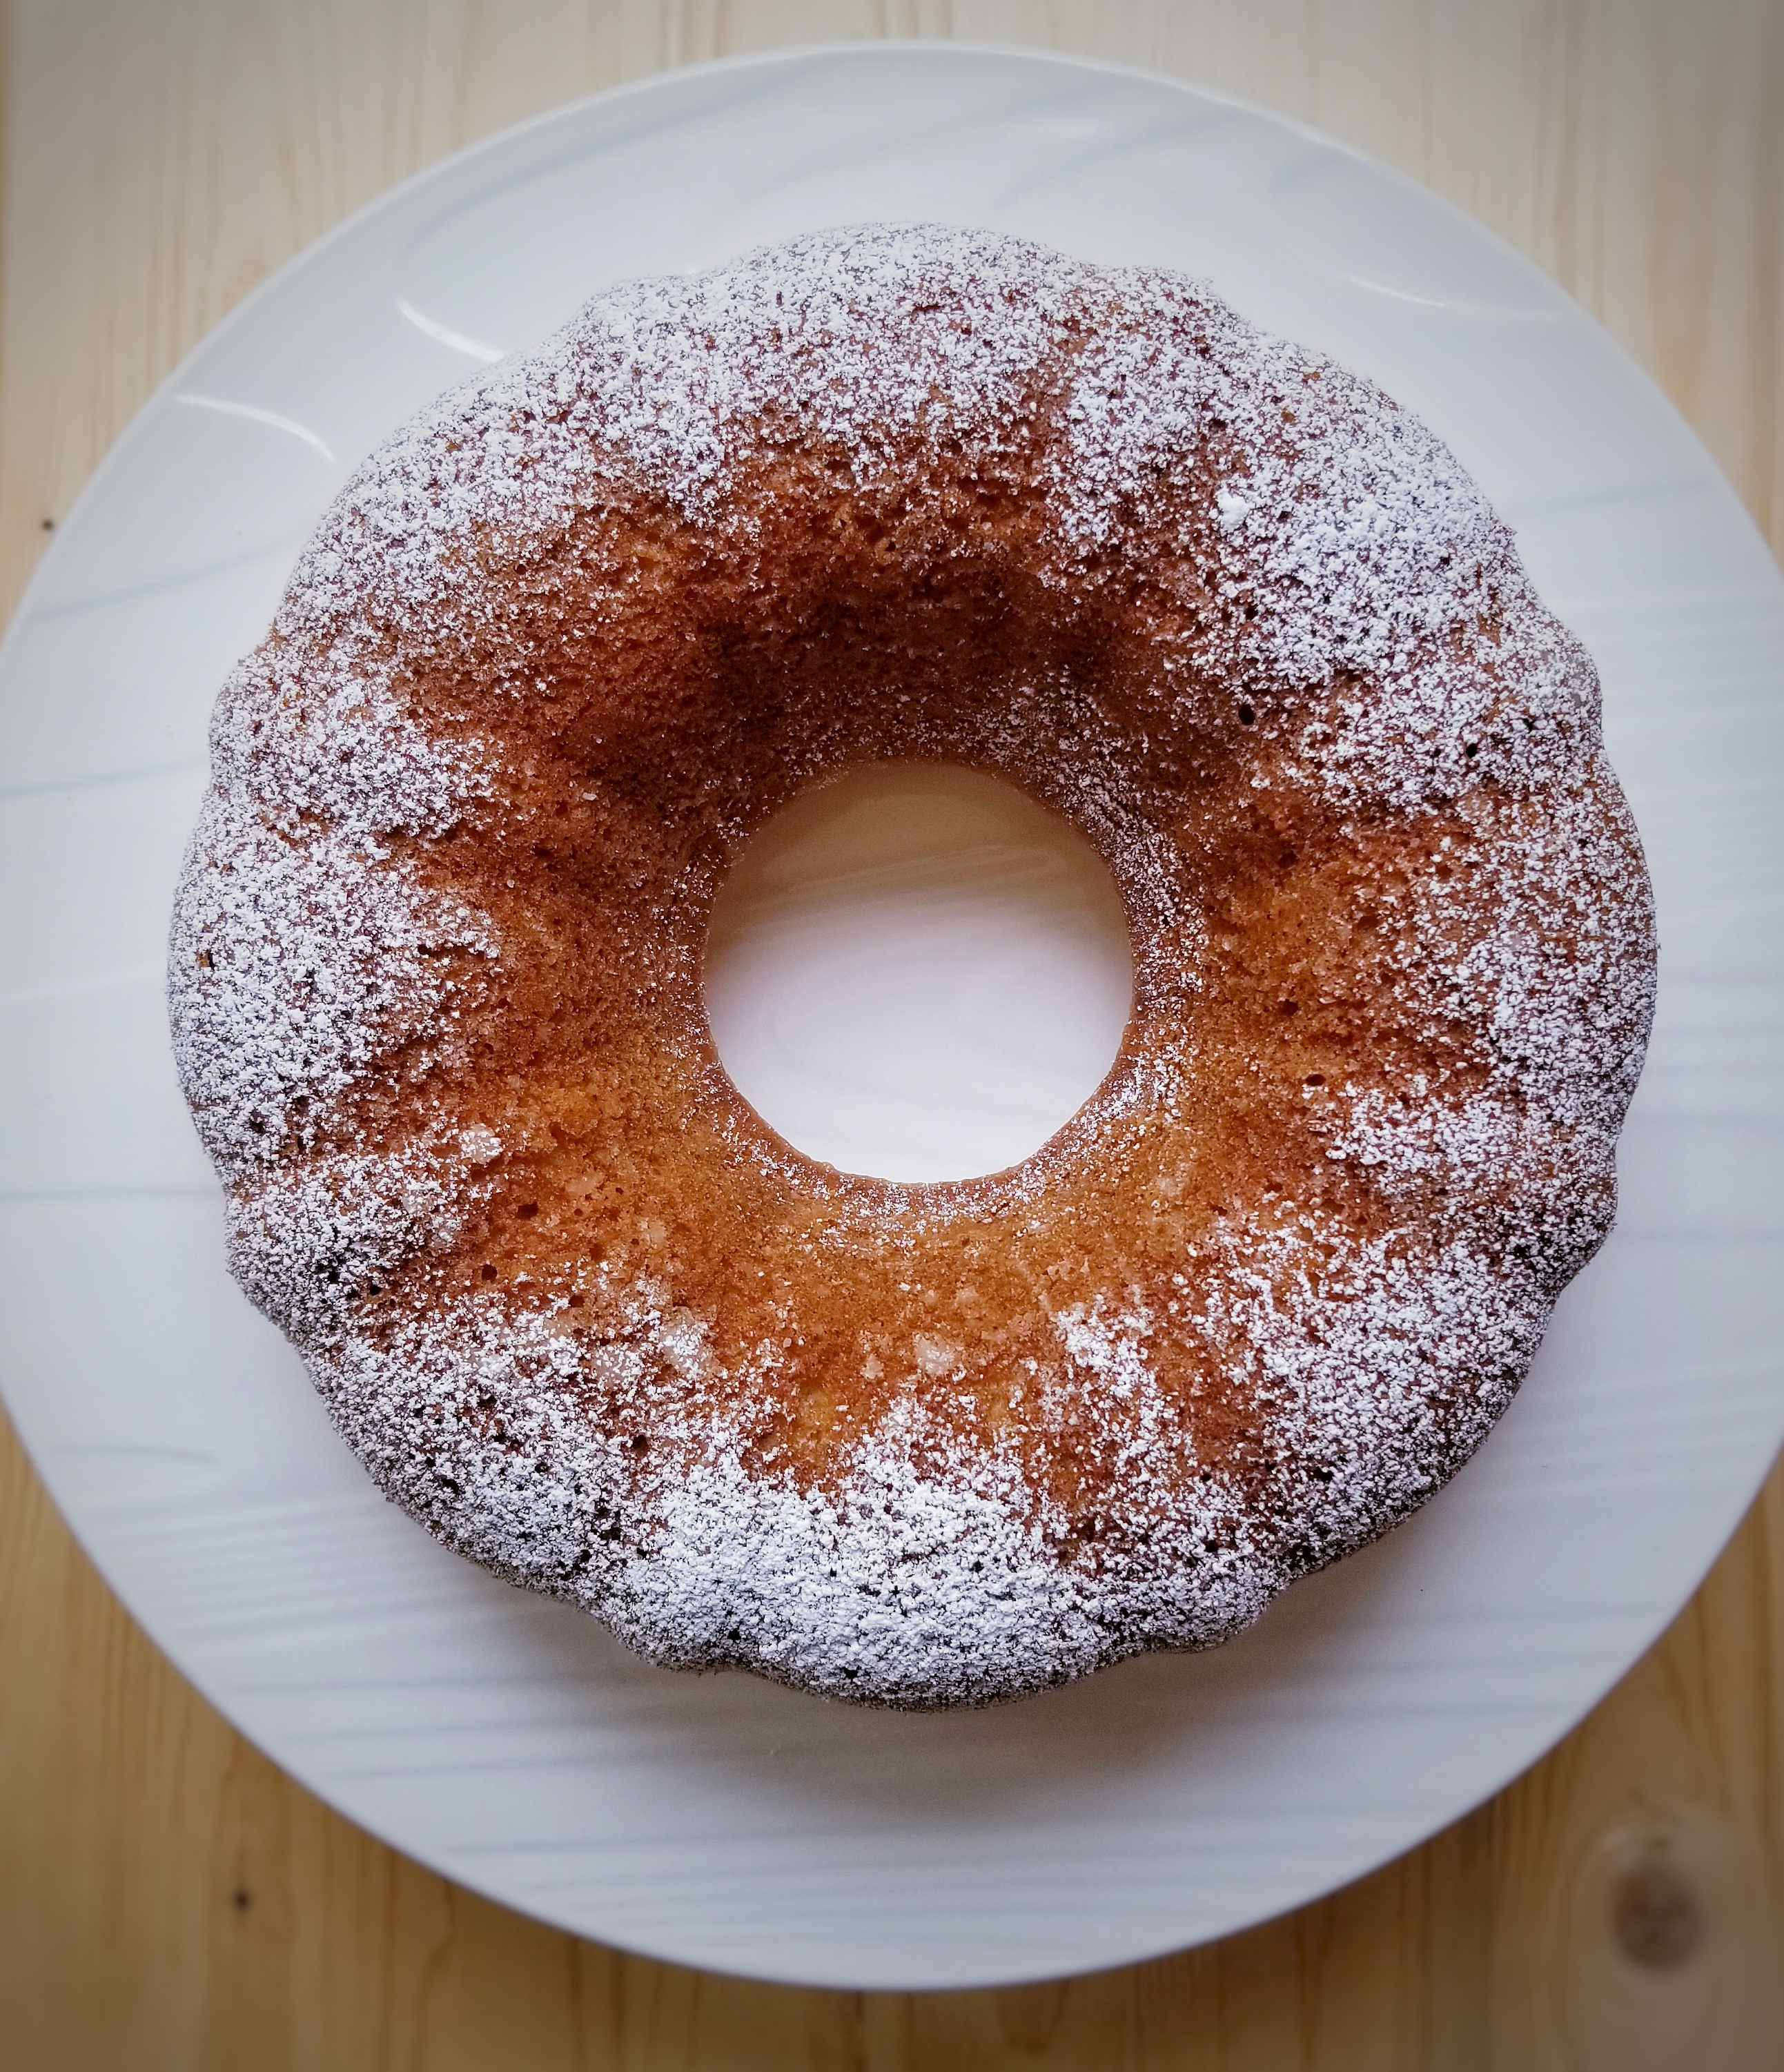
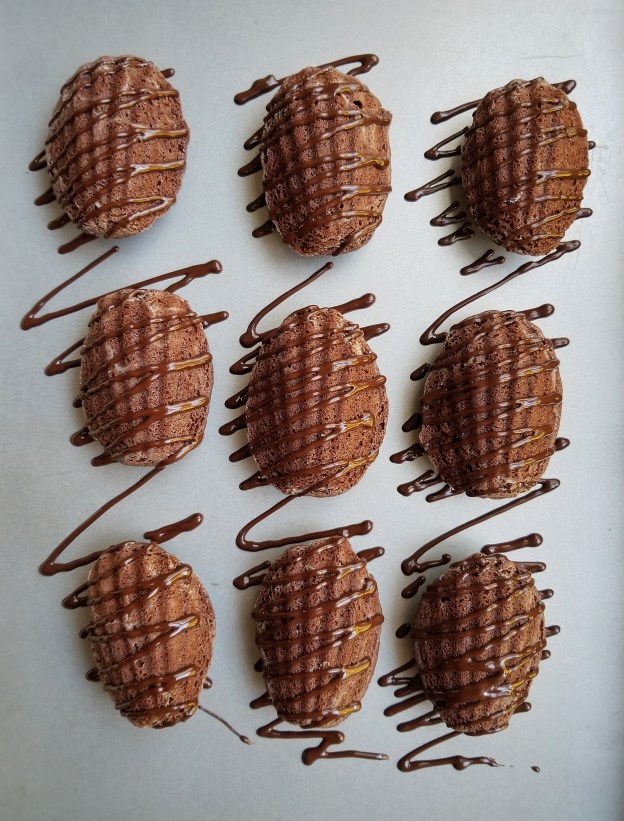
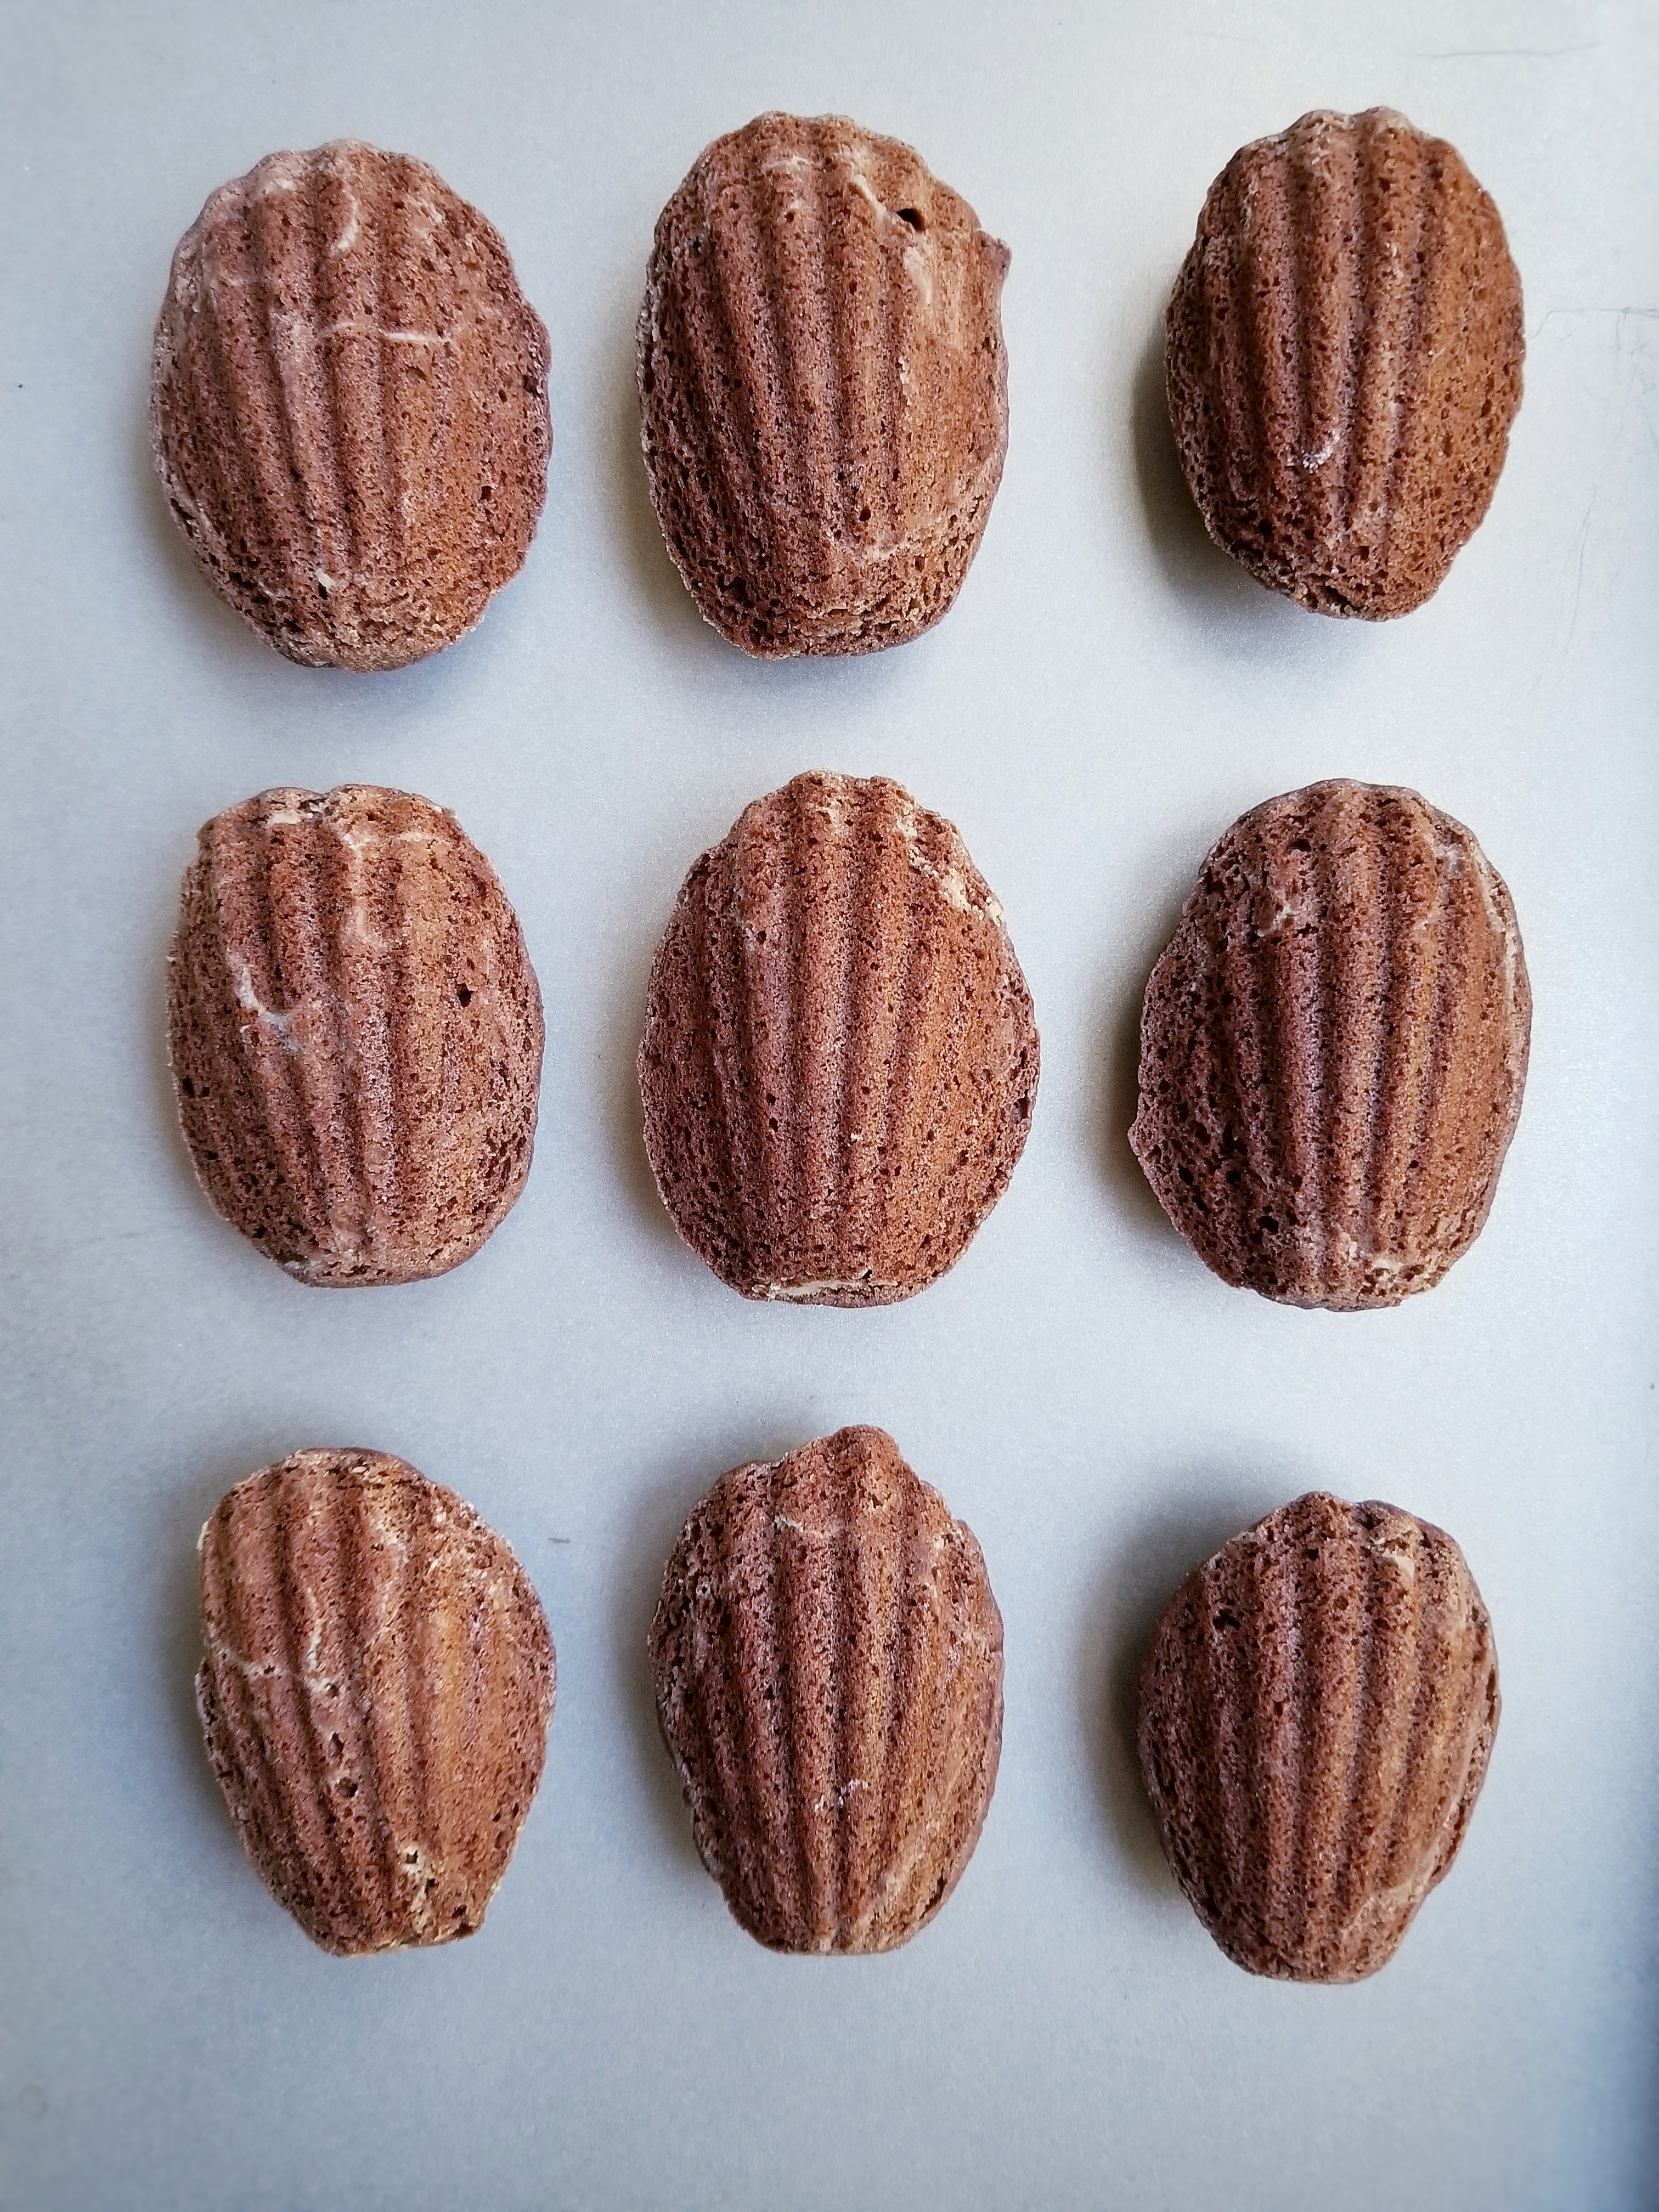


Advertisement

Orange Olive Oil Cake

The world has changed a lot over the past few months… It’s literally a whole new world. We are in the middle of a pandemic….staying home, social distancing, online schooling have all become the new normal. It is no doubt a very stressful time. Nevertheless, I think we are all doing our best and staying positive. I am very thankful that my family is keeping safe and healthy.

Because of the situation, my spring market got cancelled, but I am still baking a lot. Last month, my friends and I did a charity bake sale. We sold lots of cookies, cupcakes, brownies……The support was overwhelming! Together, we raised $1000 for the Vancouver Hospital Foundation COVID-19 Response Fund. A big thank you to everyone that donated.

More time at home also means more time to work on recipes! I have been wanting to make an olive oil cake for a while. My first time eating one was years ago at a little cafe and I loved it. It makes the cake soft and moist without leaving a strong taste. I used orange for this recipe, but I think lemon will work wonderfully as well.

Makes one 9.5 inch bundt cake

  • 150 g cake and pastry flour
  • 150 g all purpose flour
  • 6 g baking powder
  • 3 g baking soda
  • 2 g salt
  • 180 g sugar
  • 2 eggs
  • 180 mL extra virgin olive oil
  • 180 mL milk
  • 50 mL fresh orange juice
  • zest of a medium orange
  • 5 ml pure vanilla extract
  • 4 mL pure orange extract
  1. Pre-heat oven to 350° F
  2. Sift together flours, baking powder, baking soda and salt, set aside
  3. Beat together sugar and eggs until frothy, using an eletrical mixer or hand whisk
  4. Mix in olive oil, milk, orange juice, orange zest and extracts
  5. Gradually add flour mixture and mix until just cooperated
  6. Pour batter into a 9-inch non-stick bundt pan and bake for about 35 minutes (you can use any other cake pan, but baking time may have to be adjusted)
  7. Dust with icing sugar when cooled if desired

Chocolate Madeleines

Madeleines are buttery little cakes originated from France. These shell-like sweets are actually very easy to make. Of course, you will need a madeleine pan. The classic flavour is usually lemon. But as a chocolate lover and an avid baker, I am “obligated” to make some chocolate ones ! And (almost) everything is better with chocolate, right ? They may not be the most eye catching desserts, but they are absolutely delicious ! And I finally tempered my own chocolate! It’s much smoother and shinier !  Here is the recipe that I followed https://www.cordonbleu.edu/news/technique-tempering-chocolate/en . Again, it’s something that looks more difficult than it actually is.  All you need is a thermometer, good chocolate and some patience ! But trust me, it’s worth it ! 

Makes about 20-24 madeleines

  • 120 g unsalted butter + 30 g for greasing pan, melted
  • 60 g all-purpose flour
  • 90 g cake and pastry flour
  • 30 g unsweetened cocoa powder
  • 3 g baking powder
  • Pinch of salt
  • 180 g granulated sugar
  • 2 large eggs
  • 7.5 mL pure vanilla extract
  • melted dark chocolate for drizzles
  1. Melt 120 g of butter in a sauce pan or microwave, cool slightly 
  2. Sift together flours, cocoa powder, baking powder and salt, set aside 
  3. Whisk together eggs, sugar and vanilla until frothy 
  4. Fold flour mixture into egg mixture 
  5. Gently mix in melted and cooled butter, 2-3 tablespoons at a time until just blended 
  6. Cover and refrigerate for at least one hour or overnight 
  7. When ready to bake, prepare madeleine pan by melting about 30 g of butter in a sauce pan or microwave, cool slightly 
  8. Brush moulds with melted butter, coat with flour, tapping off excess
  9. Place coated pan in freezer for at least one hour
  10. Preheat oven to 375°F
  11. Drop about 1 tablespoon of batter into each mould without spreading it out
  12. Place madeleine pan on another large baking tray and bake for about 12 minutes 
  13. Cool in moulds for a few minutes then completely on rack 
  14. Drizzle with melted, tempered dark chocolate, best to consume within 2 days

Blueberry Tarts

I feel like I need 48 hours a day ! I seriously do. I have so many things I want to do, so many things I have to do but just not enough time…..I know I sometimes over-schedule myself, but at the same time, I feel the most productive this way….So yes, this post was done much later than I planned, but at least I manage to do it before the end of July! 😅

How can I not make something out of blueberries in the summer! We are so lucky to have some locally grown blueberries and I would buy at least 20 lbs of them! This is a super easy recipe. You can make the tart dough ahead of time and freeze it until use. Try to spoon the fillings in just before serving so the tart shells won’t get soggy.

Makes about three 4-inch tarts or six to eight mini tarts

For the tart shells

  • 120 g cold unsalted butter (cut into small pieces)
  • 75 g granulated sugar
  • 1 egg yolk
  • 180 g cake and pastry flour, sifted
  1. Mix together cold butter and sugar using a wooden spoon until no more lumps
  2. Add egg yolk, mix until blended
  3. Add flour all at once, mix with the wooden spoon, then transfer onto a table or counter and gently knead dough together (just work until ingredients are mixed in)
  4. Wrap with plastic wrap, refrigerate for at least 2-3 hours or overnight
  5. When ready to bake, preheat oven to 350ºF
  6. Knead dough until pliable
  7. Roll dough out to about 1/8 inch in thickness on a floured surface, dock with a fork
  8. Place inside slightly greased tart molds, trim off excess dough
  9. Bake for about 12 minutes till golden, let cool

For the blueberry fillings

  • 300 g fresh or frozen blueberries
  • 75 g granulated sugar
  • 15 mL lemon juice
  • zest of half a lemon
  • 15 g corn starch
  1. In a non-stick pot, heat blueberries, sugar, lemon juice and lemon zest over medium heat
  2. When mixture starts to boil, sift in corn starch
  3. Mix until thicken, then let cool

Right before serving, spoon blueberry fillings into cooled tart shells

Caramel Brownies

Compared to many parts of Canada, our winter in Vancouver has been very mild…..until 2 days ago ! A snow pile just dumped onto us in a matter of hours ! Seriously, I was still jogging in the morning at 9 am, it was cold, but no snow. Three hours later, everywhere was covered in white ! I guess it’s our turn to experience this cold snowy winter ! And what does a baker do when it snows ? Bake of course ! So I made these brownies and also had time to decorate a whole bunch of Valentine’s cookies ! The snow has made me more productive !

I like my chocolate desserts very chocolaty, and I mean VERY……And this brownie is not only chocolaty, but also soft, fudgy and chewy ! Who can say no to that ? Especially if you are making it for your Valentine’s ! Make sure you don’t overbake, in fact, a good brownie is often slightly underbaked. It’s best to serve them warm, reheat in the oven for a few minutes if you need.

Happy Valentine’s Day !

Makes about 10 – 12 brownies
For the batter

  • 180 g unsalted butter
  • 180 g semi-sweet chocolate
  • 40 g unsweetened cocoa powder
  • 2 eggs
  • 240 g granulated sugar
  • 5 ml vanilla extract
  • 135 g all-purpose flour
  • 2 g baking powder
  • 2 g salt
  • 10-12 caramel candies

For the caramel sauce

Melt together 30 caramel candies (about 240 g) and 1/2 cup of whipping cream in a non-stick pot over low heat until well blended, stirring frequently

  1. Preheat oven to 350ºF
  2. Sift together flour, baking powder and salt
  3. Melt butter, chocolate and cocoa powder in a bowl over a pot of simmering water, let cool for about 5 minutes
  4. Whisk together eggs, sugar and vanilla until pale
  5. Mix in chocolate mixture
  6. Add flour mixture and mix until blended, the batter can be quite thick
  7. Spoon half the batter into lightly-greased silicone molds, place a caramel candy in the middle, cover with remaining batter and bake for about 20 minutes
  8. Cool slightly, drizzle with caramel sauce and serve warm

Mini Apple Walnut Loaves

When my kids were younger and were still in Scouts, we used to sell apples to raise money every September. It takes quite a bit of courage for a 6 and a 9-year-old to go up to strangers and ask for donations. It was such a good experience and I was so proud of them. Now that their interests have changed and we are no longer in Scouts, I really miss those years of fund-raising, camping, hiking and all the other activities that we have done….  

Fall is the apple season and there are so many different kinds of apple. Gala is my favourite ! It’s not too big, it’s sweet and has the perfect texture for eating or baking. And I made these mini loaves with walnuts the other day. They taste best when warm….and even better with a scoop of vanilla ice-cream ! I like to make them in mini loaves as you don’t need to bake them as long and can freeze them very easily for later.  

Makes 4 mini loaves (dimensions of pans: 5.75 x 3.25 x 2.25 inches)

  • 360 g all-purpose flour
  • 10 g baking powder
  • 4 g baking soda
  • 2 g salt
  • 3 g ground cinnamon
  • 100 g granulated sugar
  • 100 g demerara or brown sugar
  • 2 eggs
  • 180 mL vegetable oil
  • 150 g sour cream
  • 10 mL pure vanilla extract
  • 400 g diced apples, about 3-4 apples (I used Gala, washed, peeled and cored)
  • 120 g coarsely chopped walnuts
  1. Preheat oven to 350°F
  2. Lightly oiled and floured 4 mini loaf pans
  3. Sift together flour, baking powder, baking soda, salt and cinnamon, set aside
  4. Whisk together eggs and sugars until frothy, mix in oil, vanilla and sour cream
  5. Add wet ingredients into dry ingredients, mix until just cooperated
  6. Stir in apples and walnuts
  7. Pour batter into 4 loaf pans and bake for about 35-40 minutes


Tools that I used 

Chicago Metallic 59440 Commercial II Non-Stick Mini Loaf Pans, Set of 4

You can get the mini loaf pans through the Amazon website by clicking the above link. I will receive a small compensation if you purchase the item. 

Baked Matcha (Green Tea) Doughnuts

My family took a trip to Japan this summer and we had so much fun ! It’s a really fantastic country to travel. It’s clean, organized, modern yet traditional, there is so much to see. And the food was soooo good ! From fresh sashimi, ramen, to crepe, and everything matcha…..mmmmm, they were all super delicious !

fresh sashimi, teppanyaki, ramen, takoyaki octopus balls

creme brulee crepe, matcha parfait, soft cheesecake, pancake skewer

I think the only part we didn’t enjoy was the heat and the crowd. But we were actually very lucky, as Japan was hit by a powerful typhoon soon after we left, and also an earthquake in Hokkaido…just hope everything is ok…

Matcha (green tea powder) is really popular there, not only as a tea, but in many desserts ! Mochi, cake, cookies, ice cream, shaved ice, parfait, latte……the list is endless ! I wish I could bring all of them home….or I can try making them myself ! Here are my Baked Matcha Doughnuts ! They are as delicious as the fried ones but “matcha” more easier to make !

Makes about 8-10 doughnuts

For the doughnuts

  • 75 g all-purpose flour
  • 75 g cake and pastry flour
  • 60 g granulated sugar
  • 5 g matcha powder
  • 3 g baking powder
  • 1.5 g baking soda
  • pinch of salt
  • 1 egg
  • 150 mL buttermilk
  • 45 mL vegetable oil
  • 2.5 mL pure vanilla extract

For the glaze

  • 90 g icing sugar
  • 2 g matcha powder
  • 15-20 mL milk
  1. Preheat oven to 350 ºF
  2. Sift together flours, baking powder, baking soda, salt and matcha powder, set aside
  3. Whisk together egg and sugar until frothy, mix in buttermilk, oil and vanilla extract
  4. Add wet ingredients into dry ingredients, mix until just combined
  5. Pour batter into lightly-greased doughnut pans
  6. Bake for about 12 minutes, let cool in pans for 10 minutes, then completely on rack
  7. To make the glaze, sift icing sugar, whisk in milk until smooth
  8. Sift matcha powder and add a little at a time into icing mixture, whisk until no more lumps
  9. Dip one side of doughnuts into matcha glaze, best to serve within one day

Blackberry Cream Cheese Puffs

This is the third recipe of my berry series ! The stars this time are blackberries ! They tend to be more tart than other berries but are equally delicious. And instead of a muffin or a pie, I want to make something more fun. My daughter has been asking me to make cream puffs, so why don’t I put the two together ?! Blackberry and cream cheese go so well together. And WOW ! It turned out with such a pretty colour! Choux pastry is so magical, it turns into light and airy puffs without any leavening agents. And you can fill the puffs with any flavour of cream or custard, even just a spoon of whipped cream. Be sure to eat them immediately for best tasting…..but hey, they are so yummy and I guarantee they are not going to last ! 

 Makes about 10-12 puffs 

For the fillings

  • 100 g fresh blackberries
  • 250 g soft cream cheese
  • 60 g icing sugar, sifted
  1. Puree blackberries with a blender, strain through a fine mesh to remove seeds, should yield about 60 g of puree
  2. Beat cream cheese until fluffy, add icing sugar, beat until smooth
  3. Add blackberry puree, mix until blended
  4. Store in refrigerator until use 

For the choux pastry puffs

  • 200 mL water
  • 90 g unsalted butter
  • 2 g salt
  • 30 g  granulated sugar
  • 120 g all-purpose flour
  • 3 eggs
  1. Heat together water, butter, salt and granulated sugar in a pot over medium heat until just starting to boil
  2. Turn heat down to low, add flour all at once
  3. Stirring constantly, cook until a thin film of paste formed at the bottom of the pot or about 5 minutes if using a non-stick pot
  4. Transfer paste to a bowl and cool down
  5. Meanwhile, preheat oven to 350ºF and prepare piping bag with desired piping tip
  6. Add eggs to paste, one at a time and mix well after each addition
  7. Transfer to piping bag and pipe onto baking sheets lined with parchment paper 
  8. Bake at 350ºF  for about 15-20 minutes until starting to brown, turn heat down to 325°F and bake for another 25-30 minutes until golden (if puffs are under baked, they will collapse after taken out)
  9. Turn heat off, leave puffs inside oven for about 10 minutes with oven door ajar
  10. Take puffs out, let cool  

To assemble

  1. Cut puffs in halves with a serrated knife, spoon or pipe blackberry fillings in middle
  2. Dust with icing sugar and serve immediately 

Blueberry Cheesecake Ice Cream 

Our summer has been pretty hot, I am not complaining, it’s been great ! And nothing is better than having a bowl of ice cream on a hot summer day…..and it’s homemade ! Blueberries are in season, so why not make good use of them ! This recipe is really simple, yet flavourful. No kidding, it’s probably the best ice cream I have ever made ! It looks amazing too ! I am so glad I bought the ice cream machine, trust me, it’s totally worth it !  Oh, here are some extra tips …….

  • Don’t skim on the dairy if you want your ice cream to be rich and creamy, use full fat
  • Make sure your mixture is very cold before putting into the ice cream machine
  • Don’t mesh all of the blueberries when making the compote if you want some “blueberry crunch” in your ice cream

Hope you will give this a try and have a great summer !

Makes about 1 L

  • 150 g blueberries 
  • 30 g granulated sugar (adjust if needed)
  • 10 mL lemon juice 
  • 250 g soft cream cheese 
  • 250 mL whipping cream
  • 250 mL full-fat milk 
  • 180 g granulated sugar 
  1. To make the blueberry compote, cook blueberries, 30 g of sugar and lemon juice over medium heat 
  2. Turn heat down when liquid starts to bubble 
  3. Gently mesh blueberries with back of wooden spoon and cook until slightly thicken 
  4. Let cool then refrigerate until use 
  5. Blend cream cheese, whipping cream, milk and sugar together for a few minutes until smooth 
  6. Refrigerate for about 2 hours or until mixture is very cold
  7. Pour into ice cream maker and churn according to manufacturer’s instructions 
  8. Spoon and swirl blueberry compote into ice cream 
  9. Freeze until serve 

Fruit Pizza (For Canada Day) 

​Summer is here and that means…..lots of berries ! I love to eat them fresh, but also like to use them to make pies, tarts, ice cream, etc…….Just thinking about it makes me soooo excited ! To start off my “berries season”, I made this simple fruit pizza ! It’s basically a giant cookie, top with cream cheese and fruits ! I picked strawberries and raspberries just in time to celebrate Canada Day, but you can also use blueberries, blackberries, even kiwi and banana. It is so easy to put together and I think it is a nice, refreshing dessert for your summer backyard BBQ. Have a Happy Canada Day !  

Makes about four 7″ pizzas

For the “pizza” dough

  • 170 g all-purpose flour 
  • 170 g cake and pastry 
  • 3 g baking soda 
  • 2 g salt
  • 120 g unsalted butter, at room temperature
  • 180 g granulated sugar 
  • 1 egg
  • 5 mL pure vanilla extract 
  • 30 mL lemon juice 
  • Zest of 1 small lemon 

For the toppings

  • 250 g soft cream cheese
  • 60 g icing sugar
  • Fruits of choice 
  1. Preheat oven to 325°F
  2. Sift together flours, baking soda and salt, set aside 
  3. Using an electric mixer with the paddle attachment, cream together butter and sugar until fluffy 
  4. Add 1 egg, vanilla, lemon juice and lemon zest, mix until blended 
  5. Mix in flour mixture, 1/3 at a time until just cooperated (do not over mix)  
  6. Transfer to a lightly floured surface and knead until dough is formed (dough can be stored in fridge or freezer for later use)
  7. Roll out to about 0.5 cm in thickness 
  8. Cut into large circles using a plate or a cake ring (You can collect the dough scraps all together and re-roll, cover unused dough with a damp cloth or plastic wrap)
  9. Place on cookie sheets lined with parchment paper 
  10. Bake for 10-12 minutes, let cool
  11. Beat together cream cheese and icing sugar until smooth
  12. Just before serving, spread cream cheese on top of giant cookies, top with fresh fruits