A couple of weeks ago, on a beautiful Sunday afternoon, I had the opportunity to participate in a jam making workshop at Vista D’Oro farm in Langley, B.C. It was organized by Appetite by Penguin Random House and Food Bloggers of Canada. Lee Murphy, the owner of the farm, also the author of the cookbook, The Preservatory, patiently taught us her techniques of making artisanal preserves from fresh fruits. We cooked and created some very special blueberry and rhubarb preserves. We then had a tour of the winery with Lee’s husband, Patrick, enjoyed some wine tasting and a yummy snack platter at the patio, with cheese, bread, sausages and jams of course ! It was a wonderful experience and we all went home with a big box full of jams and The Preservatory cookbook !
I also brought home with something else….. something that I saw in Lee and Patrick. It’s the love, the enthusiasm and the passion that they put into their farm, their preserves and their wine. And I truly think that’s what make their products unique. Being able to do what you love and love what you do is a blessing, and I think we should really embrace those opportunities in life and make the best out of them.
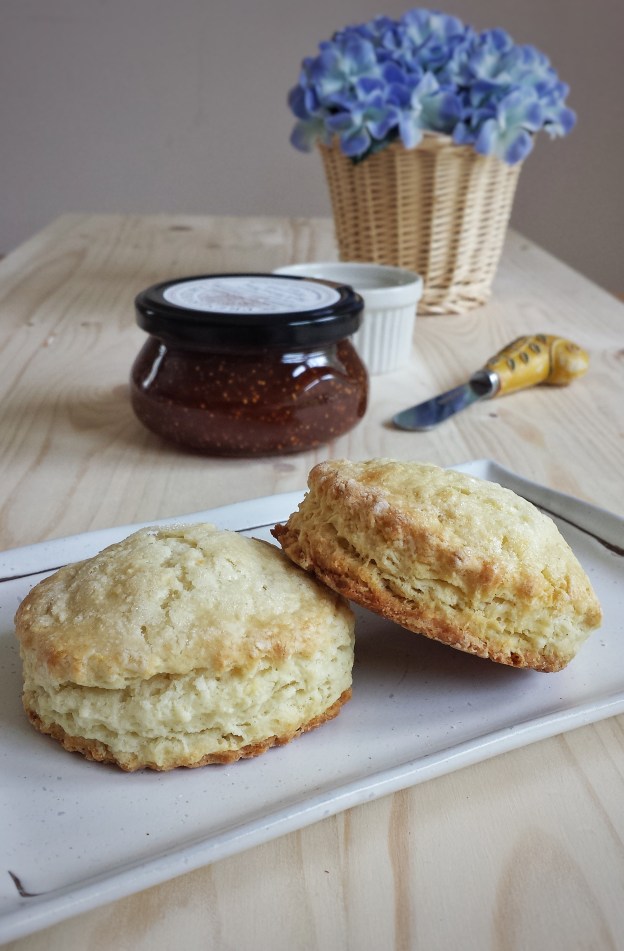
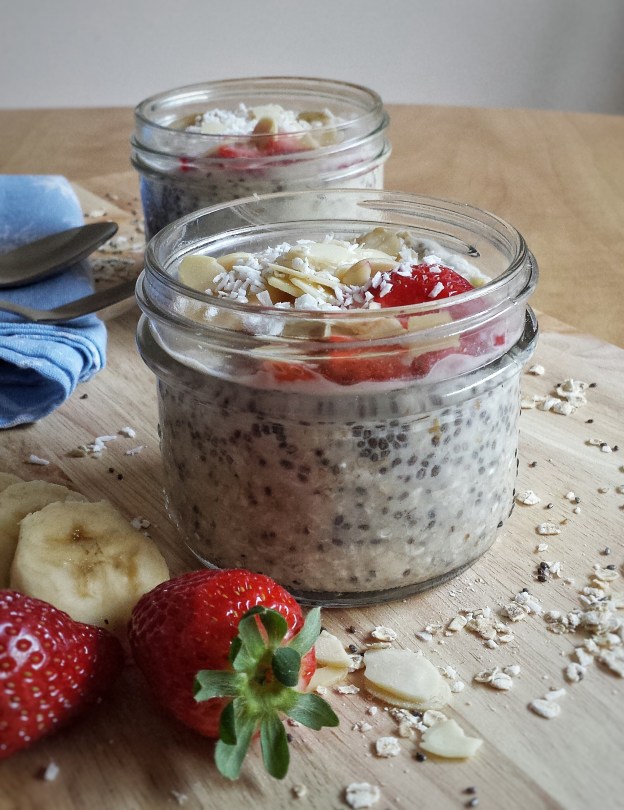
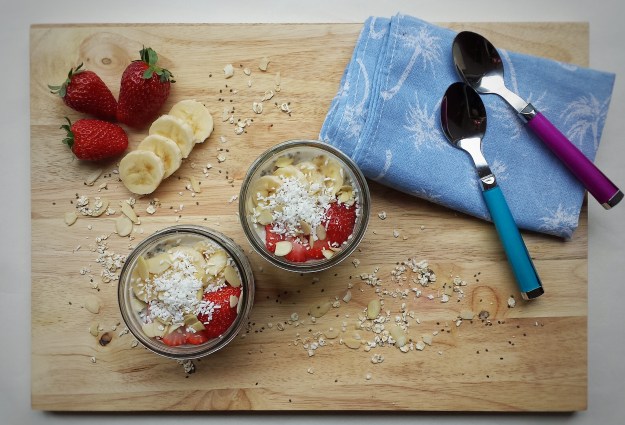
So……to make the best use of the jams I got, I made these buttermilk scones. They match perfectly with the fruit preserves. They taste best when they are fresh and warm. So if you cannot consume the whole batch, you can save part of the dough in the freezer. 
Makes about 16 scones
- 180 g all-purpose flour
- 180 g cake and pastry flour
- 15 g baking powder
- 3 g baking soda
- 1 g salt
- 100 g vanilla sugar granulated sugar plus more for sprinkling
- 120 g cold unsalted butter (cut or grate into small pieces)
- 2 eggs (1 for dough, 1 for egg wash)
- 150 mL buttermilk
- Preheat oven to 400°F
- Sift together flours, baking powder, baking soda and salt
- Mix in sugar
- Rub in cold butter with fingers until resembles coarse crumbs, there should be small lumps of butter in the dough
- Lightly beat 1 egg and buttermilk together and add to dry ingredients, mix until just combined
- Transfer to a generously floured surface, gently knead and press until dough just come together, handle the dough as little as possible
- Roll flat to about 1/2 inch in thickness
- Cut into discs, about 2 inches in diameter, and place on baking trays lined with parchment paper
- Beat the other egg with about 2 teaspoons of water
- Brush top of discs with egg wash and sprinkle with vanilla sugar or granulated sugar
- Bake for 10-12 minutes until golden
- Serve warm with your favourite jam
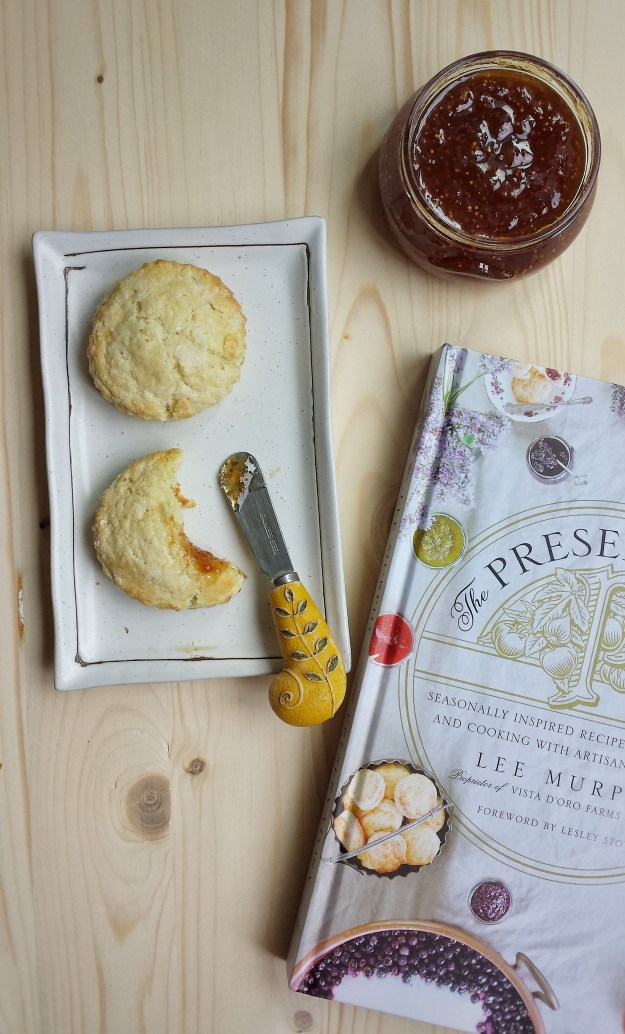
Lee Murphy’s new cookbook, The Preservatory, is a wonderful resource for making and using preserves. The book is divided into 2 parts. Part 1 includes recipes for preserves using seasonal fruits with the addition of spices, herbs and wine. Part 2 contains recipes using the preserves, it covers everything from an appetizer to a dessert. Wow ! Jam is a lot more than a PB&J sandwich ! Lee also has a wonderful scone recipe in her book, which is slightly different from the one above, but her scones were super tasty too !

The Preservatory: Seasonally Inspired Recipes for Creating and Cooking with Artisanal Preserves
You can get this beautiful cookbook through the Amazon website by clicking the above link. I will receive a small compensation if you purchase the item.


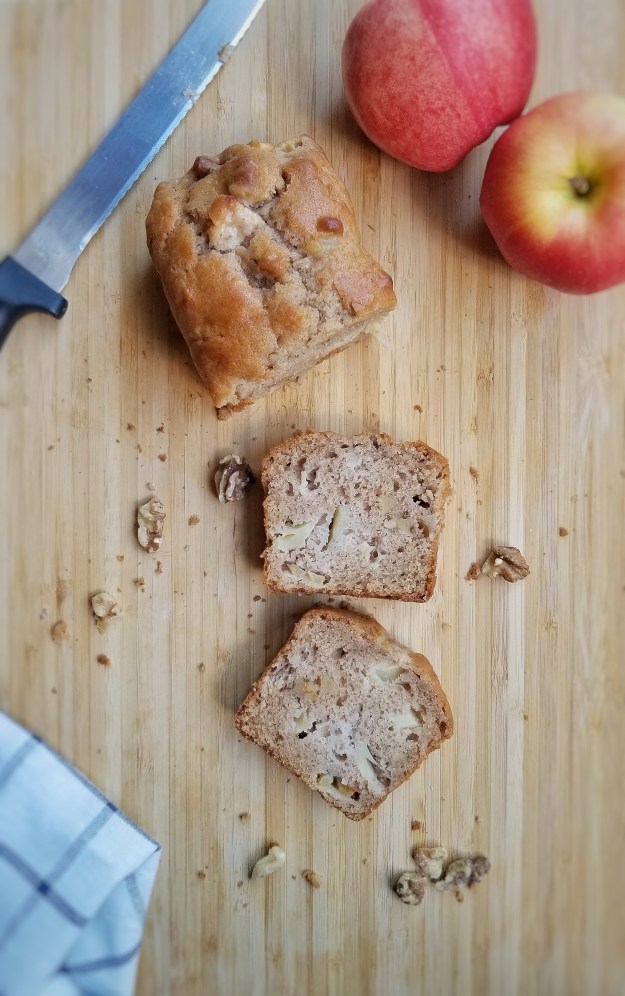
 Makes 4 mini loaves