Tag Archives: tarts

Lemon Meringue Tart

My kids have always been part of my blog. They give me ideas of what to make, write and/or post. As they grow up, they are able to help me more in the kitchen or even make a meal, especially my daughter who loves to cook and bake. She’s the one that made this lemon meringue tart, from rolling the tart shells to torching the meringue. I was just there to guide her and help clean up ! I always feel that cooking is a very important life skill that all of us should learn and I am very glad my kids have the interest in doing so.

About this recipe…. we tried using a Swiss meringue the first time but it was too soft and sticky, and wouldn’t hold its shape. So we switched to an Italian meringue which was much more stable. They both taste great but the Italian one works better for the tarts. And yes…we ended up with a lot of tarts to consume, but we didn’t mind at all ! Also, if you have leftover dough, you can use it to make cookies ! Just roll and cut them in shapes you like and bake at 350oF for about 8 minutes.

You can prepare the dough and the lemon curd 1- 2 days ahead of time, then make and torch the meringue on the day of serving.

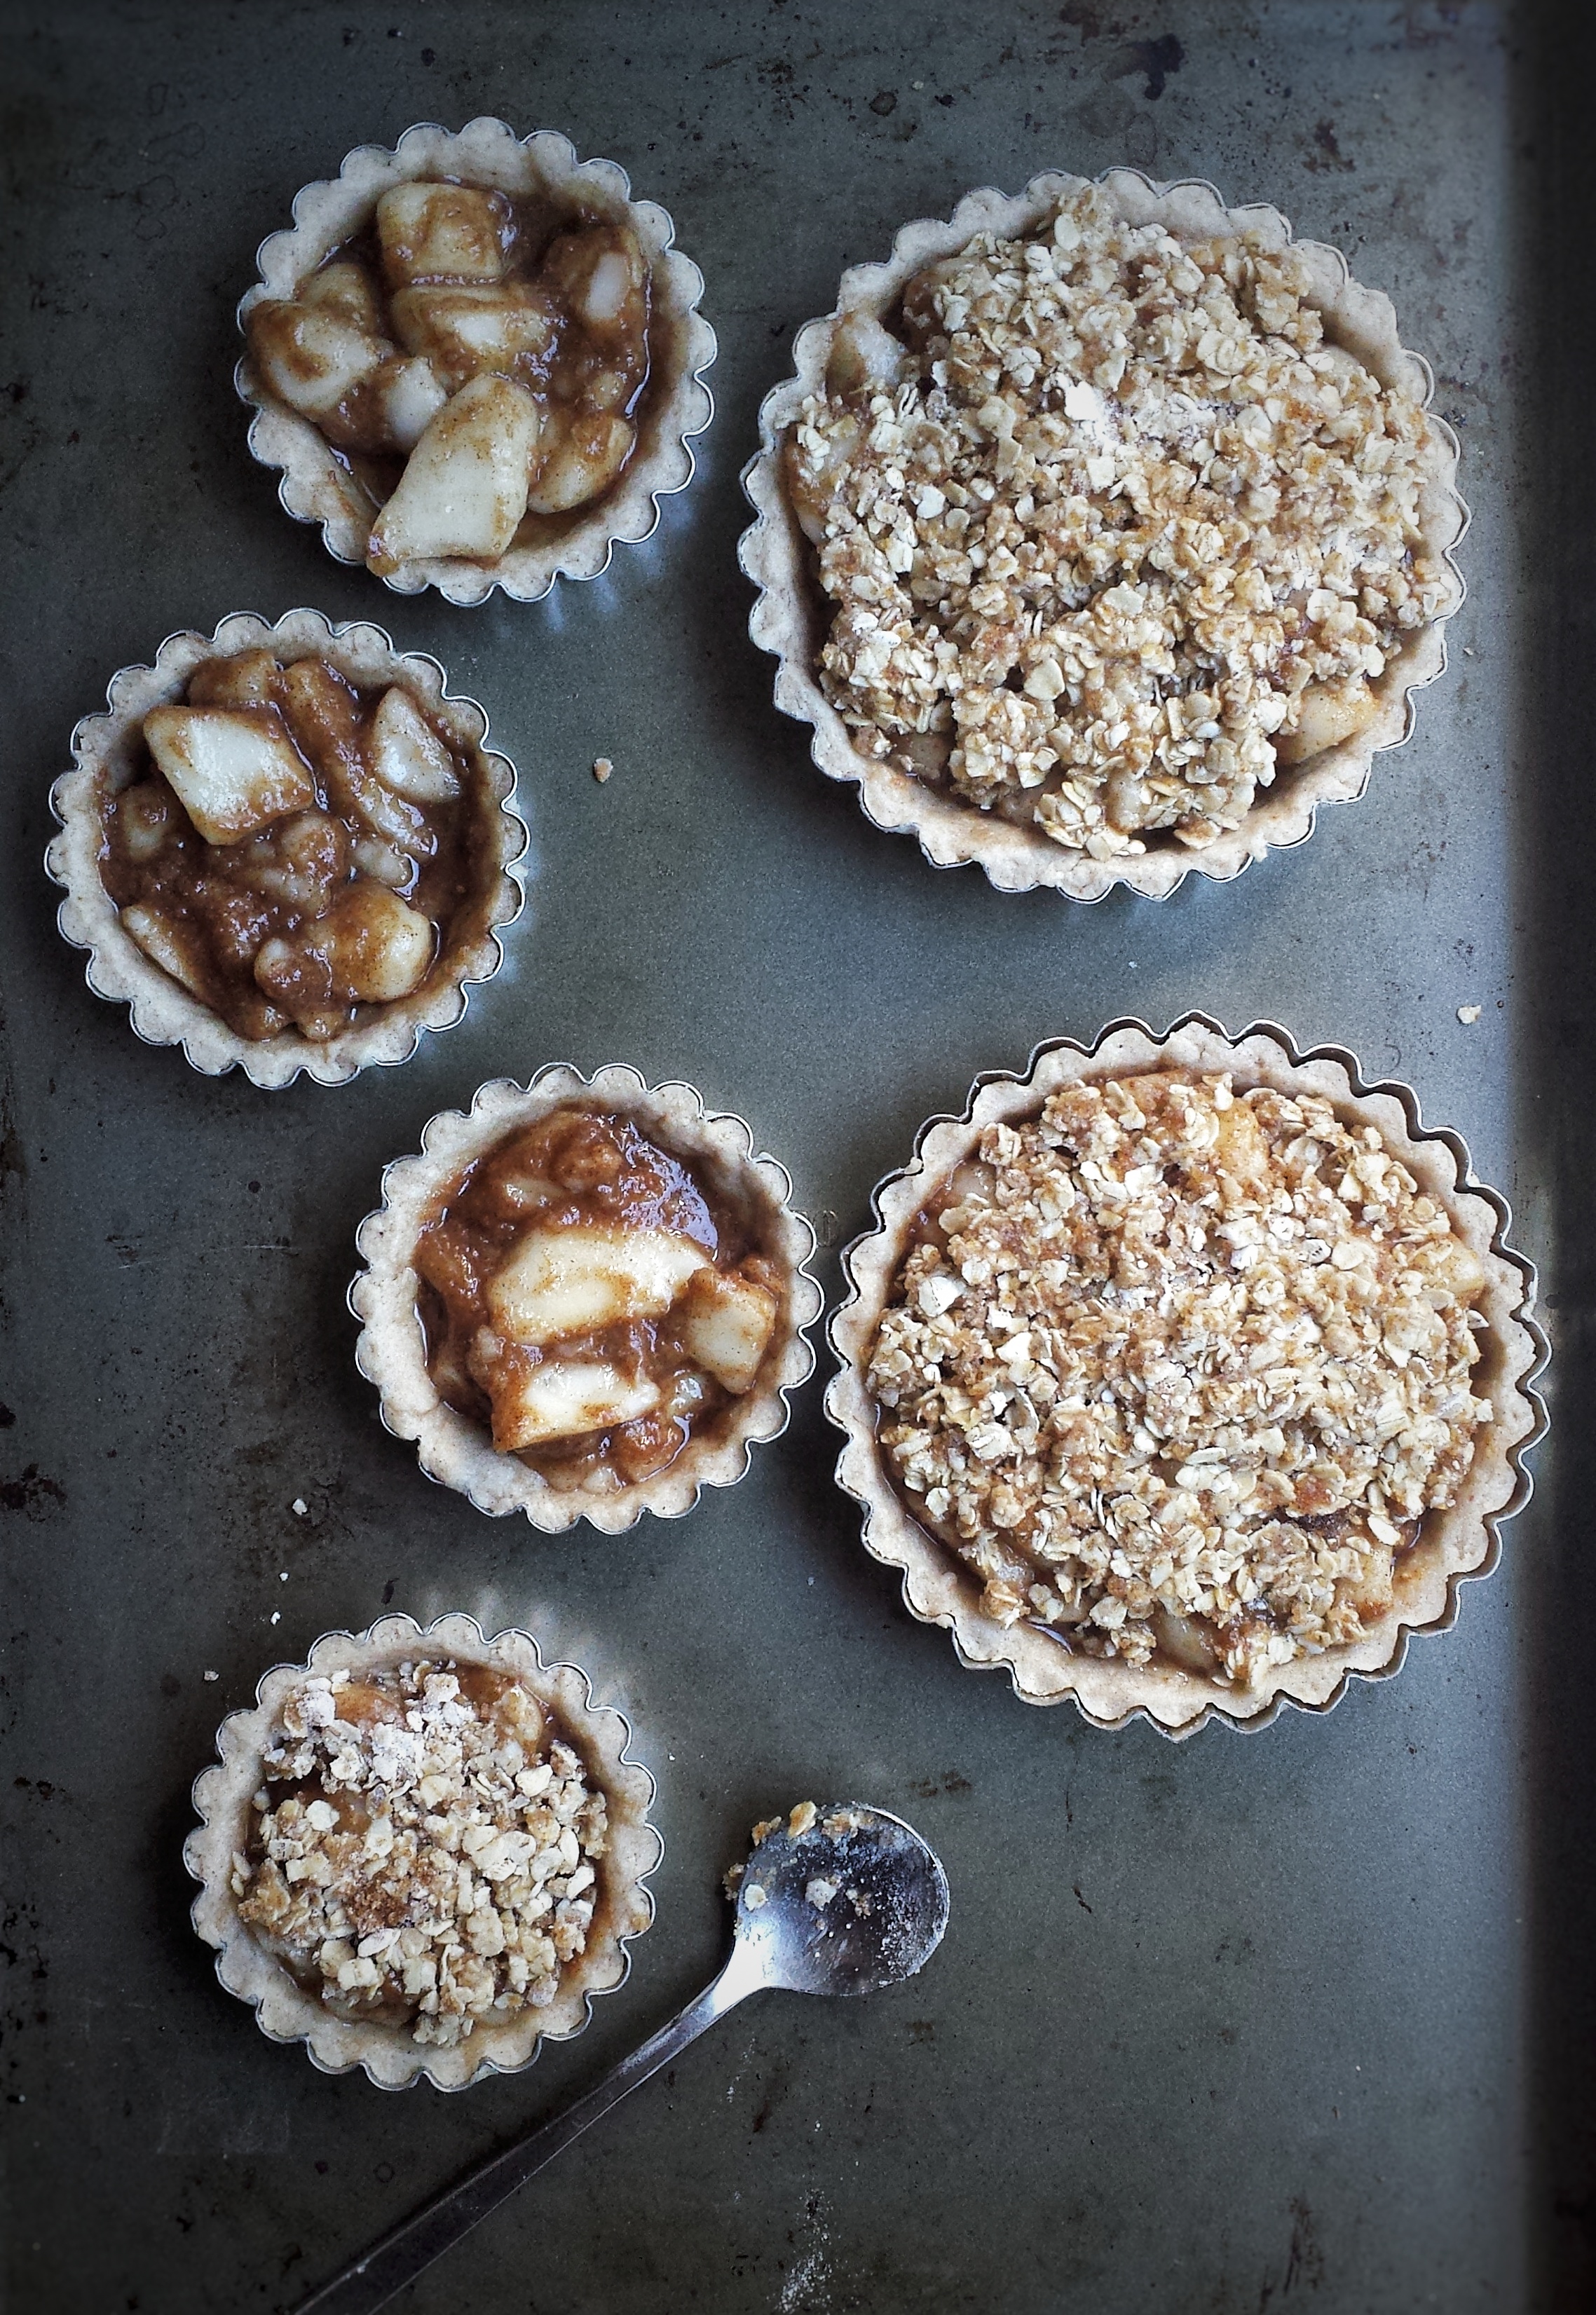
Makes about 4-6 small tarts

For the tart shells

  • 120 g cold unsalted butter (cut into small pieces)
  • 75 g granulated sugar
  • 2 egg yolks
  • 180 g cake and pastry flour, sifted
  1. Mix together butter and sugar using a wooden spoon until no more lumps
  2. Add egg yolks, mix until blended
  3. Add flour all at once, mix with the wooden spoon, then transfer onto a table or counter and gently knead dough together (just work until ingredients are mixed in)
  4. If the dough is too soft to work with, wrap with plastic wrap and refrigerate for about 30 minutes
  5. Preheat oven to 350ºF
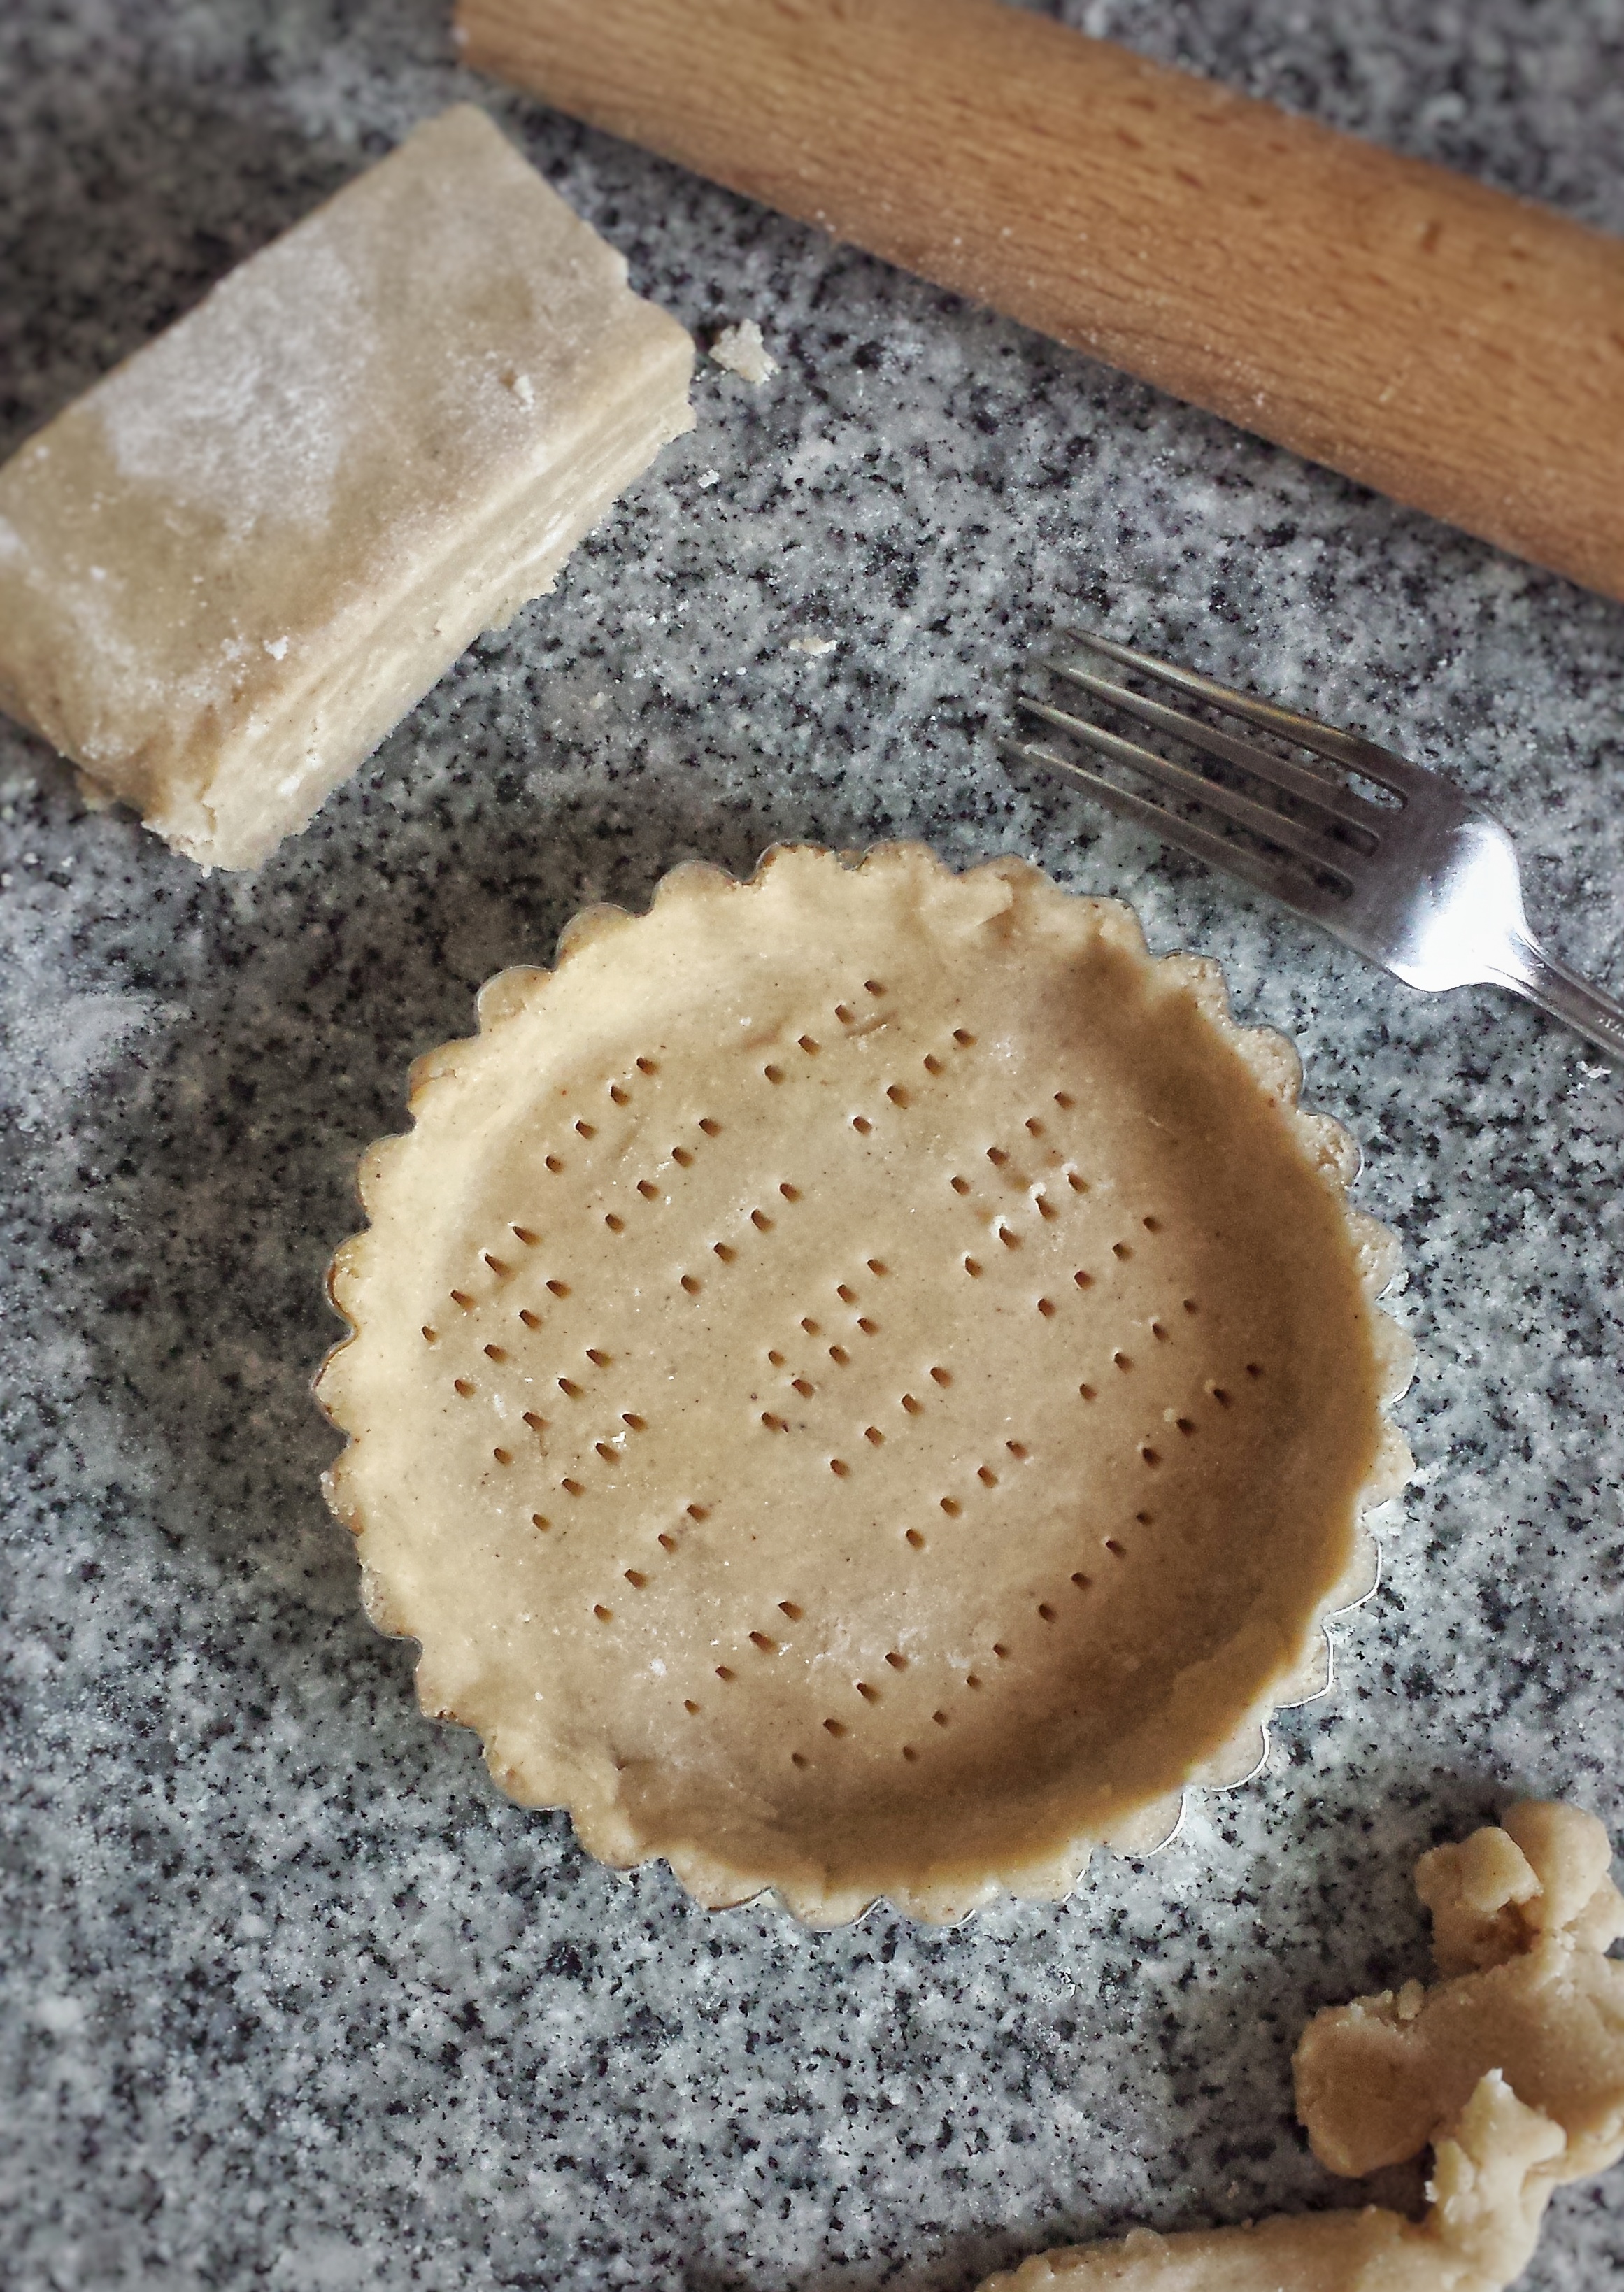
  6. Roll dough to about 1/8 inch in thickness on a floured surface, dock with a fork
  7. Place inside slightly greased tart molds, trim off excess dough
  8. Bake for about 12 minutes till golden, let cool

For the lemon curd (recipe adapted from https://www.ricardocuisine.com/en )

  • 4 whole eggs
  • 1 egg yolk
  • 180 g graulated sugar
  • zest of one lemon
  • 120 ml lemon juice
  • 180 g unsalted butter, softened
  1. Whisk together all ingredients except butter
  2. Heat mixture in non-stick pot over medium heat, stirring constantly until thickened (mixture should coat back of spoon)
  3. Turn heat off, mix in butter, a few pieces at a time until all melted
  4. Strain and let cool
  5. Spoon into cooled tart shells, and refrigerate for about 2 hours or until curd is set

For the Italian meringue

  • 3 egg whites
  • 1 g cream or tartar
  • 180 g granulated sugar
  • 60 ml of water
  1. Combine sugar and water in a small sauce pan, bring to boil and cook until thermometer measures 110 o C (230 o F)
  2. In an electrical mixer, whisk egg whites and cream of tartar until soft peak is formed.
  3. Then while beating, slowly and carefully pour hot syrup in a stream over egg whites.
  4. Continue beating until meringue is cooled and stiff peak is formed
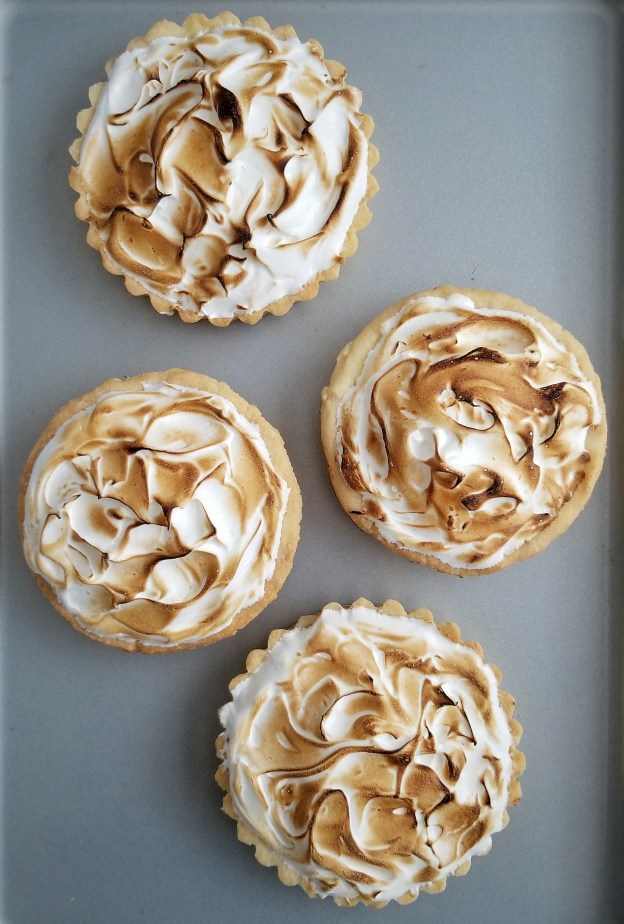
  5. Spread meringue on the cooled tarts and caramelize with a culinary torch

Advertisement

Blueberry Tarts

I feel like I need 48 hours a day ! I seriously do. I have so many things I want to do, so many things I have to do but just not enough time…..I know I sometimes over-schedule myself, but at the same time, I feel the most productive this way….So yes, this post was done much later than I planned, but at least I manage to do it before the end of July! 😅

How can I not make something out of blueberries in the summer! We are so lucky to have some locally grown blueberries and I would buy at least 20 lbs of them! This is a super easy recipe. You can make the tart dough ahead of time and freeze it until use. Try to spoon the fillings in just before serving so the tart shells won’t get soggy.

Makes about three 4-inch tarts or six to eight mini tarts

For the tart shells

  • 120 g cold unsalted butter (cut into small pieces)
  • 75 g granulated sugar
  • 1 egg yolk
  • 180 g cake and pastry flour, sifted
  1. Mix together cold butter and sugar using a wooden spoon until no more lumps
  2. Add egg yolk, mix until blended
  3. Add flour all at once, mix with the wooden spoon, then transfer onto a table or counter and gently knead dough together (just work until ingredients are mixed in)
  4. Wrap with plastic wrap, refrigerate for at least 2-3 hours or overnight
  5. When ready to bake, preheat oven to 350ºF
  6. Knead dough until pliable
  7. Roll dough out to about 1/8 inch in thickness on a floured surface, dock with a fork
  8. Place inside slightly greased tart molds, trim off excess dough
  9. Bake for about 12 minutes till golden, let cool

For the blueberry fillings

  • 300 g fresh or frozen blueberries
  • 75 g granulated sugar
  • 15 mL lemon juice
  • zest of half a lemon
  • 15 g corn starch
  1. In a non-stick pot, heat blueberries, sugar, lemon juice and lemon zest over medium heat
  2. When mixture starts to boil, sift in corn starch
  3. Mix until thicken, then let cool

Right before serving, spoon blueberry fillings into cooled tart shells

Homemade Pop Tarts

My daughter loves to read ever since she was very young, and she loves all kinds of books…novels, science, history, comics and even cook books ! So, a lot of times, our bedtime reading will include looking at recipes, sweet or savoury, and deciding what we should try. Pop tarts was one of them that’s on the top of our list. It’s easy, colourful, fun and of course, super yummy ! Personally, I like them without the sprinkles, but my daughter will definitely disagree. She had so much fun putting on the glaze and the sprinkles….yeah, might be just a little too much…..    

Makes about 6 tarts

For the crust

  • 360 g all-purpose flour
  • 20 g granulated sugar
  • 2 g salt
  • 240 cold unsalted butter, cut into small pieces and chilled
  • 2 eggs
  • 30 ml milk
  • 5 ml pure vanilla extract

For the glaze 

  • 120 g icing sugar 
  • 30-45 ml milk

Other ingredients

  • Fruit jam of choice (I used raspberry)
  • 1 egg white for brushing
  • 30 g vanilla sugar or granulated sugar 
  • Sprinkles for decorating
  1. To make the glaze, mix together icing sugar and milk until smooth, set aside
  2. To make the crust, put flour, sugar and salt in a large mixing bowl
  3. Rub in chilled butter with fingers until butter is pea-sized
  4. Mix in eggs, milk and vanilla
  5. Gently press dough together, do not knead
  6. Wrap with plastic wrap and refrigerate for at least an hour or overnight
  7. When ready to bake, preheat oven to 350°F
  8. Roll dough to about 0.5 cm in thickness. If dough was in the fridge overnight, let it sit at room temperature for about 20 minutes before rolling
  9. Cut into 8 cm x 12 cm rectangles (2 rectangles per tart)
  10. Place half of the rectangles on baking sheet lined with parchment paper
  11. Spoon 1-2 tablespoons of fillings on top
  12. Brush sides with egg white and cover with the other half of rectangles
  13. Press sides gently to seal, then press down with a fork
  14. Make a few holes on top to vent
  15. Brush top with egg white and sprinkle with vanilla sugar or granulated sugar
  16. Bake for about 30 minutes
  17. Cool, then decorate with glaze and sprinkles

Spiced Pear Tart 

My kids love to eat any kind of pears ever since they were little, Anjou, Barlett, or Asian. Pears are all very sweet and tasty no matter how you eat them. You can enjoy them raw, cook, bake, poach, etc. They are also a good source of fibre and vitamin C. It’s pretty hard not to love them ! Fall is the season for pears, so I used some Barlett pears and made this Spiced Pear Tart. I spiced up a basic short crust  for the tart shell. The dough freezes well, so you can make it ahead of time. It can also turn into yummy cookies ! So don’t throw away the trimmings after you make the tarts. Just gather them together, roll it, cut it with cookie cutters and bake for 8-10 minutes at 350°F ! I baked mine into leaves and used them as garnish ! You can adjust the amount of spices used according to your taste, both in the tart shell and the fillings. I actually would prefer a bit spicier, but my daughter said this is perfect for her palate. Well, I have to listen to my little boss ! The tarts taste delicious on their own, but my little boss likes them with vanilla ice cream, even better !  


Makes four 4-inch tarts or eight 2-inch mini tarts    

For the tart shell 

  • 120 g cold unsalted butter, cut into small pieces 
  • 75 g granulated sugar 
  • 2 egg yolks 
  • 180 g cake and pastry flour 
  • 3 g ground ginger 
  • 2 g ground cinnamon 
  • Pinch of cloves
  • Pinch of nutmeg 

For the fillings 

  • About 3-4 pears (wash, peel, core and cut into chunks)
  • 60 g brown sugar 
  • 3 g ground ginger 
  • 3 g ground cinnamon 
  • 5 mL pure vanilla extract 

For the crust 

  • 60 g quick oats 
  • 30 g all-purpose flour 
  • 30 g brown sugar 
  • 30 g unsalted butter, melted 
  1. To make the tart shells, sift together flour and spices 
  2. Mix together cold butter and sugar using a wooden spoon until blended
  3. Mix in egg yolks
  4. Add flour mixture all at once, mix, then transfer onto a surface and gently knead dough together until everything just combined
  5. Wrap with plastic wrap, refrigerate for at least 2-3 hours or overnight
  6. When ready to bake, preheat oven to 350ºF
  7. Knead dough until pliable
  8. Roll dough out to about 1/8 inch in thickness on a floured surface, dock with a fork
  9. Place inside slightly greased tart molds, trim off excess  
  10. Bake for about 8 minutes, let cool
  11. Meanwhile, prepare the fillings by mixing pear chunks with brown sugar, ginger, cinnamon and vanilla 
  12. Spoon into cooled tart shell 
  13. Mix all crust ingredients together and spoon on top of fillings
  14. Bake at 350ºF for about 25 minutes until golden 
  15. Serve warm 


Chocolate Pistachio Tart

As a mom, my kids are always my priorities. But sometimes I feel it’s necessary to do something for myself….in order to keep my sanity ! So I made this dessert just for me ! It’s loaded with chocolate with a bit of crunch and saltiness from the pistachios. Did you know that pistachios are called the “happy nuts” in Chinese? Their partially opened shells look like a smile. They are an excellent source of vitamin B, fibre, potassium, magnesium and many more. No wonder I felt fantastic after eating them! 

Makes about three to four 4-inch tarts

For the chocolate tart

  • 120 g unsalted butter (cold)
  • 75 g granulated sugar
  • 1 egg yolk
  • 170 g cake and pastry flour (sifted)
  • 10 g unsweetened cocoa powder (sifted)

For the filling

  • 2 ounces dark chocolate (finely chopped)
  • 4 ounces semi-sweet chocolate (finely chopped)
  • 4 ounces whipping cream
  • 1/2 teaspoon pure vanilla extract
  • 30 g salted pistachios (shells removed)
  1. Mix together cold butter and sugar using a wooden spoon until no more lumps
  2. Add egg yolk, mix until blended
  3. Add flour and cocoa powder, mix with the wooden spoon, then transfer onto a table or counter and gently press dough together (just work until ingredients are mixed in)
  4. Wrap with plastic wrap, refrigerate for at least 2-3 hours or overnight
  5. When ready to bake, preheat oven to 350ºF
  6. Knead dough until pliable
  7. Roll dough out to about 1/8 inch in thickness on a floured surface, dock with a fork
  8. Place inside slightly greased tart molds, trim off excess dough (dough scraps can be re-roll, but only do it once or twice or it may crack)
  9. Bake for about 12 minutes till golden, let cool
  10. For the filling, crush pistachios into small pieces
  11. Heat whipping cream in a non-stick pot over medium heat until starting to bubble
  12. Pour cream over chopped chocolate, let stand for 1 minute
  13. Add vanilla extract, stir until smooth
  14. Mix in half of the crushed pistachios
  15. Pour into baked tart shells, sprinkle remaining pistachios on top 
  16. Let cool then put in refrigerator until set

Chocolate Pistachio Tart


Original chocolate tart shell recipe by Chef Marco Ropke at the Vancouver Pastry Training Centre 


Strawberry Vanilla Cream Tart

Strawberries ! One of our family favourites !  My son can “chomp down” (that’s his words) a bowl in no time! They taste good, look pretty and you can use them in many ways.  I always wish I have a bigger yard and more time so I can grow my own. Luckily, we have a few local farms close to our neighbourhood, and we can get fresh strawberries very easily.  I love the U-picks that they have in the early summer too ! It’s a great activity for both adults and kids.   

Makes about three to four 4-inch tarts

For the tart shell

  • 120 g cold unsalted butter (cut into small pieces)
  • 75 g granulated sugar
  • 1 egg yolk
  • 180 g cake and pastry flour, sifted

For the fillings

    • 450 g (about 1 lb) fresh strawberries
    • 500 mL milk (preferably full fat, but 2 % works too)
    • 2 egg yolks
    • 75 g granulated sugar
    • 40 g cornstarch
    • 1/2 to 1 vanilla bean
    • icing sugar for dusting

To make the tart shells

  1. Mix together cold butter and sugar using a wooden spoon until no more lumps
  2. Add egg yolk, mix until blended
  3. Add flour all at once, mix with the wooden spoon, then transfer onto a table or counter and gently knead dough together (just work until ingredients are mixed in)
  4. Wrap with plastic wrap, refrigerate for at least 2-3 hours or overnight
  5. When ready to bake, preheat oven to 350ºF
  6. Knead dough until pliable
  7. Roll dough out to about 1/8 inch in thickness on a floured surface, dock with a fork
  8. Place inside slightly greased tart molds, trim off excess dough (dough scraps can be re-roll, but may crack, so only re-roll once or twice)
  9. Bake for about 12 minutes till golden, let cool

To make the vanilla cream fillings

    1. Whisk egg yolks, sugar, cornstarch and 1/2 cup of milk together until no more lumps
    2. Cut vanilla bean lengthwise and scrape seeds out of bean pod, do not throw away bean pod
    3. In a pot, heat remaining milk, vanilla beans and the pod over medium heat until just boiled
    4. Whisk 1/2 of boiled milk slowly into egg mixture to temper, then pour everything back into the pot
    5. Heat until just starting to bubble and thicken, whisking constantly
    6. Remove from heat, take out vanilla pod and let cool

When ready to serve, pipe or spoon vanilla cream into baked tart shell, top with fresh strawberries and icing sugar

Original tart shell and vanilla cream recipe by Chef Marco Ropke at the Vancouver Pastry Training Centre 

img_20160525_172119.jpg

This is my first ever collaborative post, how exciting ! The Canadian Food Creatives collaboration are featuring fresh strawberries this month ! Be sure to check out the links below for other great recipes. They can also be found on social media using the hashtag #CDNFoodCreatives . Many thanks to Amanda Saxby at The Cinnamon Scrolls for hosting.

fb_img_1464467144697.jpg