I feel like I need 48 hours a day ! I seriously do. I have so many things I want to do, so many things I have to do but just not enough time…..I know I sometimes over-schedule myself, but at the same time, I feel the most productive this way….So yes, this post was done much later than I planned, but at least I manage to do it before the end of July! 😅
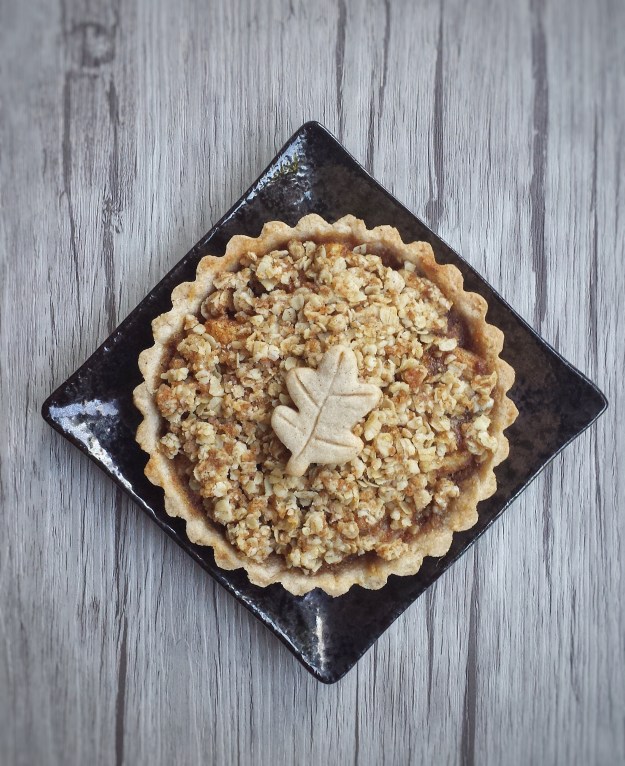
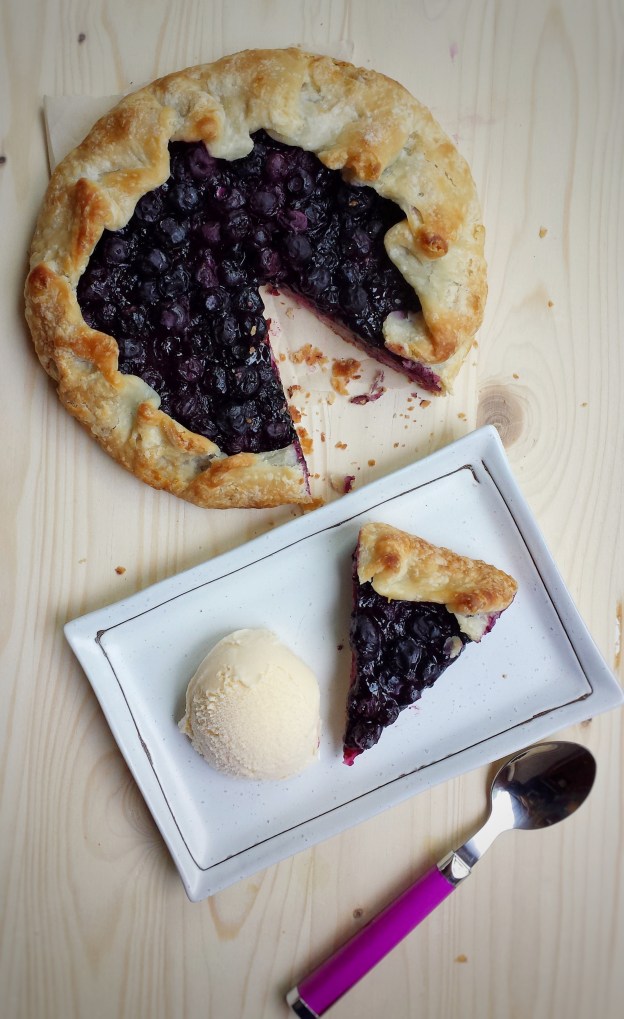
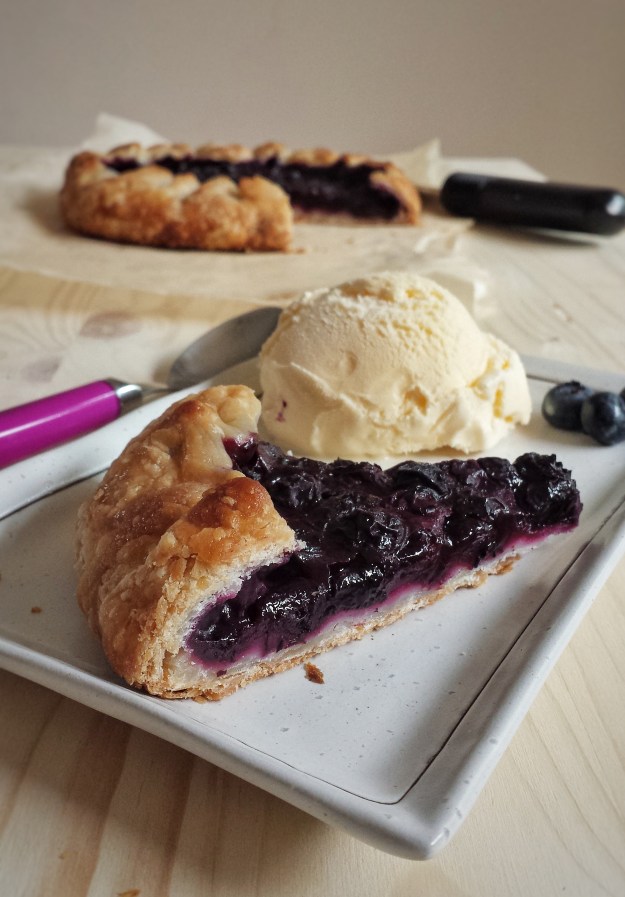
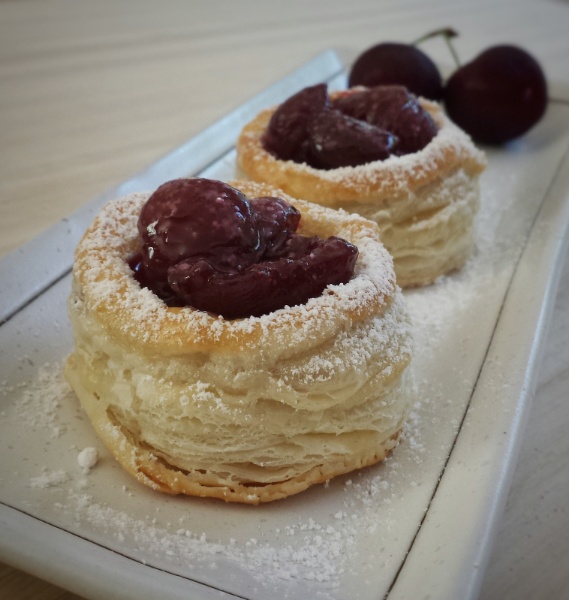
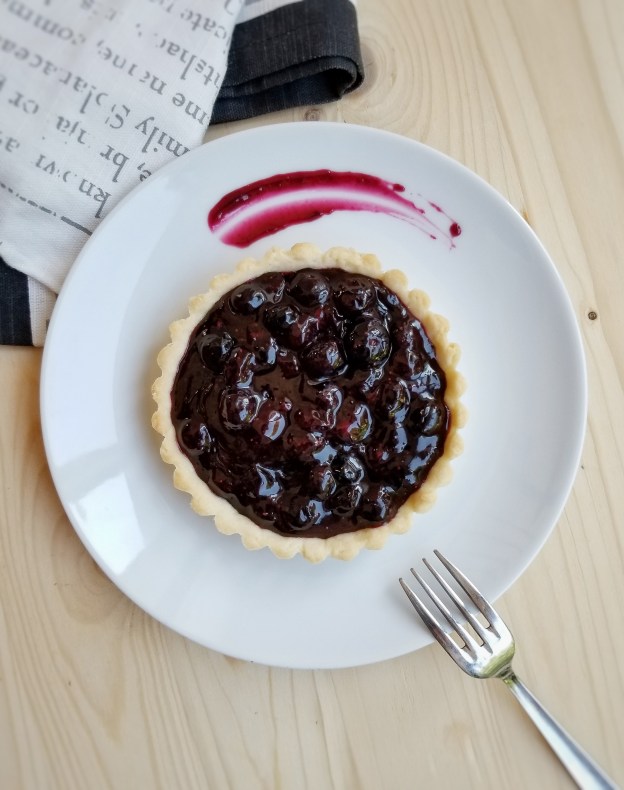
How can I not make something out of blueberries in the summer! We are so lucky to have some locally grown blueberries and I would buy at least 20 lbs of them! This is a super easy recipe. You can make the tart dough ahead of time and freeze it until use. Try to spoon the fillings in just before serving so the tart shells won’t get soggy.
Makes about three 4-inch tarts or six to eight mini tarts
For the tart shells
- 120 g cold unsalted butter (cut into small pieces)
- 75 g granulated sugar
- 1 egg yolk
- 180 g cake and pastry flour, sifted
- Mix together cold butter and sugar using a wooden spoon until no more lumps
- Add egg yolk, mix until blended
- Add flour all at once, mix with the wooden spoon, then transfer onto a table or counter and gently knead dough together (just work until ingredients are mixed in)
- Wrap with plastic wrap, refrigerate for at least 2-3 hours or overnight
- When ready to bake, preheat oven to 350ºF
- Knead dough until pliable
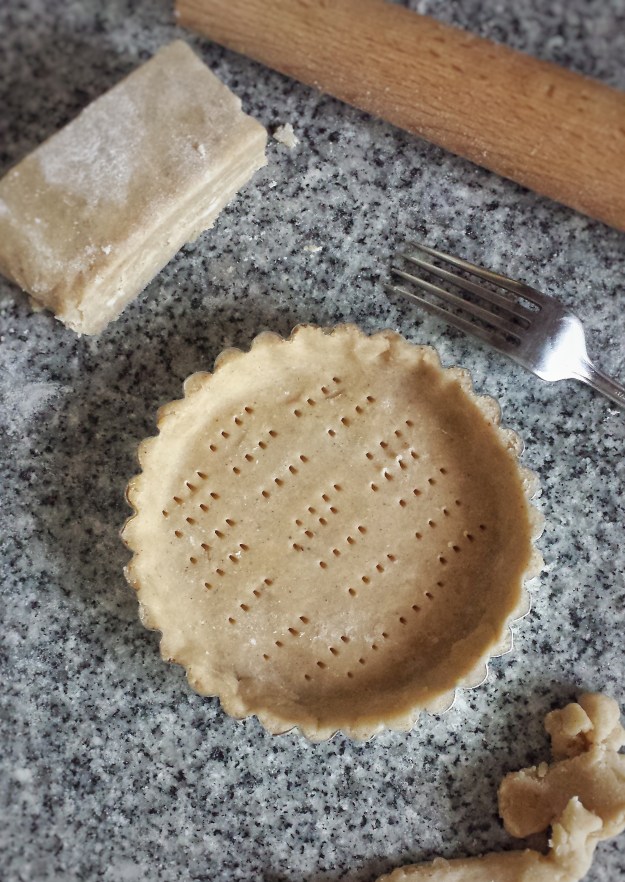
- Roll dough out to about 1/8 inch in thickness on a floured surface, dock with a fork
- Place inside slightly greased tart molds, trim off excess dough
- Bake for about 12 minutes till golden, let cool

For the blueberry fillings
- 300 g fresh or frozen blueberries
- 75 g granulated sugar
- 15 mL lemon juice
- zest of half a lemon
- 15 g corn starch
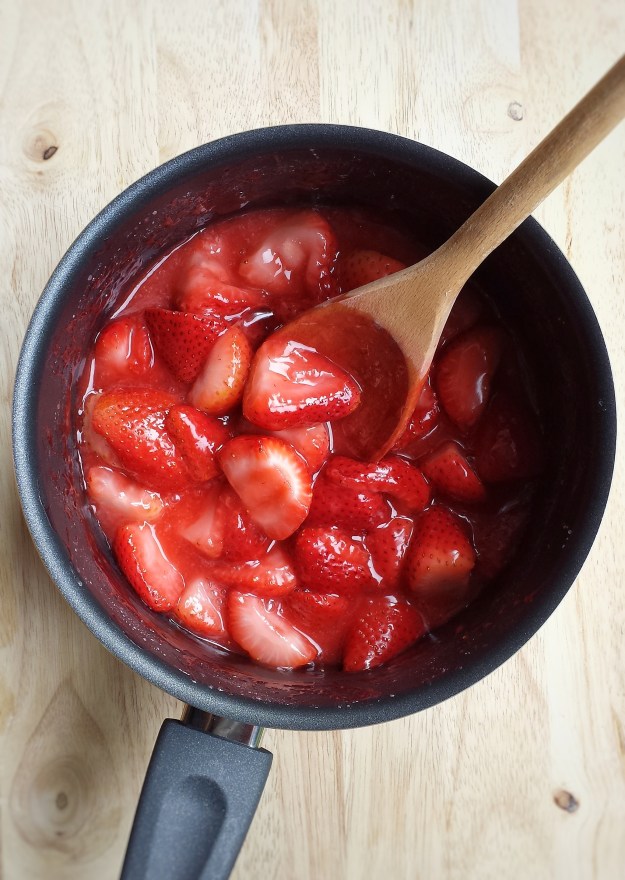
- In a non-stick pot, heat blueberries, sugar, lemon juice and lemon zest over medium heat
- When mixture starts to boil, sift in corn starch
- Mix until thicken, then let cool
Right before serving, spoon blueberry fillings into cooled tart shells