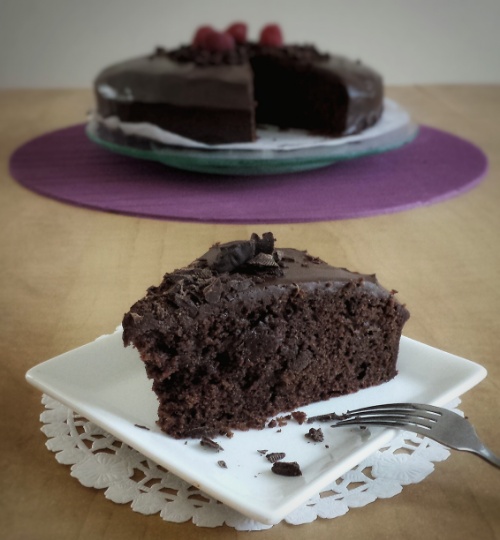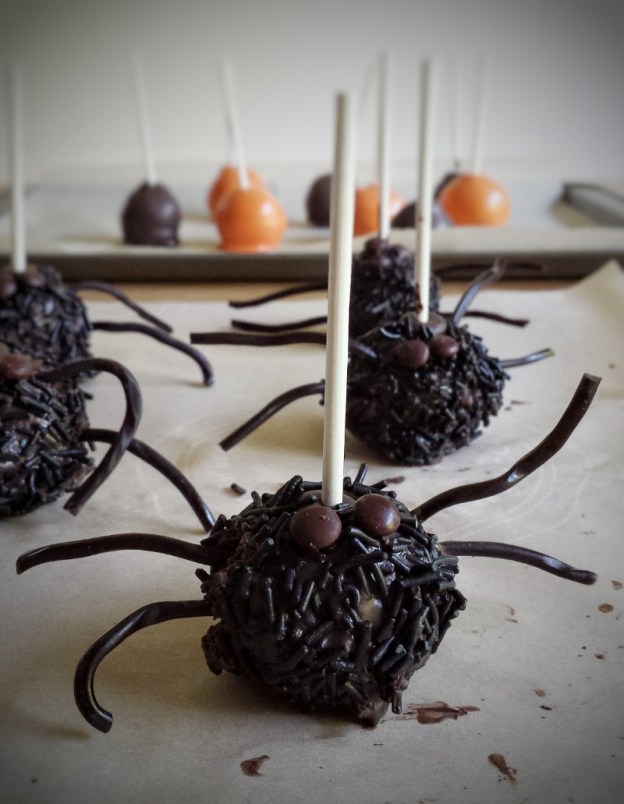
My daughter borrowed a book about Halloween treats from the library last week, there were so many great ideas we want to try. After looking through the book and “researching” on the internet, we decided to make cake pops ! So we went to the store and bought all we need…..cake pop sticks, chocolate, coating wafers, licorice sticks, sprinkles…..and we also picked up some sour candies, dried fruits, peppermint paddies….. oops, I guess we got a little too much ! Oh well, we had a lot of fun shopping and making them, that’s all that matters, right?! The coating wafers tend to be very sweet, so I used less sugar for the cake and dark chocolate for the frosting. They turned out really tasty and fudgy like brownies. My son, who doesn’t have a sweet tooth, said these cake pops are “boss” !
For the cake
- 135 g self-rising flour (about 3/4 cup)
- 25 g unsweetened cocoa powder
- 60 g unsalted butter
- 60 g granulated sugar
- 1 egg
- 1/2 teaspoon pure vanilla extract
- 90 mL boiling water
For the chocolate frosting
- 60 g unsalted butter
- 100 g icing sugar
- 1/2 teaspoon pure vanilla extract
- 60 g dark chocolate (70%)
For the coating
- Chocolate or candy moulding wafers (You will need about 300 g of wafers to coat 6 cake pops)
- Sprinkles, licorice, and or other decorations of choice
Makes about 20 cake pops
To make the cake
- Preheat oven to 350ºF
- Sift together self-rising flour and cocoa powder
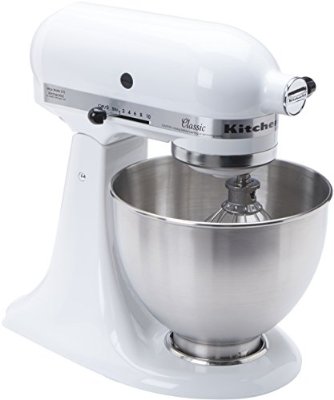
- Using an electric mixer with the paddle attachment, cream butter and sugar until fluffy
- Add egg and vanilla
- Add flour mixture in 2 parts, mix until blended
- Gradually stir in boiling water, batter will be slightly runny
- Bake in a 9 inch x 5 inch loaf pan, lined with parchment paper, for about 20 minutes
- Let cake cool completely
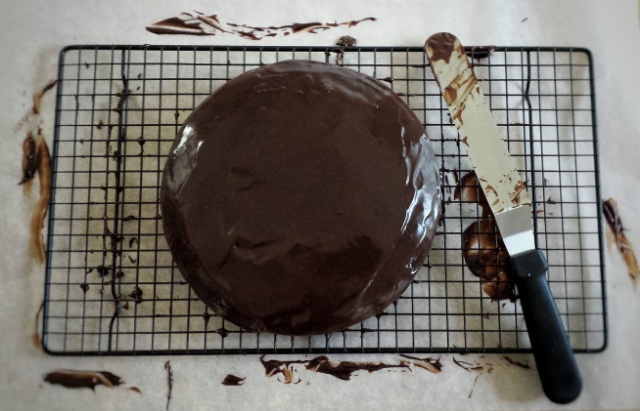
To make the frosting
- Melt dark chocolate in a bowl over a pan of simmering water, let cool slightly
- Using an electric mixer with paddle attachment, cream butter and icing sugar
- Add in vanilla and melted chocolate, mix until smooth
To prepare the cake balls
- When the cake is completely cooled, break the cake into fine crumbs with hands
- Gradually add frosting, a couple of tablespoons at a time, mix until you can roll mixture into balls
- Roll cake mixture into small balls, place on a cookie sheet lined with parchment paper, cover with plastic wrap and put in fridge for at least about 30 minutes

To assemble the cake pops
- Melt candy melts or chocolate in a bowl over a pot of simmering water
- Dip cake pop sticks into coating about 1 inch deep
- Insert coated sticks into cake balls
- Dip into coating, covering the whole cake pop (since it’s a chocolate cake, you may need to do 2 coatings if using white coating)
- Gently tap off excess coating
- Decorate while coating is still wet, then let dry (alternatively, you can draw on them when they are dry using edible markers)